
Drop spindle for making yarn. I made the spindle but not the yarn.

6 Likes
I built an FT Explorer, and I’m getting better at airbrushing. Mine is the red one, the blue one belongs to @Nick_McCarthy:

8 Likes
Congrats on the lathe,
You probably could of parted your piece on the lathe with a cut-off / parting tool. Good luck on future lathe projects.
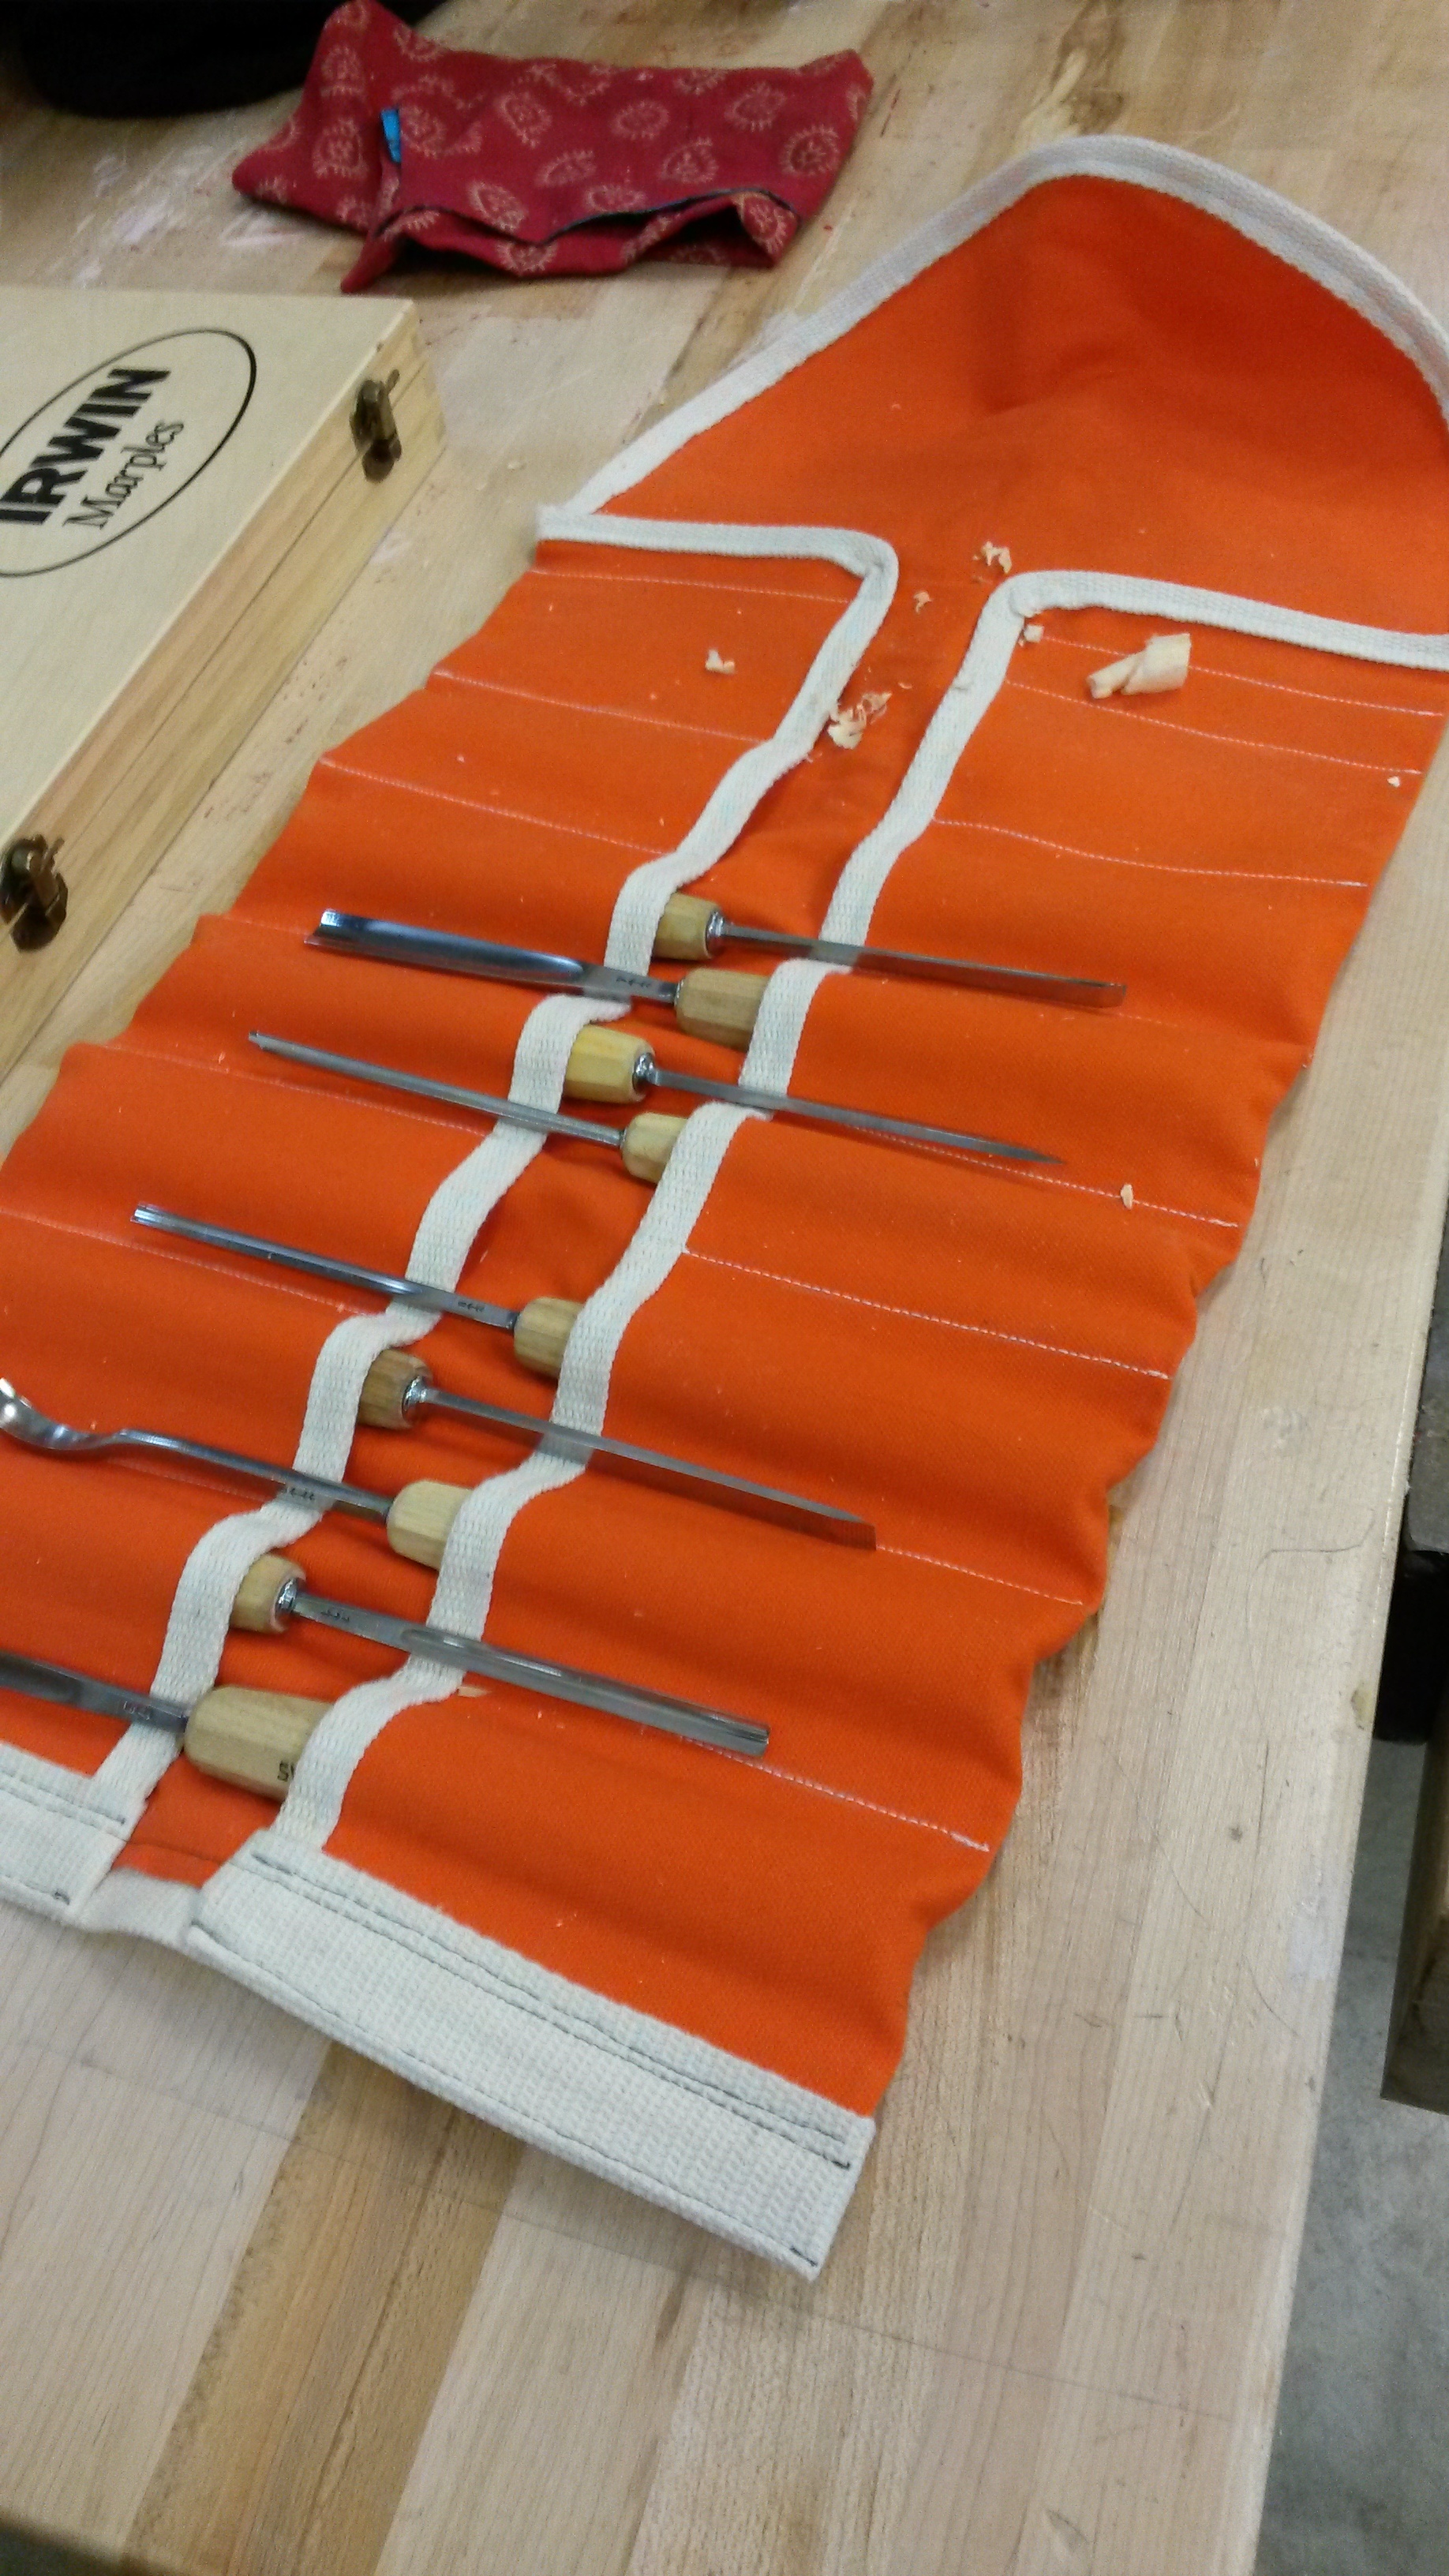
Pic of lathe tooling options:
1 Like
How do you drill a 2" hole in a 3/4" shaft? Or do you mean a hole 2" deep/long
Since there wasn’t a pile of chips in the “after” picture, the latter supposition is more reasonable.
This IS Brandon … no telling.
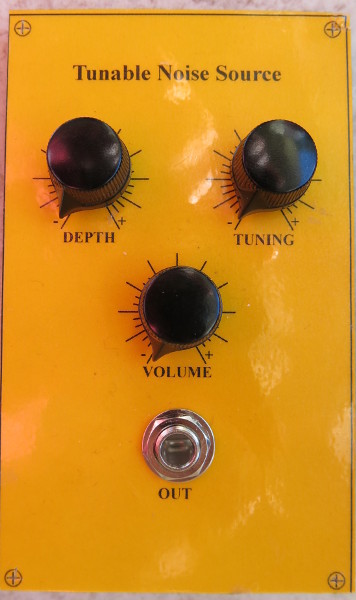
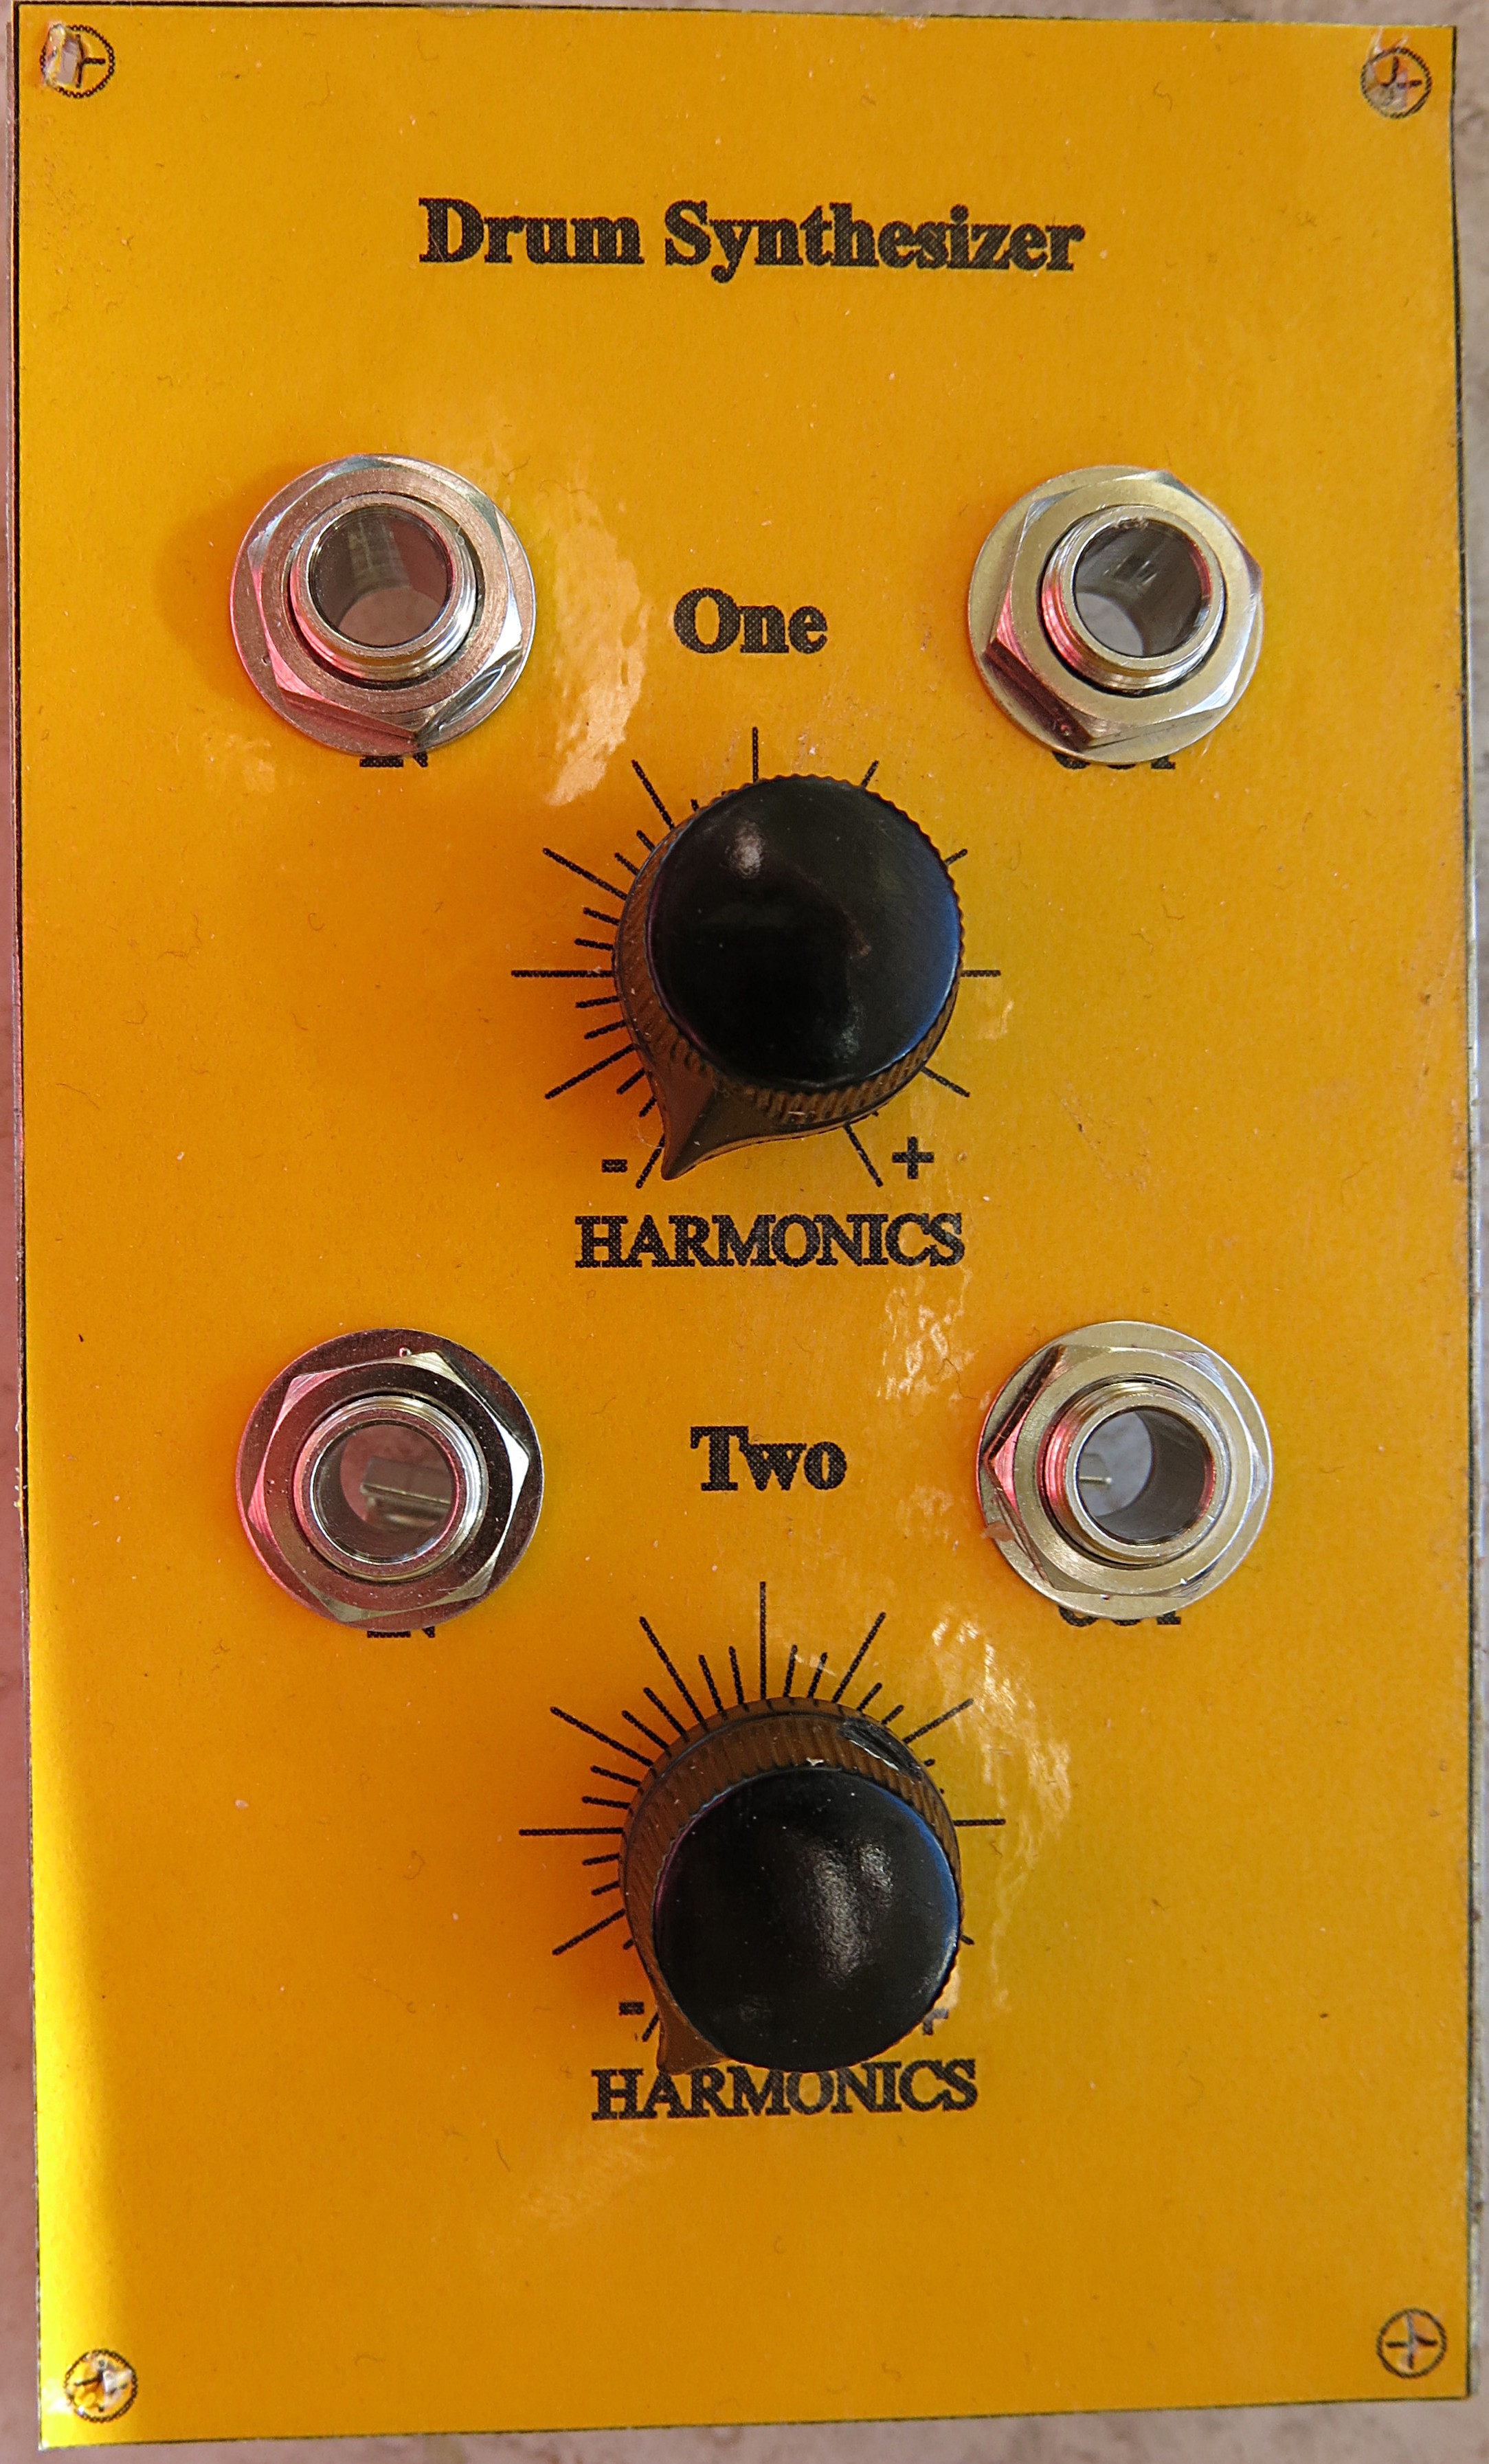
Well I haven’t been able to do much lately, but now that I am recovering I am getting back to working on my analog music synthesizer project. Here are pics of the user panels that I have made so far for the synthesizer.
This first one isn’t really part of the syntheizer, but a prototype for a class I may offer on manhattan circuit building–a method for prototyping circuits that doesn’t need pcb’s to be made.
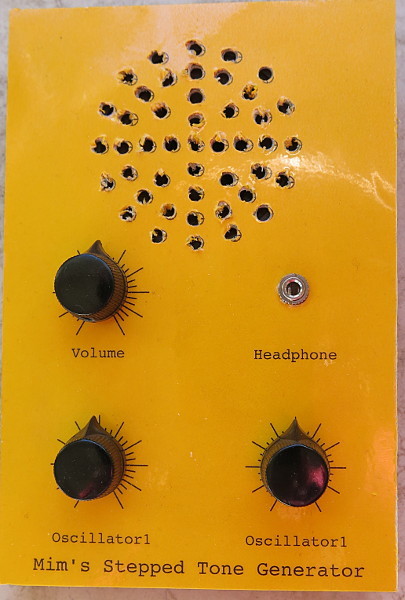
These are the first two modules I am working on for the synthesizer.
5 Likes
Made a fun sign for the New Committee:
Built the design in Illustrator and routed the sign out of cheap ply on the CNC Router. Finished the sign with a lazy worn finish. 
8 Likes
This is a project I’m currently planning but have yet to execute.
Much to the amusement of some of my fellow loot- I mean volunteer janitors - at “the warehouse” I’ve been seeking out massive flat heatsinks for a lighting project. Since I scored a few …

… I decided to start designing, using the trio of massive heatsinks in the background as my baseline (anyone seeking high-power 300V DC to 15V DC converters, I have more than a few, sadly sans heat sinks).
I have a number of Ryobi ONE+ tools as well as an assortment of batteries for them. I’ve always thought the output of their HID spotlight is decent, but it’s a spotlight as opposed to a floodlight. While Ryobi does indeed sell a LED floodlight, I wanted to execute my own just because. And maybe to use as a general template for a spotlight too - also just because.
Initially I wanted to 3D print the battery interface/handle/body, but I’ve progressed little in my intent to learn the new 3D CAD packages. I’d like to get started sooner rather than Makerspace whenever, so I decided to do a rough version out of laminated plywood sections cut on one of the lasers:
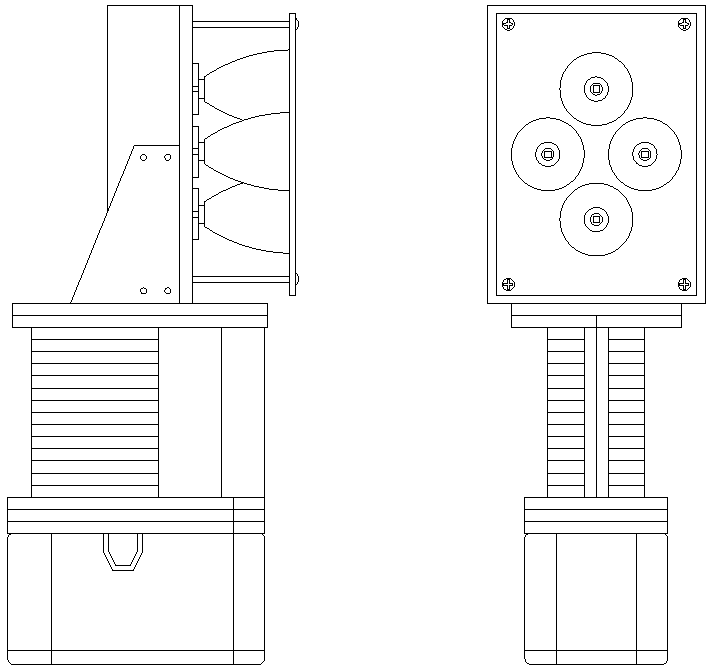
4AH battery on the bottom that slots into the handle/body. Enormous heatsink on top with 4x LED/reflector assemblies. I need to source some decent 1/4" plywood - the sanded stuff that home depot stocks seems like it’s hardly a grade above their 3-ply rated sheathing.
In the event that anyone else is contemplating such an ill-advised project themselves, they should note that most Ryobi batteries have some sort of DRM built into them and will only put out ~8V until they “authenticate” with a Ryobi tool; the pair of 4AH batteries I have inexplicably don’t exhibit this behavior yet the other smaller batteries I have do (both with the fuel gauge and the pack-in batteries)
I have a tentative cut layout…

… and as you can see the innards are a tad more involved than the 2-view sketch suggests. I’m assuming #8 x 2.25" wood screws for the handle: note the alternative patterns with a multi-pattern plate in the middle that will need to accept another pattern to ensure sufficient length. I’ll see if gluing strata makes sense. Missing: accommodations for a switch and driving circuitry.
I expect to use Cree XHP70 LED’s (12V) driven to reckless current levels (I expect ~24W per LED and ~12,000 lumens). I might be able to find something off-the-shelf for driving circuitry, which is preferrable to “rolling my own” since I’d like a more efficient DC-DC circuit as opposed to the current-limiting resistor and/or linear regulator approach that’s within my limited ability to fabricate.
4 Likes
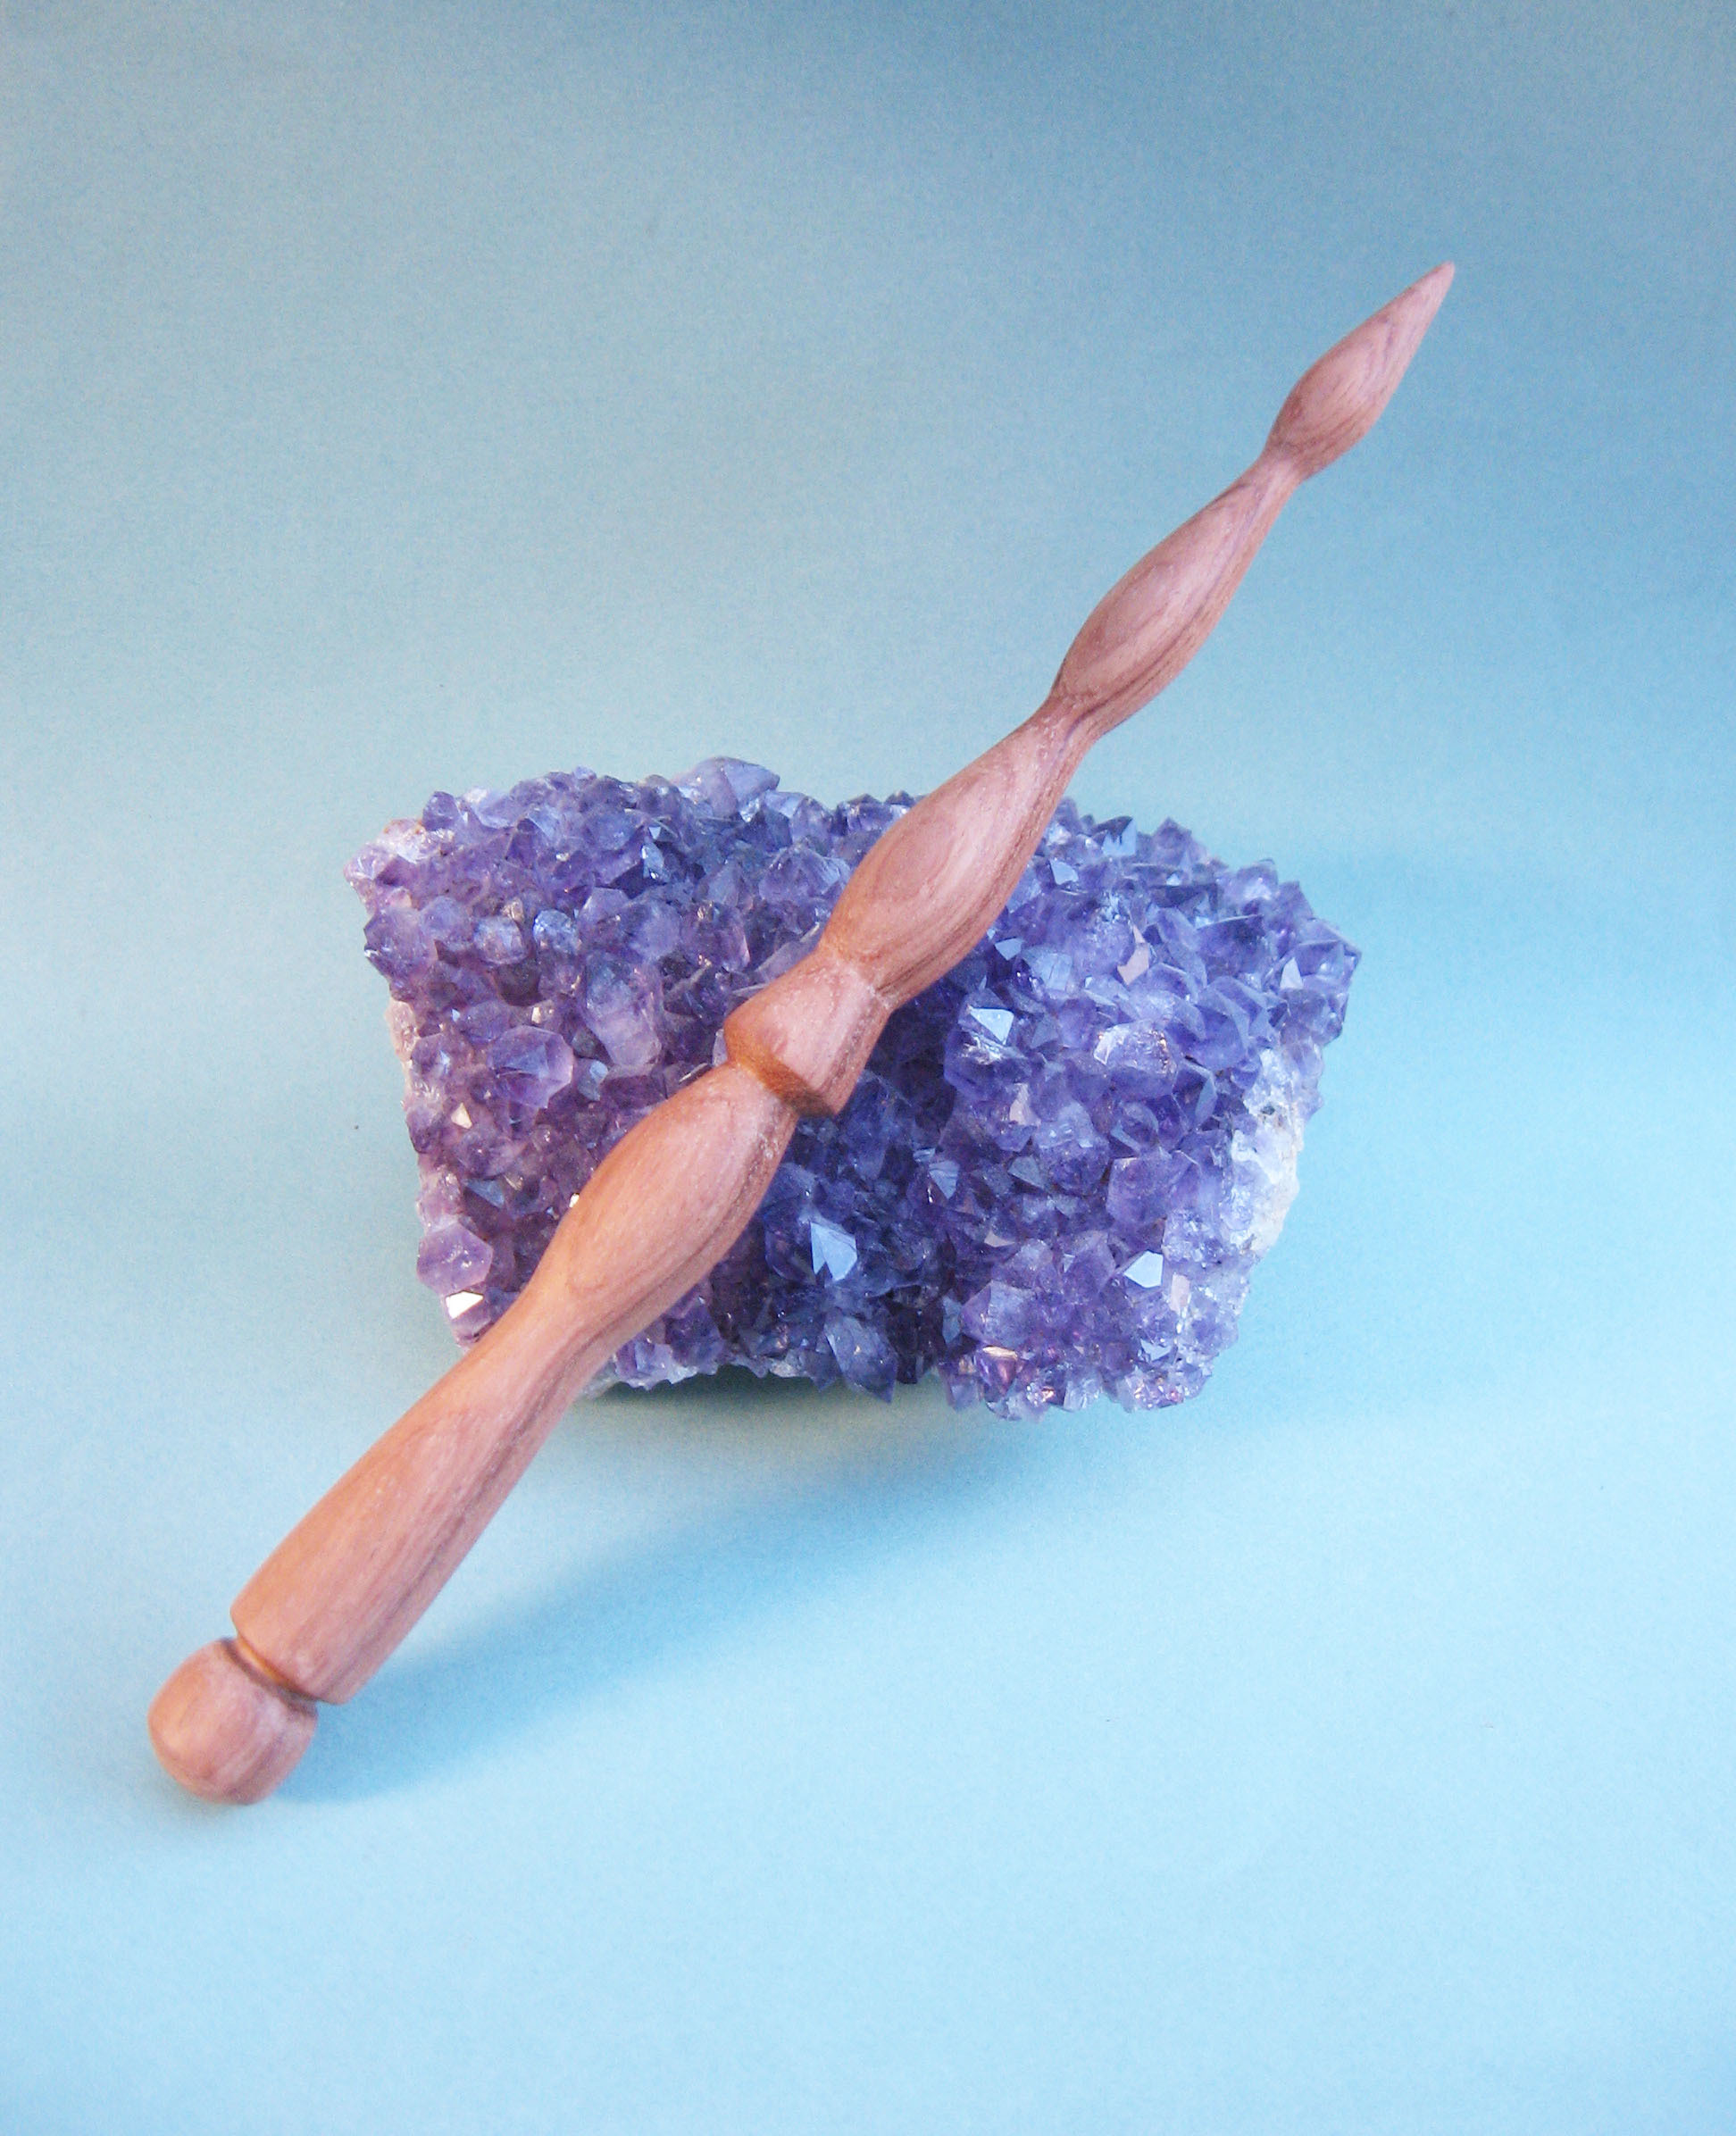
Finally got around to trying out one of the new wood lathes! This is a naturally finished magic wand in Bubinga.
6 Likes
I’d like to watch you make one of those!
Turned a bowl from a Bois d’arc stump (with coaching from Tom). Approx. 11" diameter. My first “full scale” turning endeavor.
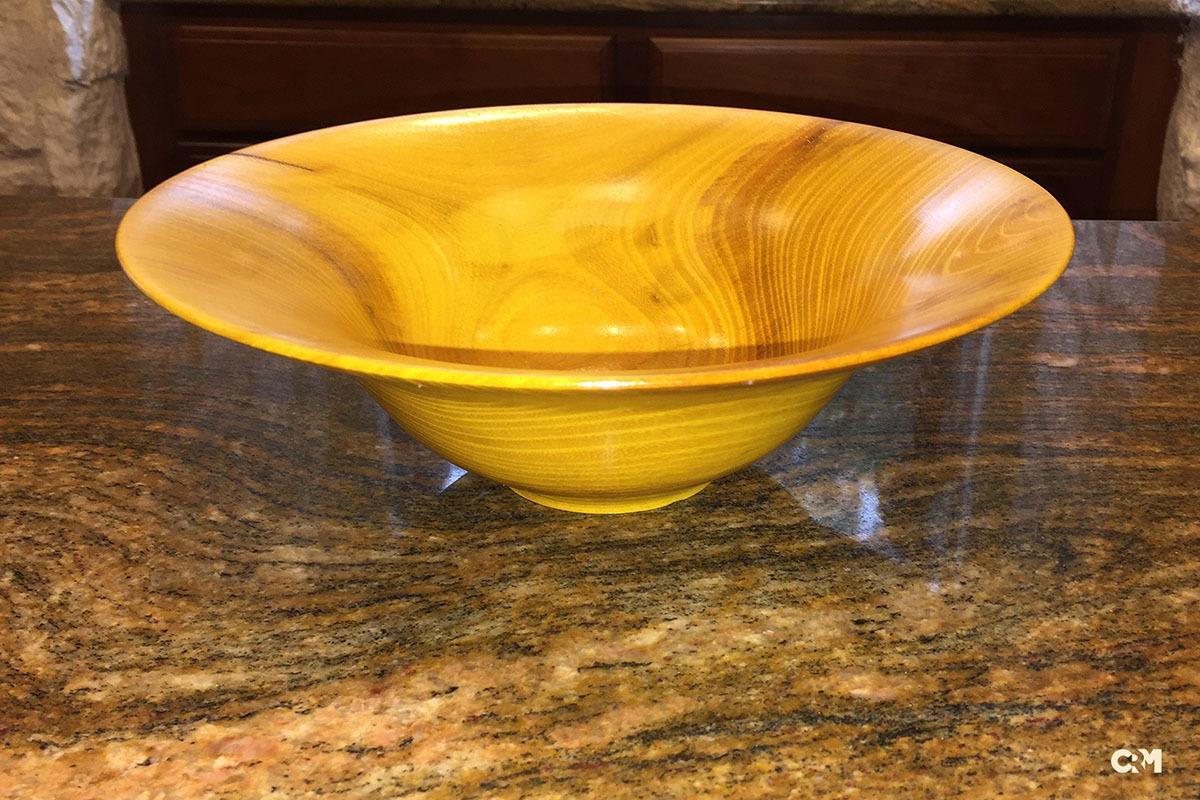
8 Likes
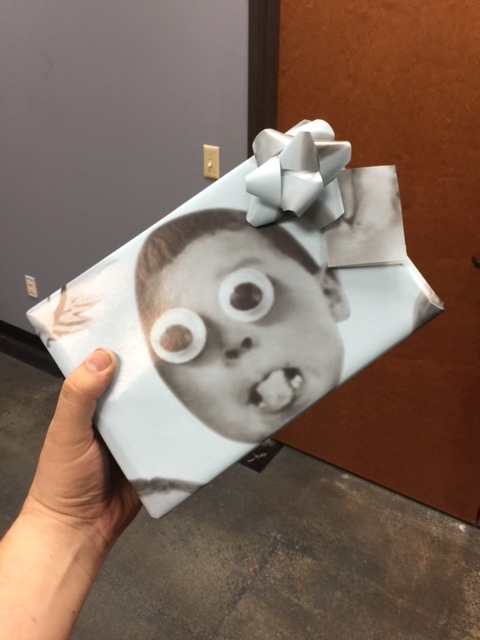
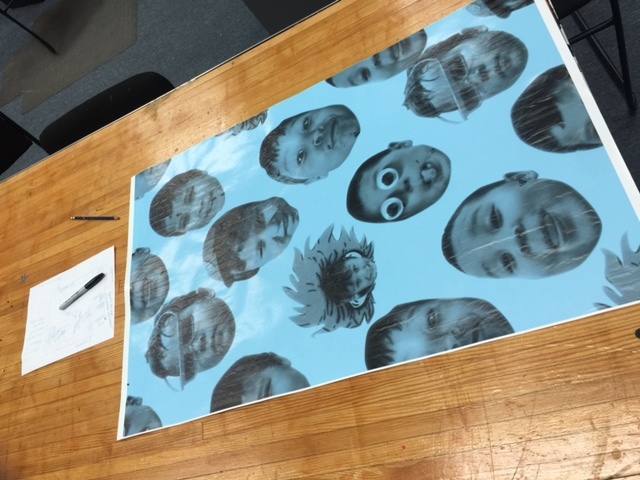
Custom wrapping paper and DIY bow.
Had some fun with the large format printer to make some custom wrapping paper for an up coming maker’s party. I think it came out pretty good. Here is picture of the final product and a picture of one of the miss prints due to the thin paper curling from the moisture in the ink. Was a little tricky to print but made a great product.
5 Likes
Definitely! I’m not at the space too much these days, but I’d like to get back to the wandmaking. 
13 Likes
I need something like that.
Let me know if you need help with anything @apipe. I still have the pattern I made for it if you think you can modify it. Or I can make another one. LMK.
Neat project! Recycled heat sinks from Fred’s. If they’re not big enough, let me know. 
And somebody said all the stuff over there was old. Clueless.