Yes.
Oh, you mean INTENTIONALLY…
Still yes, but not by choice, generally. There’s got to be at least 3 better ways to do that job @ DMS than to use a welder to do it, and I’m likely forgetting a few…
Great work for advertising the equipment, Tim!

Yes.
Oh, you mean INTENTIONALLY…
Still yes, but not by choice, generally. There’s got to be at least 3 better ways to do that job @ DMS than to use a welder to do it, and I’m likely forgetting a few…
Great work for advertising the equipment, Tim!
Kewlness ~Thanks for info!
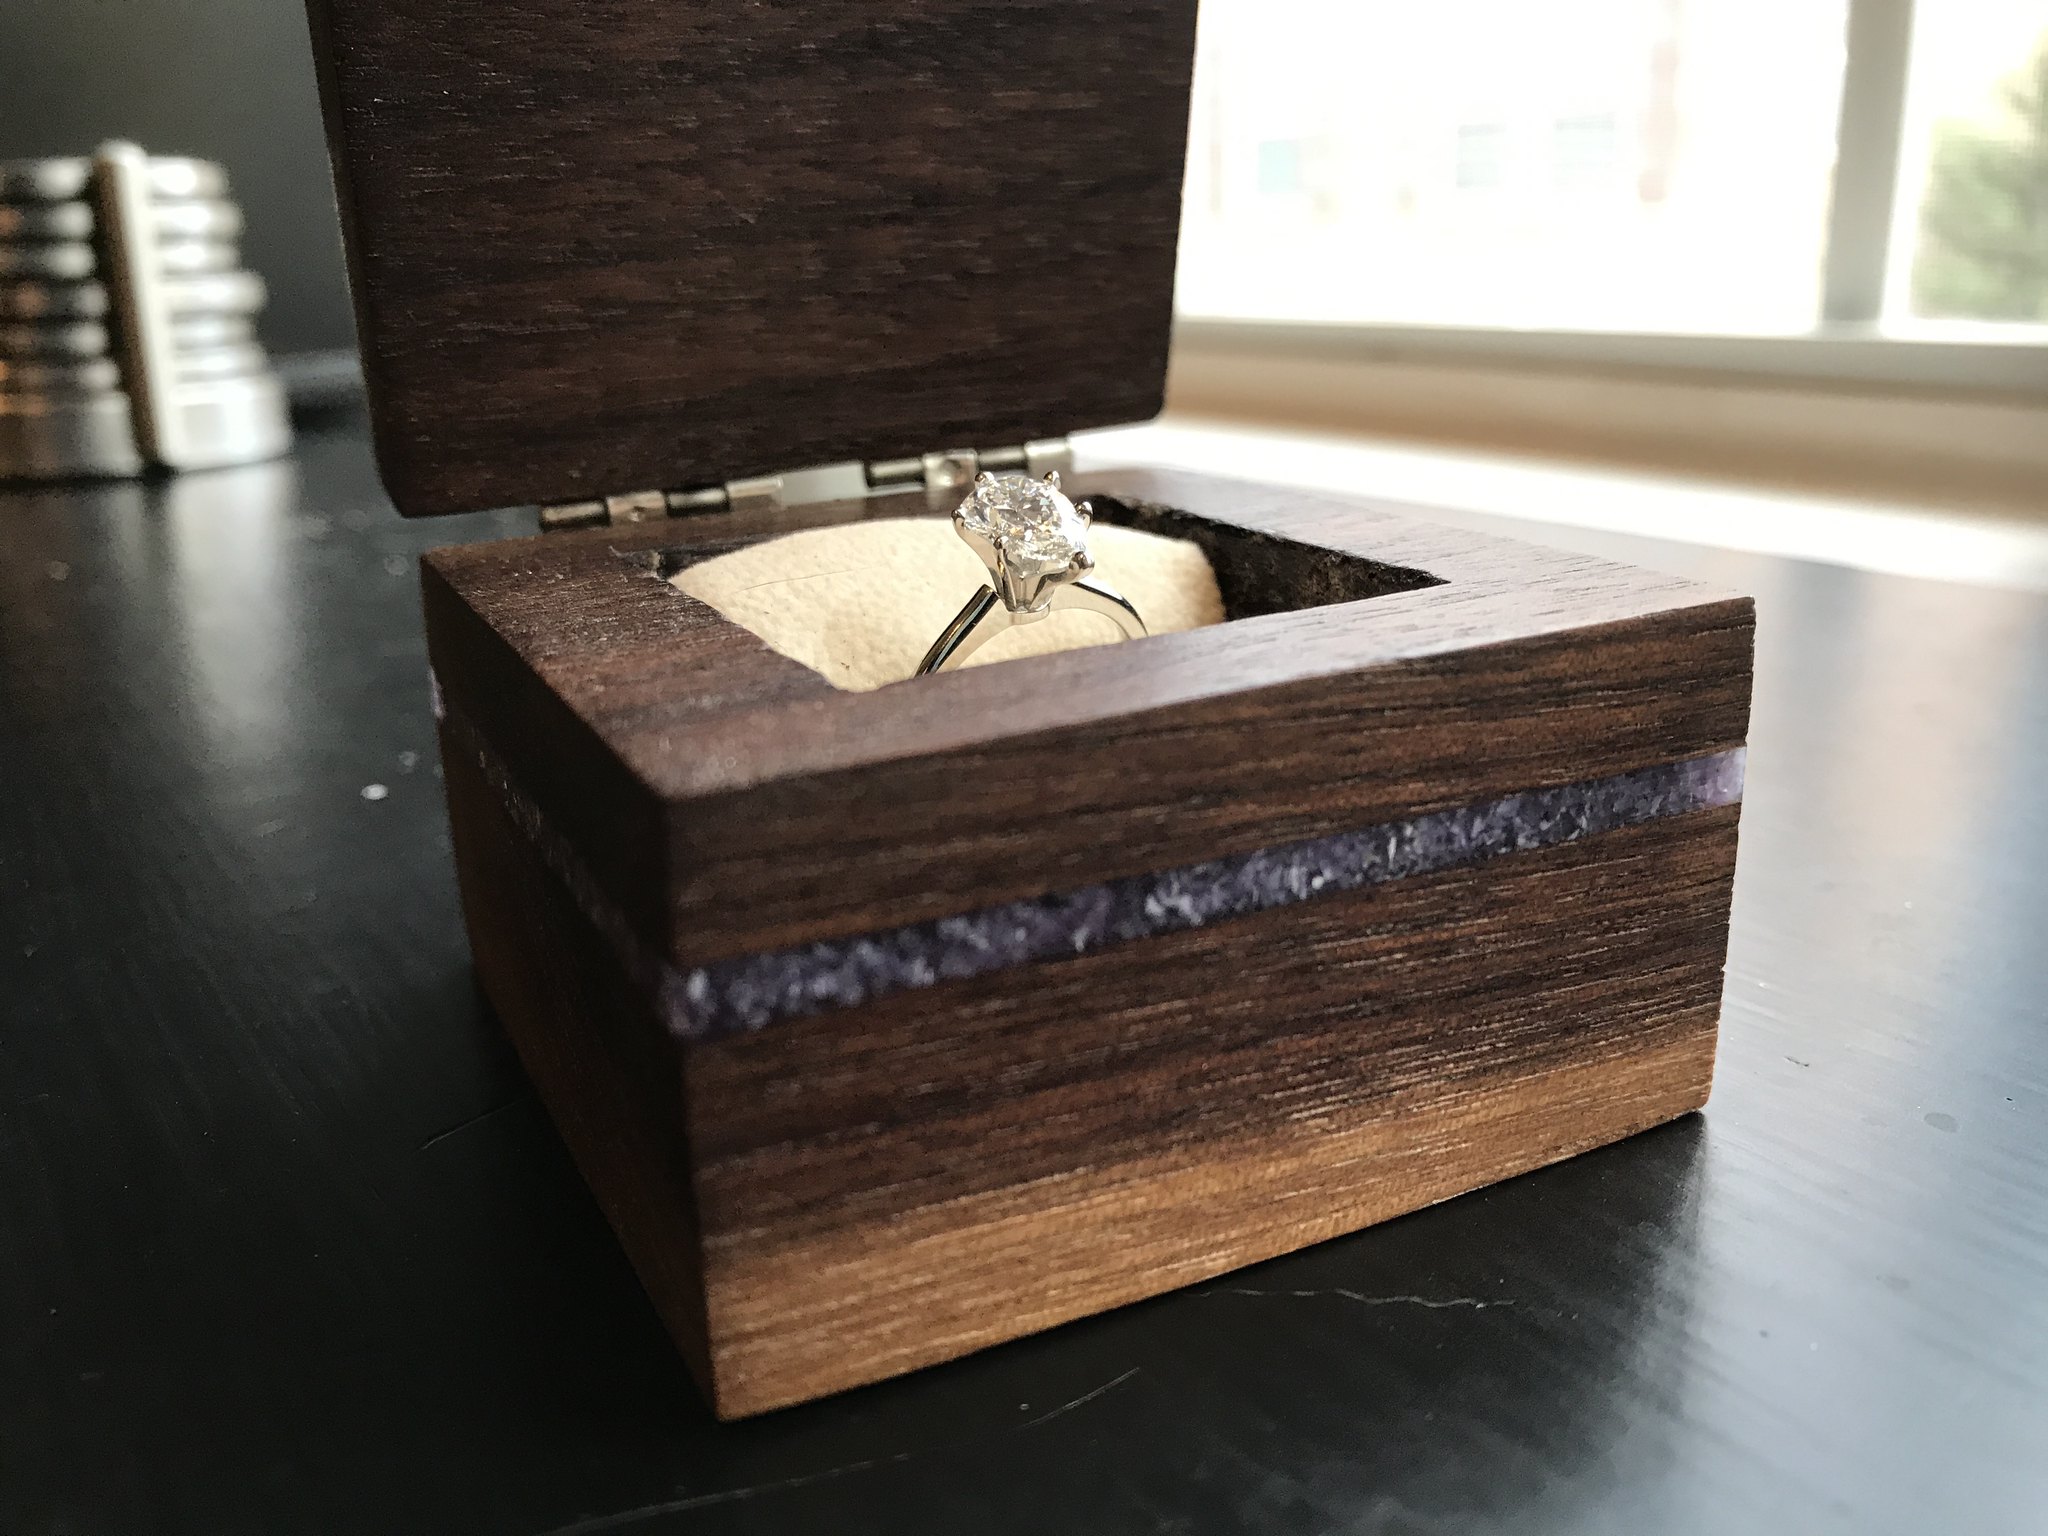
One of the things that I made in high school shop was a box ~ so this sort of takes me back a bit… 
Haha ~ fair 'nuff! 
LOL 
Gotcha, and totally makes sense! 

An oxy-acetylene torch can be used to cut metal, as well as to braze metal together, but the MIG welder (aka wire welder) can’t be used to cut.
That would be wonderful to use for embossing paper. I may ask to borrow it towards Christmas. (I’ll make you a few cards in exchange if it works out.)
It was a good week. I was brave TWICE at the space. Once when I put into play my Shapeoko 2 training to carve cork and then linoleum. The coaster was a test piece, then a big stamp with my initials (because it was either that or the DMS logo…) and also a tiny stamp for someone else at the space.
Then I was brave when Chris from woodshop held my hand and I made a first cut with the table saw outside of class. (Used the chop saw - I know, we don’t call it that - for the backs of the stamps.) The print is laser toner affixed to a scrap piece of 1/4" birch plywood with a transfer technique. I finished it with wax and then rubbed it in using a sander in woodshop anchoring a piece of freezer paper waxed side down.
I learned a lot going back to this technique. Will definitely do it again just as soon as I remember how I managed to get a color print from the copier.
I love the way the grain of the wood plays with the sky and the tone of it glows through the tall grass.
===
Three more. Still figuring out a best technique. Not as happy with the one on acrylic as I thought I would be.
===
Last one. 5x7
Thanks. I’ll try to retrain. At my age, it takes a little longer.
He’s just showing off.  It’s OK to call it a chop saw.
Edit: I stand corrected. @Jast has clarified that chop saws usually don’t have miter gauges (among other differences like abrasive blade).
The big thing I dis was my new pedestal for doing shows
I inherited some of the plastic shelving units when a friend passed
I had a large roll of the corduroy I bought years ago for $3
My cost was Velcro, a roll of stitch witchery and some time, most of it
my hubby s He got to do the ironing part
I don t like the tops, They are too thin, I think I will have go with MDF
I also want to add some posters to go under the sleeves on the grids
The first few laser etched bookmarks I’ve been working on are done!
Got the pre-dyed leather at Tandy (half off!), laser etched and cut them, sanded and burnished the edges, sealed with resolene, set the eyelets and tied matching lace through it.
This was my first project on the laser! And it was fun and I’m now hooked. Can’t wait to try another project, and I have a few in mind. Maybe something with less volume involved next time, but if someone orders more of these, I won’t complain. Like I said, really fun!
Edit: added more pictures
Very neat project ~ they turned out great! 
That’s fine with me. I’ll bring it back up there sometime. Just remind me whenever you want it.
I’ve always wanted to take a trip and dive the Cooper River, in South Carolina. Why would you want to dive in 25-50ft of pitch black water, dealing with currents and entanglement hazards, all while the thoughts of gators and bull sharks keep the pucker factor high? Fossil hunting! The chance to find a large megalodon tooth is what interests me. So, when I found that someone had done a 3D scan of an actual tooth, I had to print it. It still needs some clean up (and I need to get a better handle on Kisslicer settings), but here it is. 5.5 hour print time.
-Kenny
Which laser did you use? Did you cut the edges with it as well or just the engraving?
You work is magical. I’d pay for a class if you ever decide to teach one.
I used the Thunder, since it does raster and was large enough to do four square feet of these things at a time. And I did laser cut the edges as well. It was worth the time spent sanding off the char since I could have easily tripled that time, maybe more, trying to cut them all out by hand.
Thank you very much! I don’t have any plans to teach a laser class at the moment, but I do have an Illustrator class I’m about to submit. The first one is a basics class, but later on there will be a “Designing for Makerspace Tools” class.
Praise be! Such a needed class! Sooooo many different little bits and pieces. Let me know when you’re teaching.
Will do! 12345678910
Etched logo on a rifle scope shade for a friend using the rotary attachment for the Thunderlaser. Thanks @talkers for the help showing me how to use it, it came out great!