
A new month and time for a new thread. Please post your projects that you finish in June with a brief description.
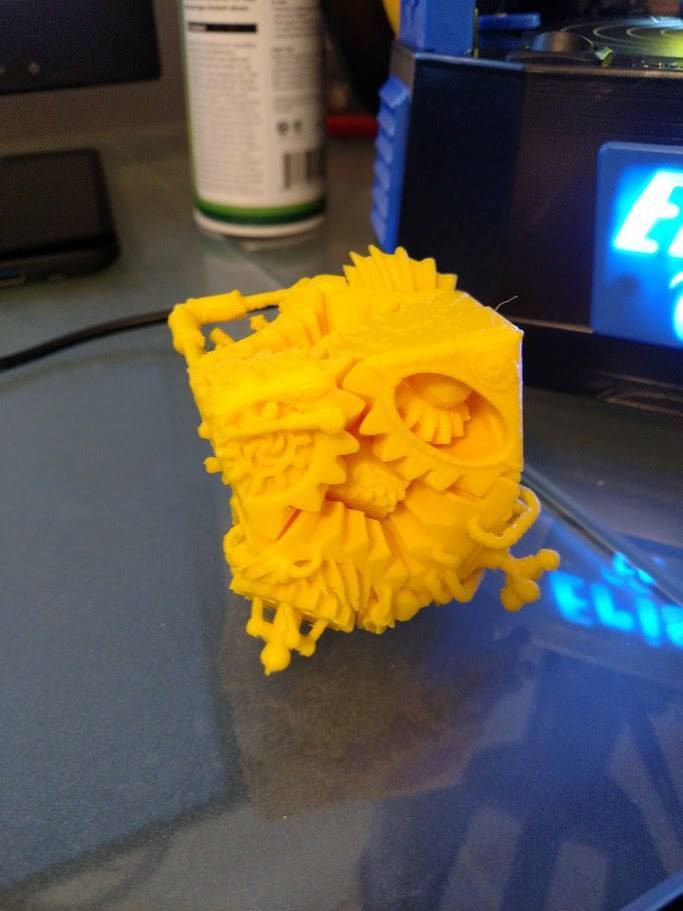
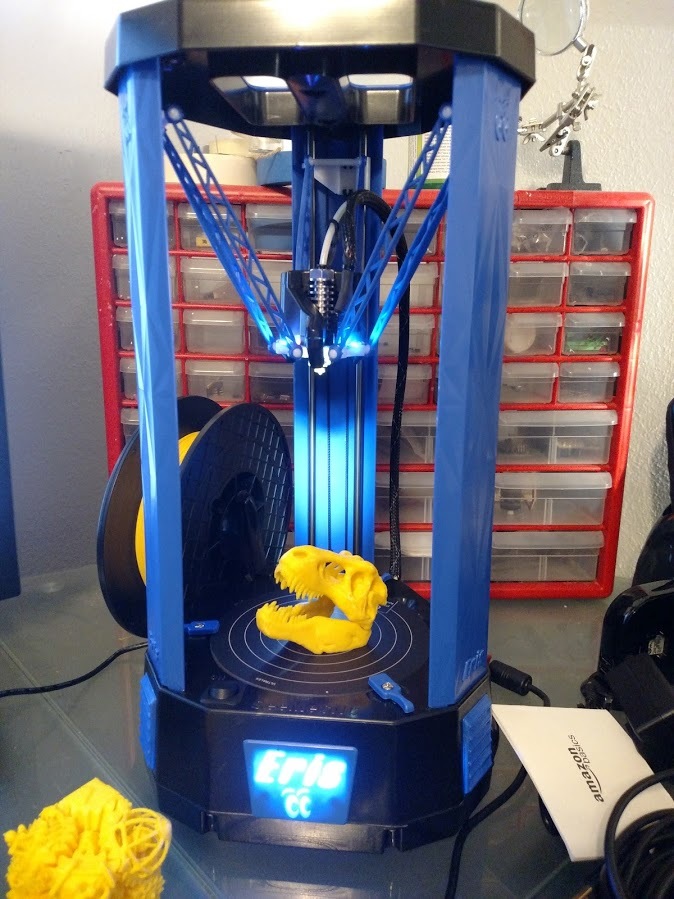
I’ve been printing on my new printer the SeeMeCNC Eris. It’s a $549 delta 3D printer that auto-calibrates using an accelerometer. I’ve been playing with Slicer settings and trying to push the limits of the printer and it been printing pretty well.
7 Likes

That’s awesome! Congratulations!
1 Like
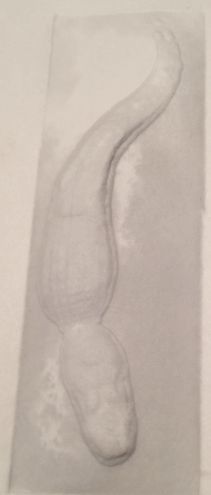
June2: the is the result from an embossing plate made for use on some card stock. It’s a half submerged swimming alligator. white on white is a little hard to photograph, but you can still see all the details.
Cheers!
7 Likes
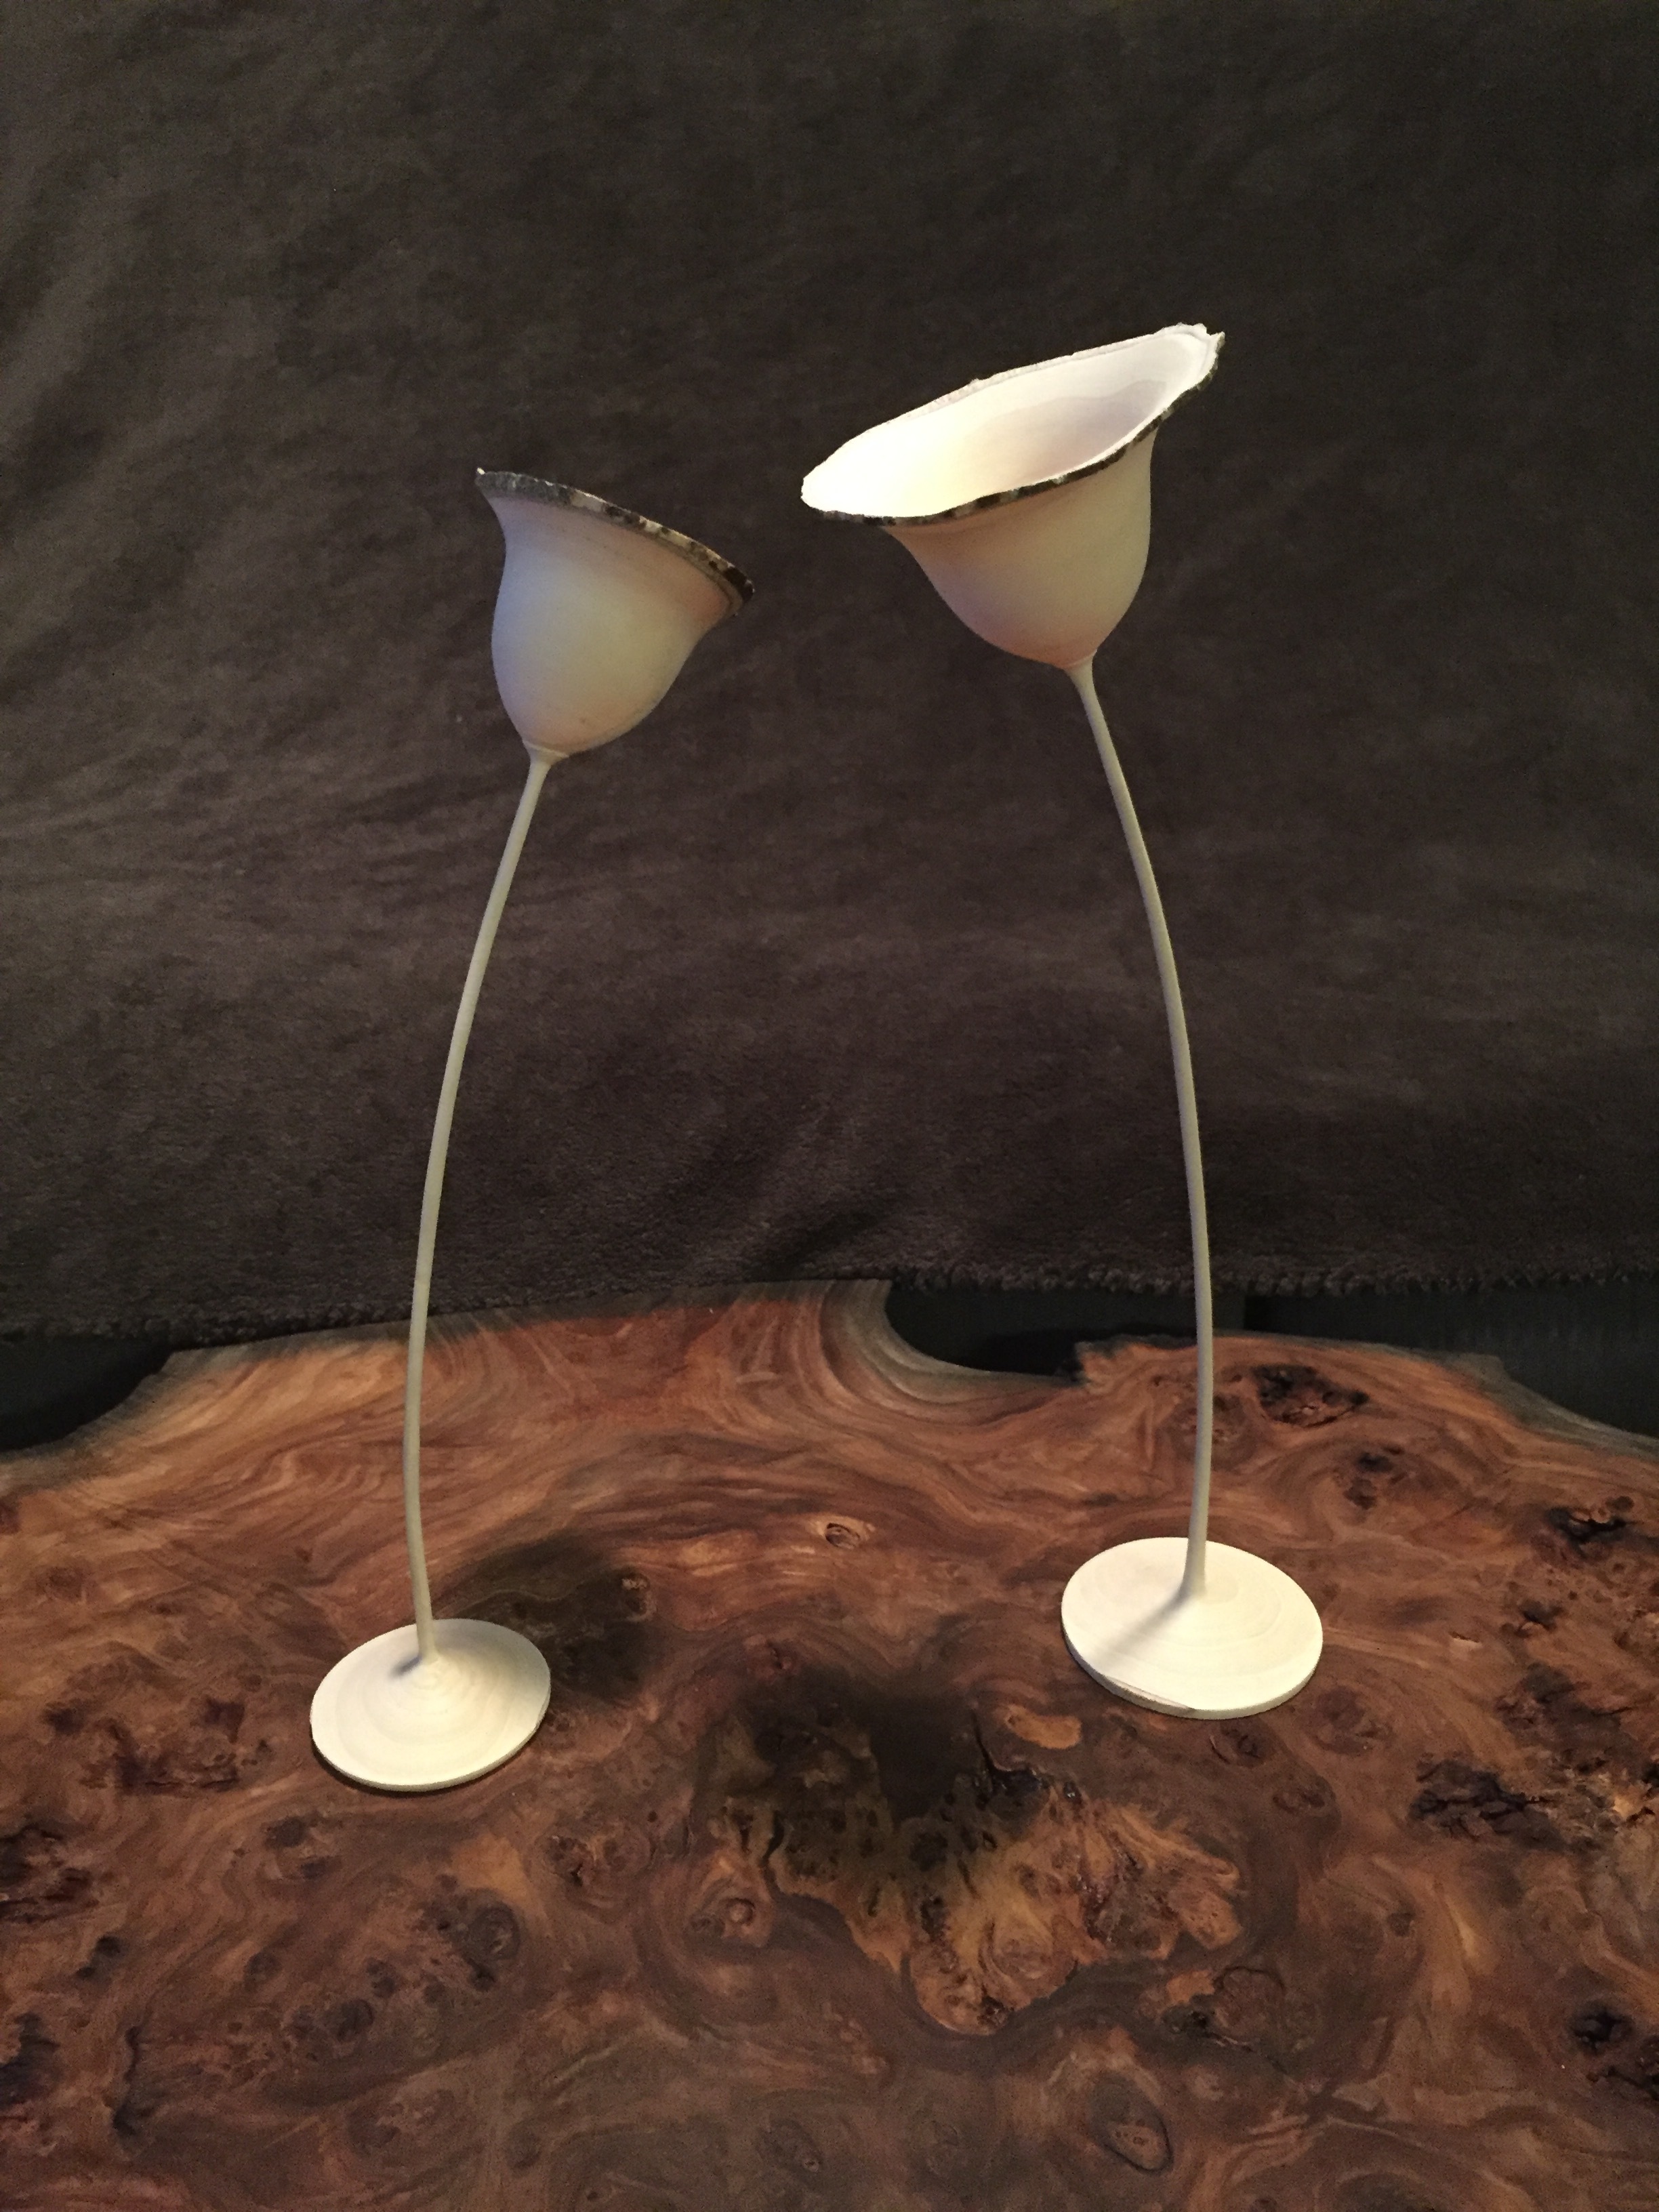
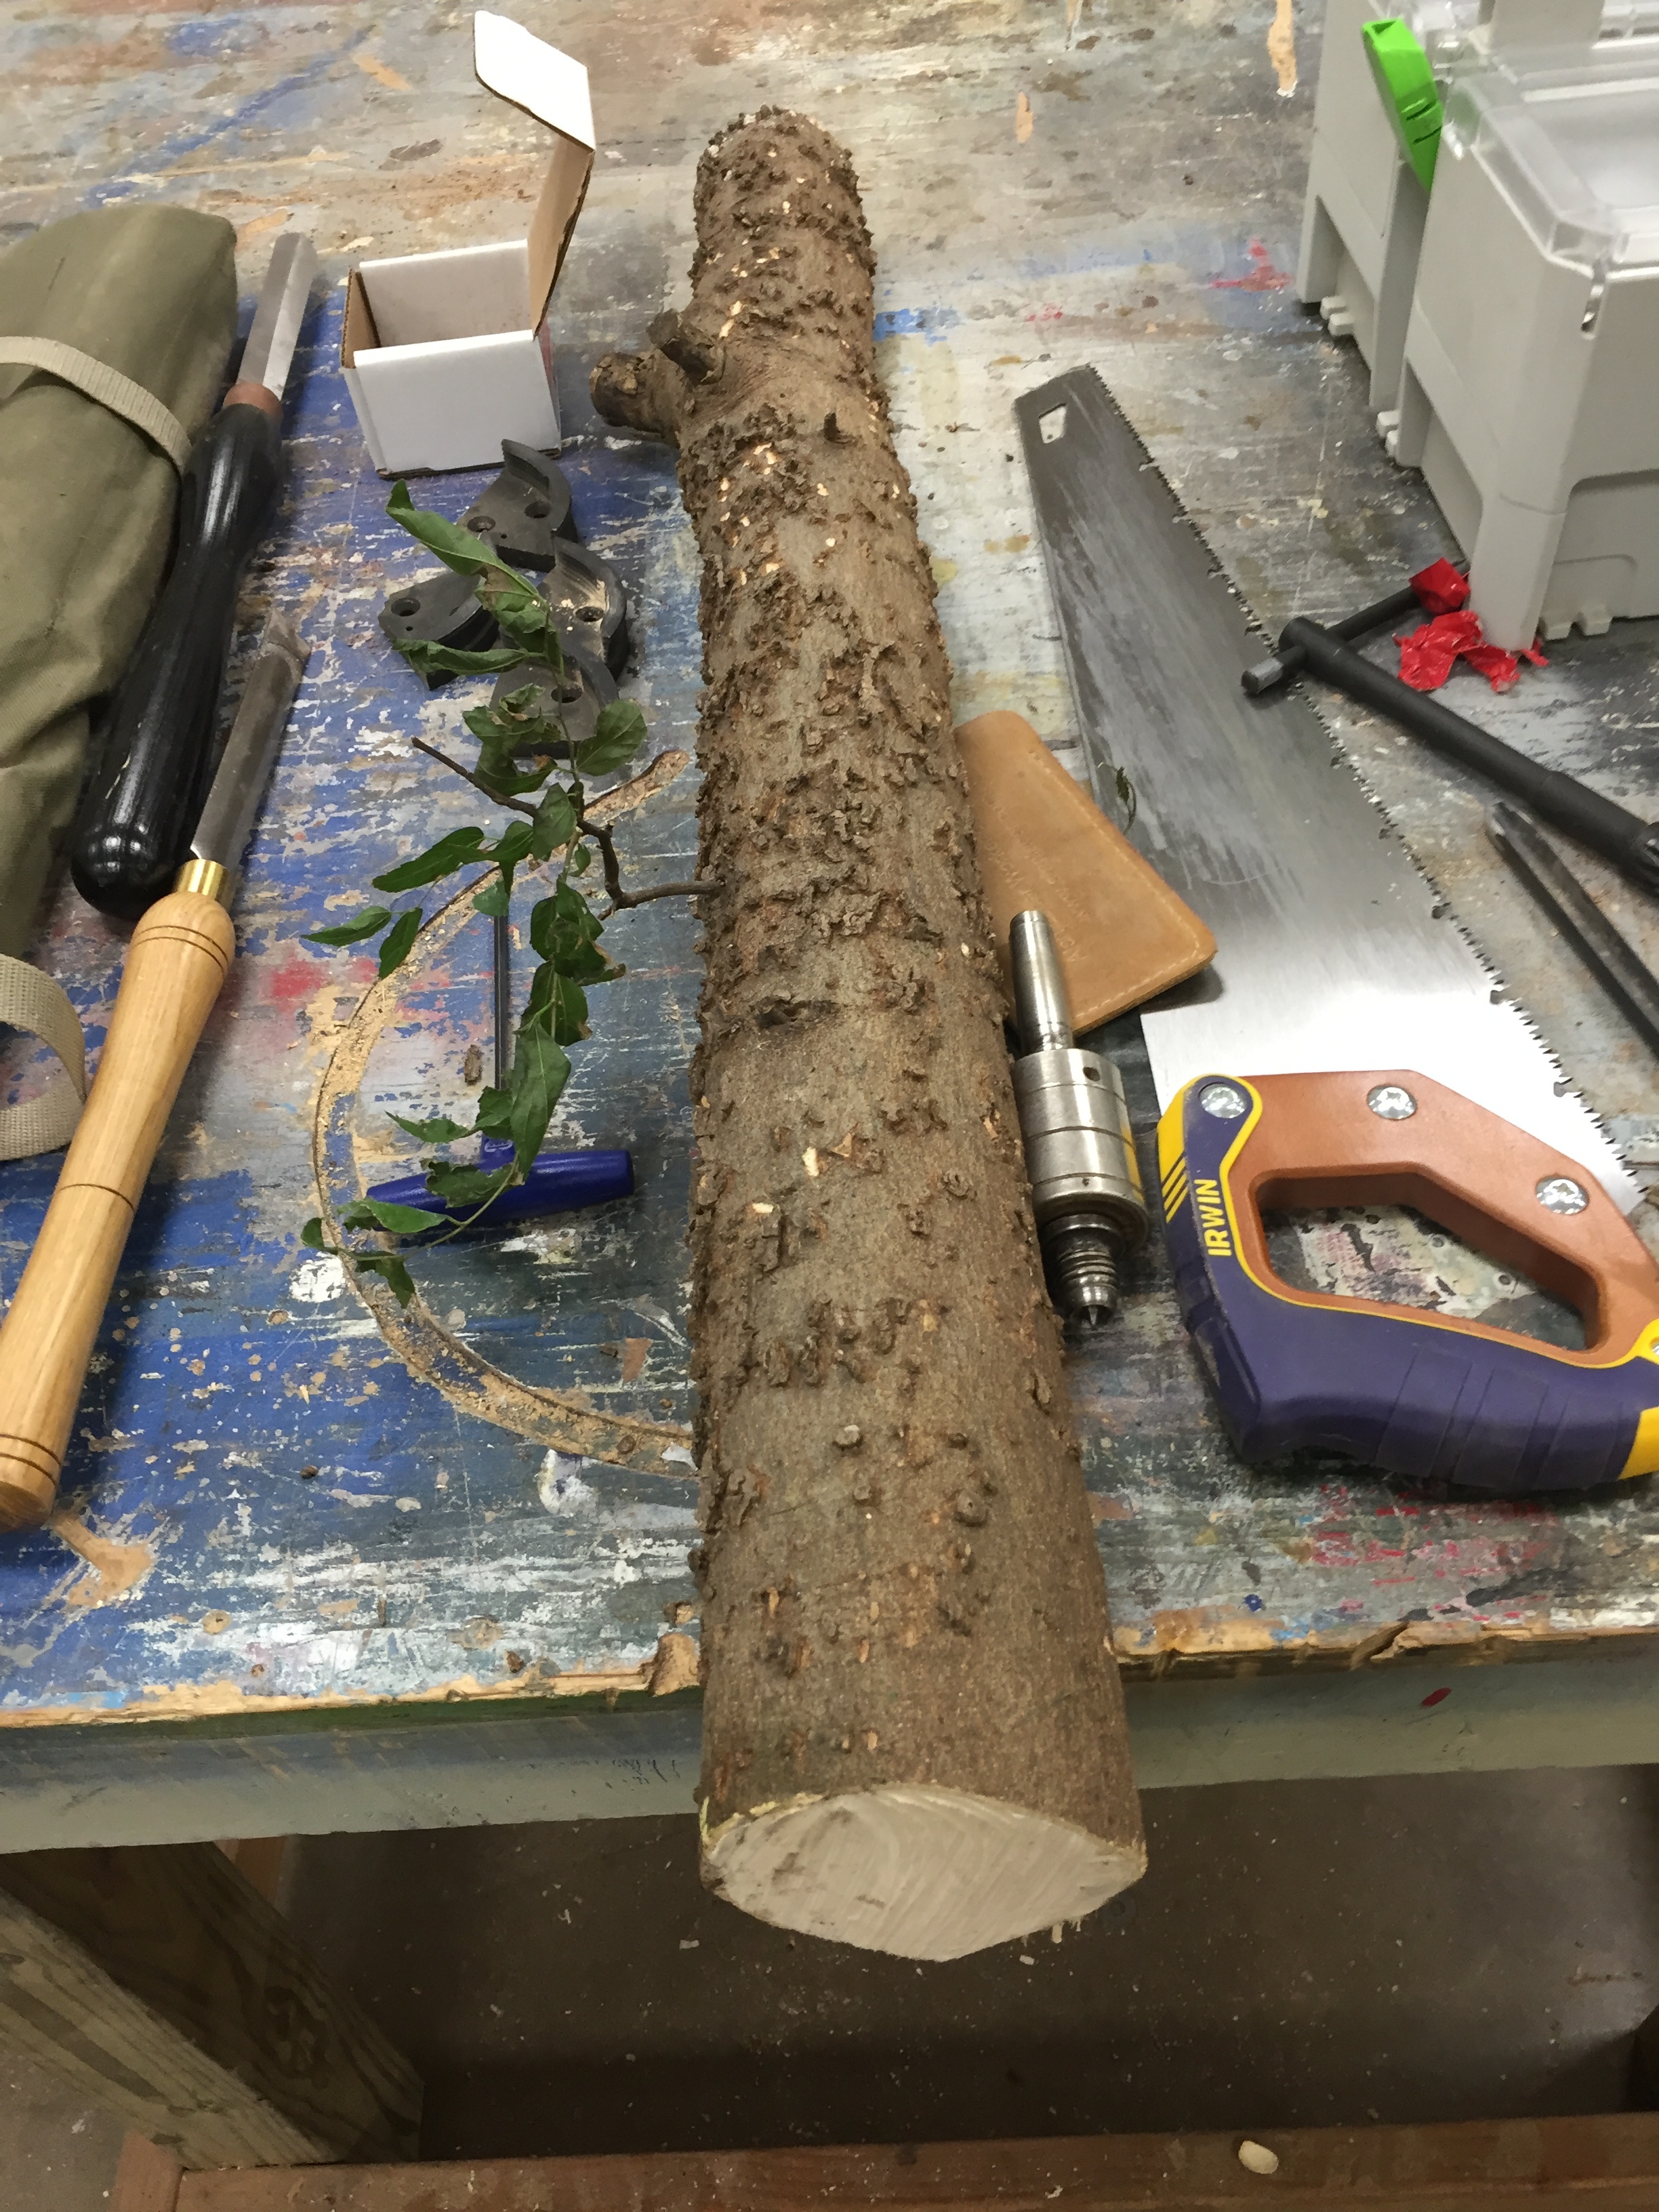
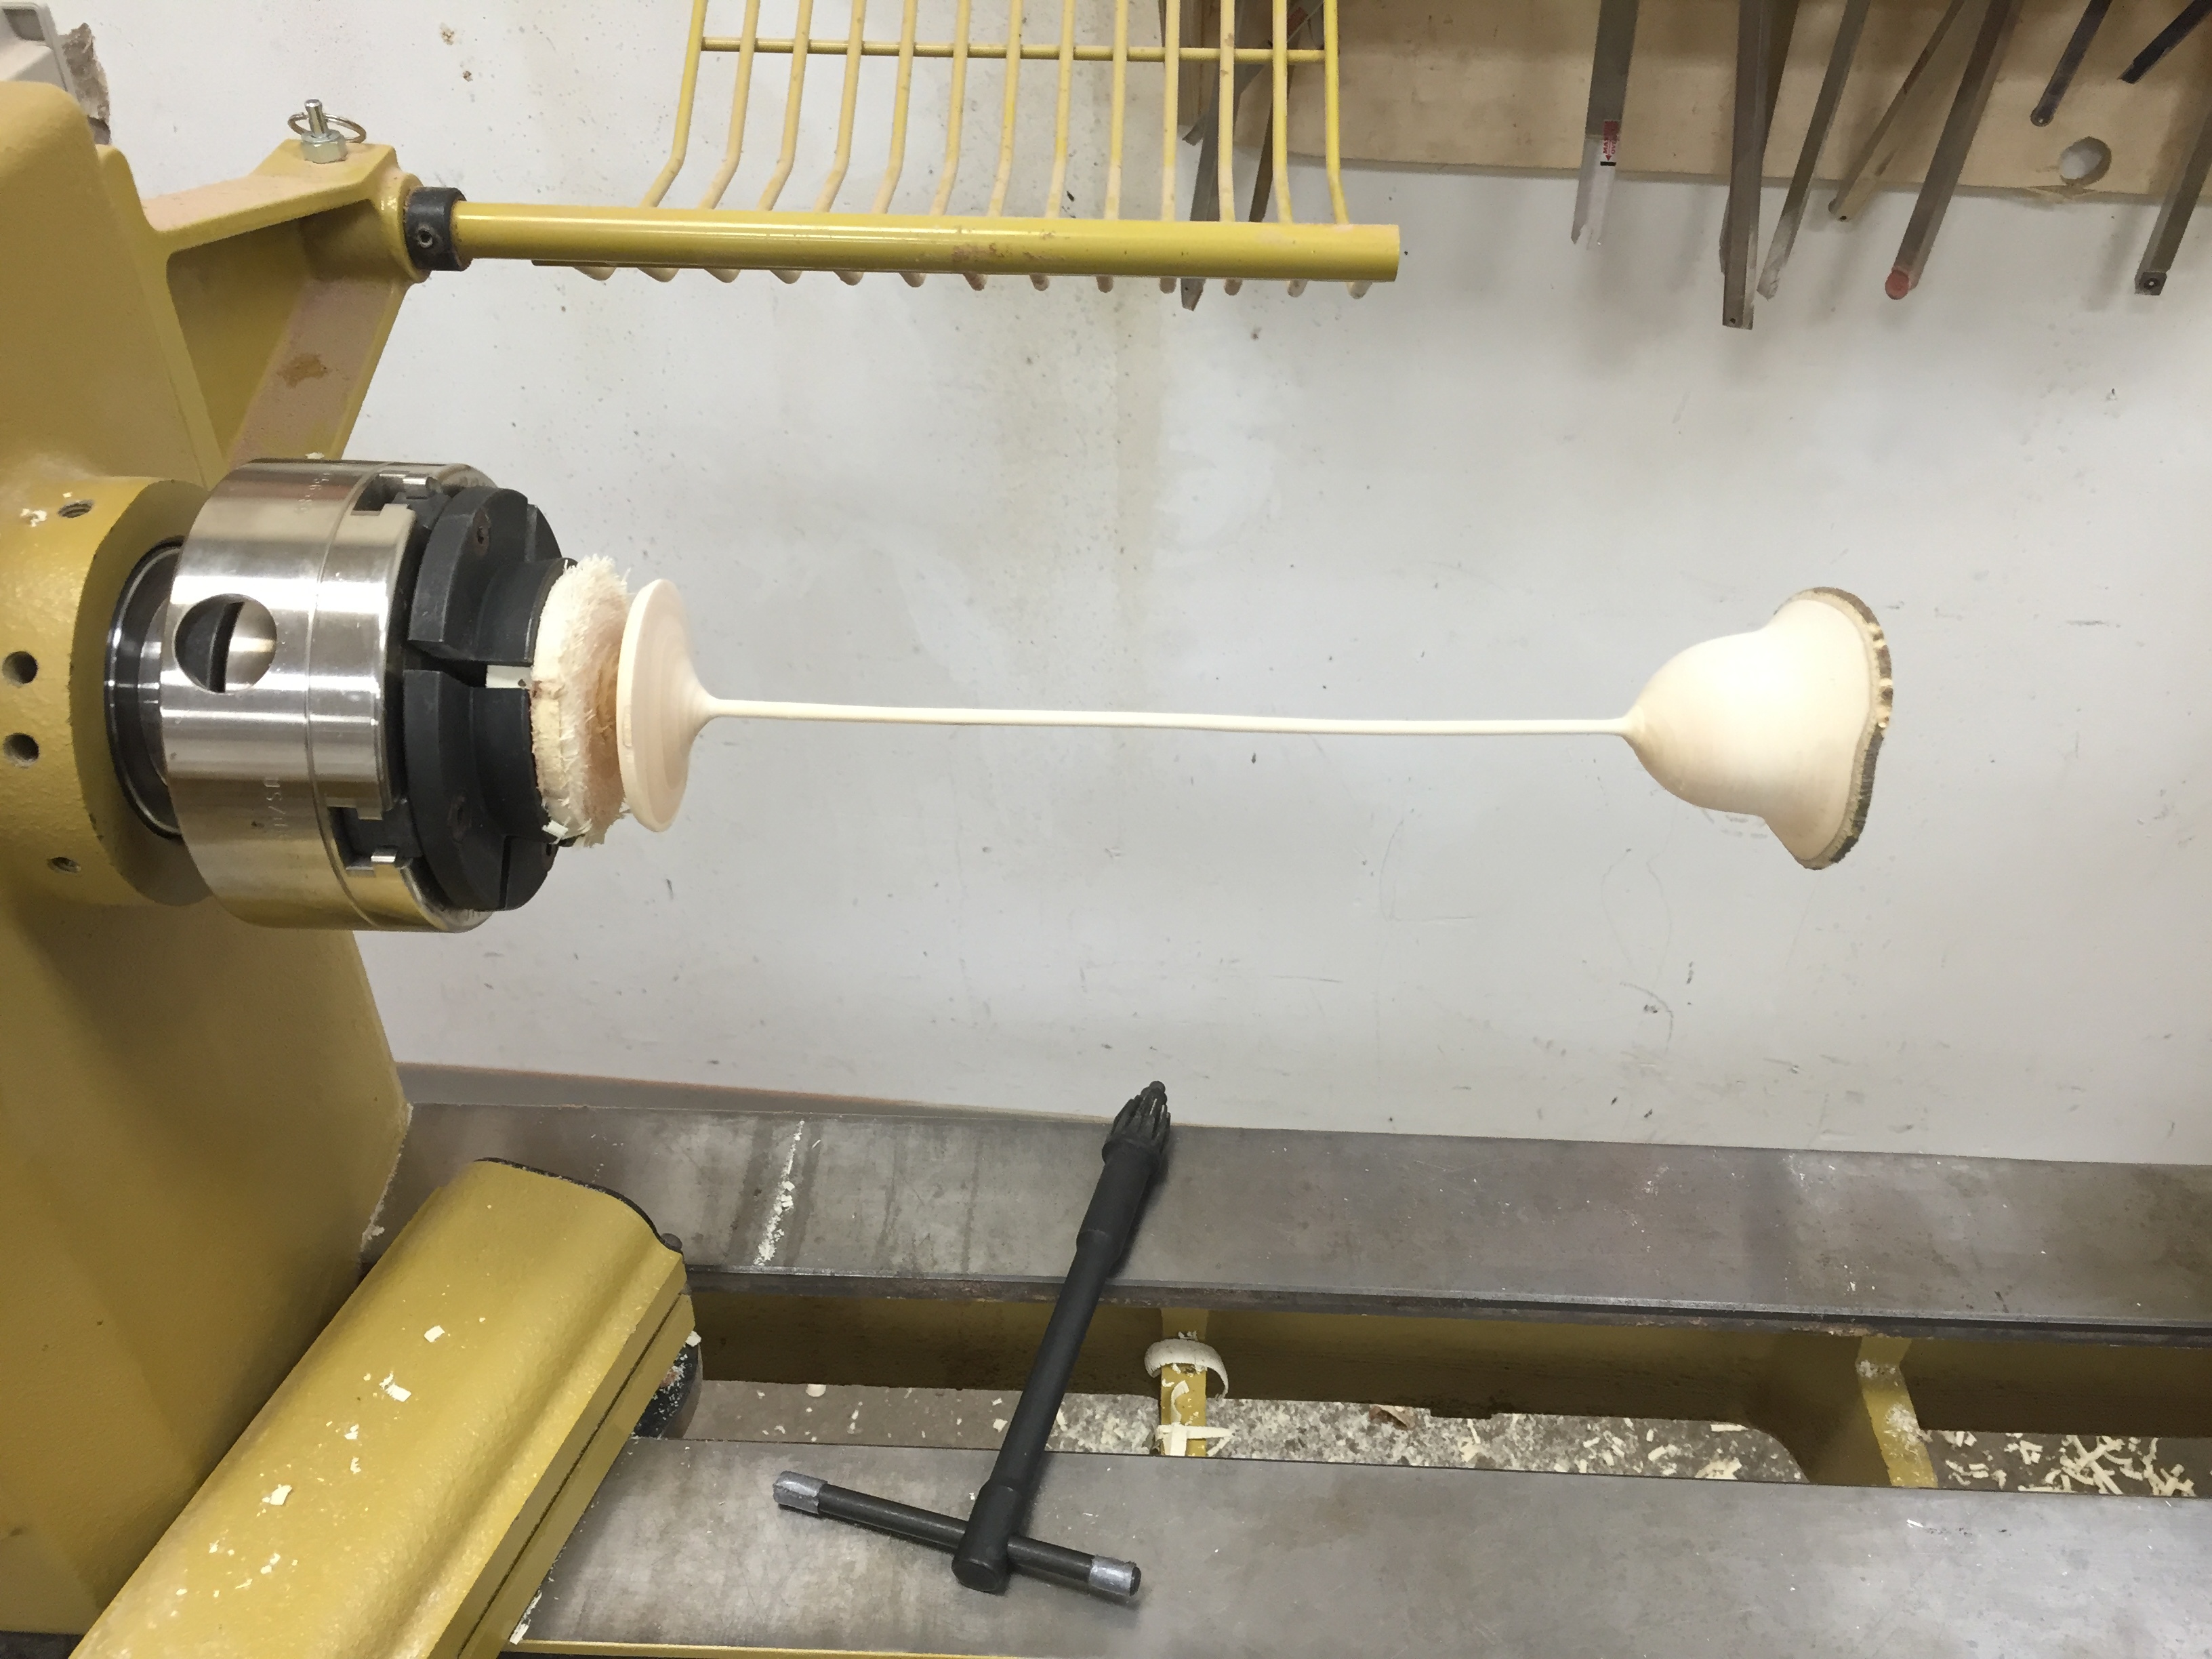
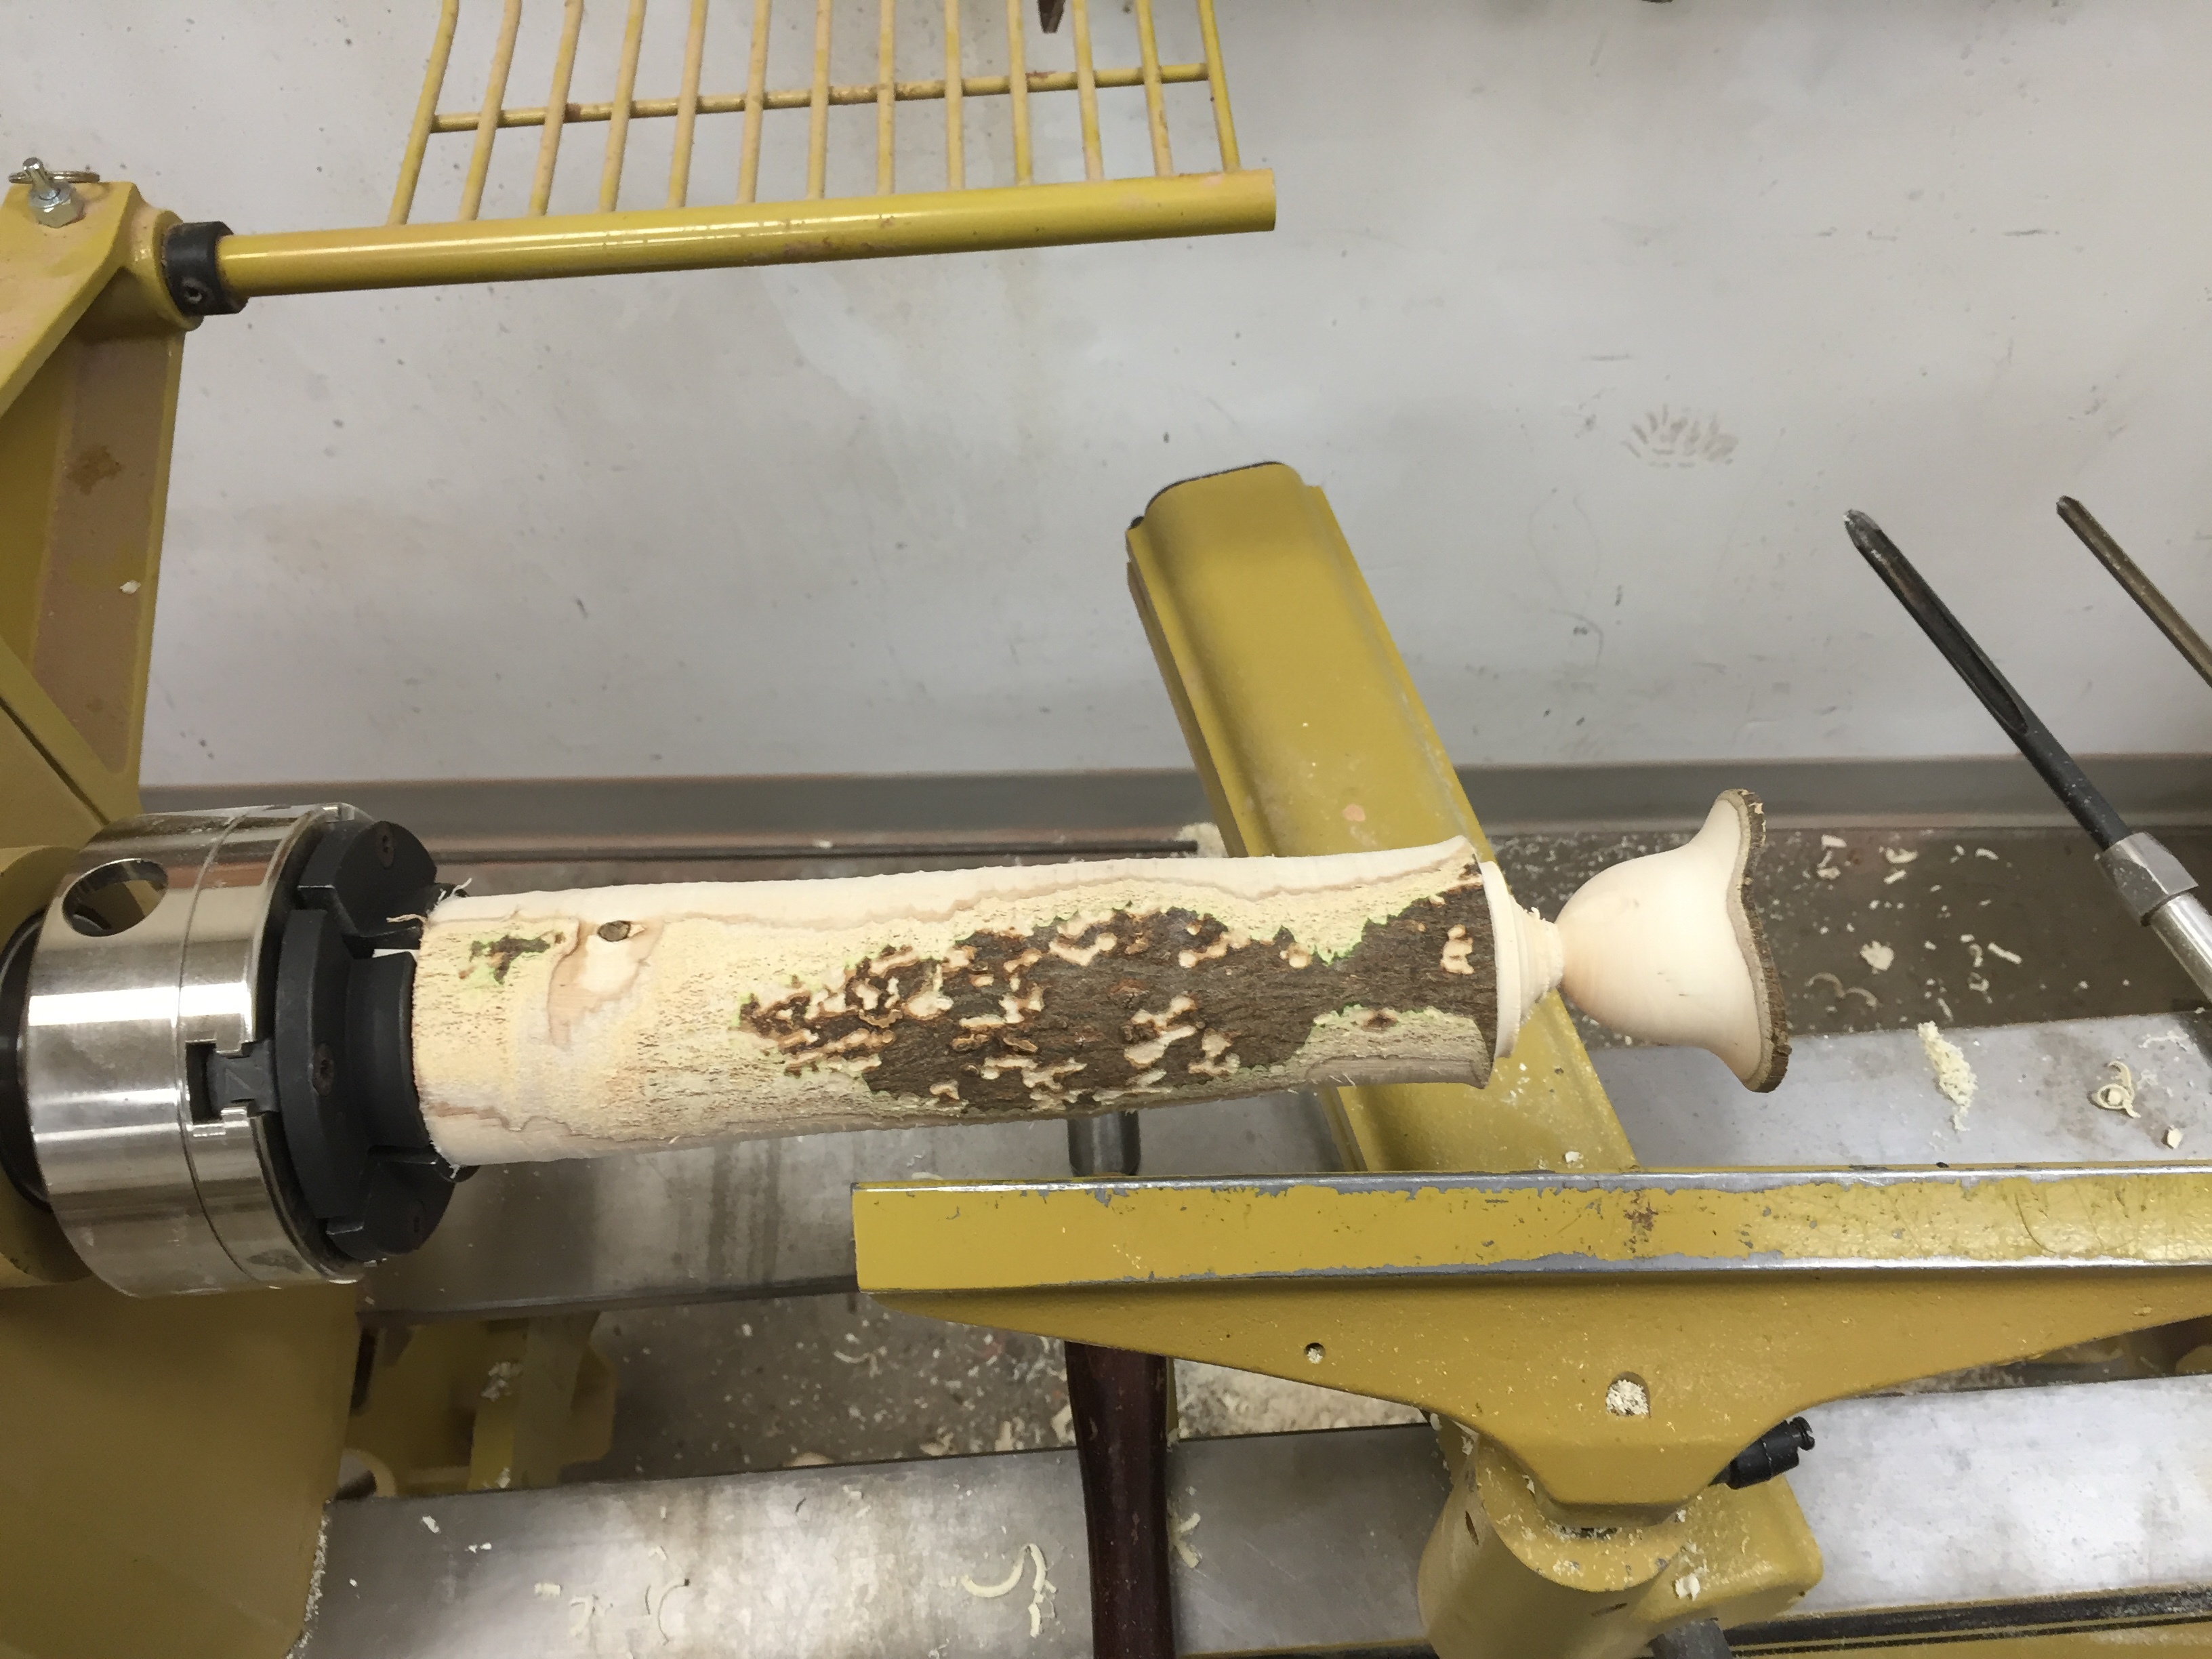
Made a couple of lathe turned flowers out of a small hackberry trunk. They warp and twist as they dry giving a very organic look. Lots of fun and great practice.
16 Likes
Congratulations!!!
Congrats James. Love the rings and your new fiance has a beautiful smile. Thanks for sharing.
5 Likes
Ordered a set of steel shim stock to fix the red auto stool, only needed one sheet, so now there is a box in the top of the red machine shop toolbox for anyone to use.
The top of the piston that the seat rests on is tapered and the black seat attachment is just a press fit on there. Someone exceeded the recommended weight limit and drove the piston further into the seat support (causing the black part shown here to expand slightly)
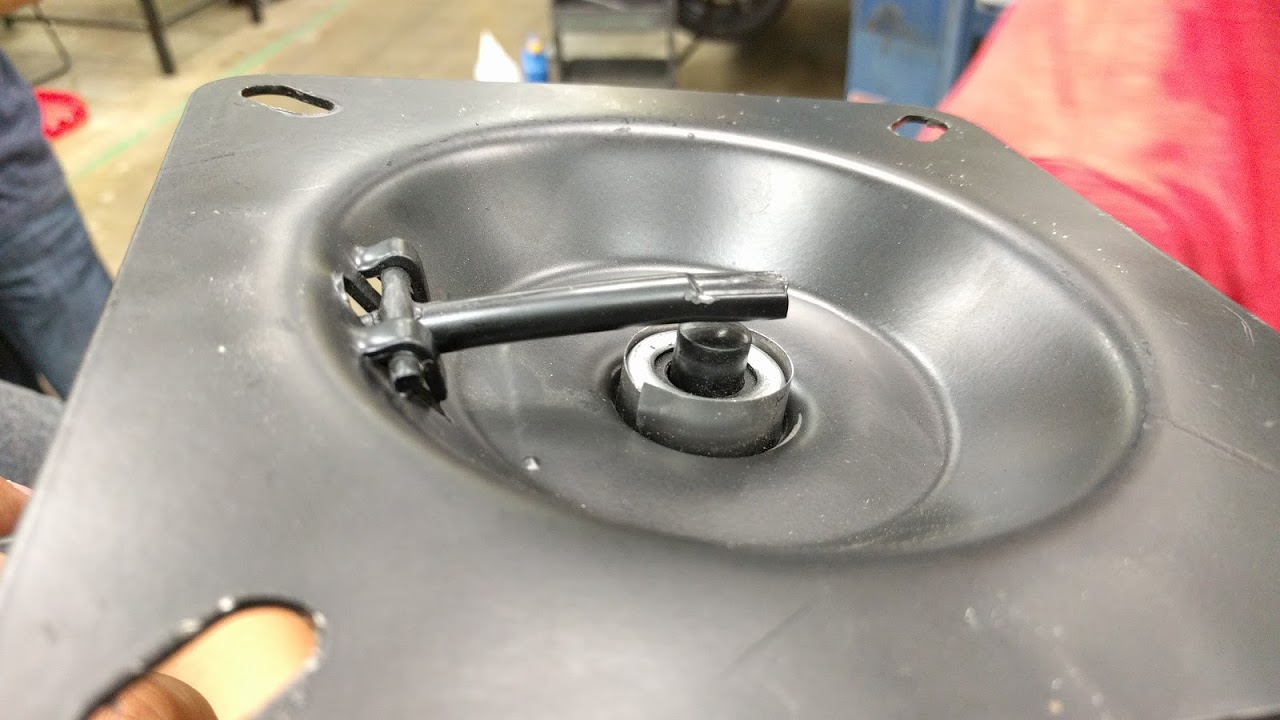
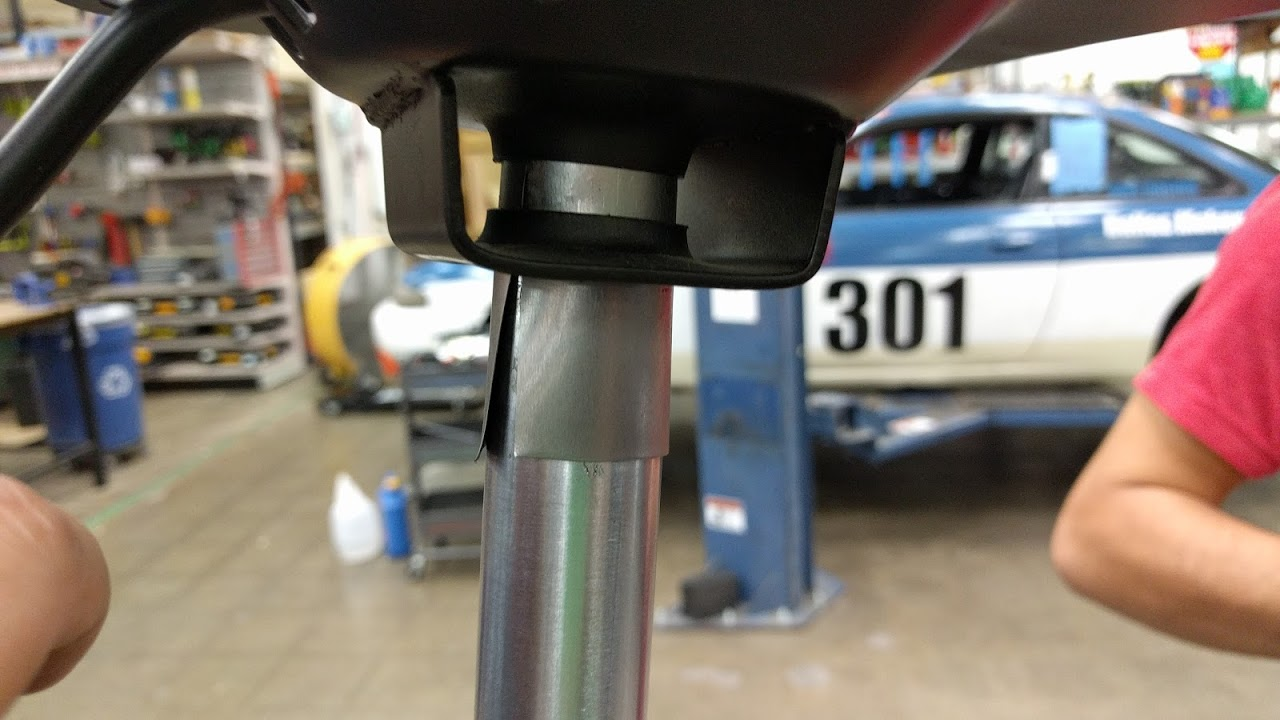
The issue with the piston going up higher is then the button on the top is depressed by the base of the seat itself, so it acted like you were holding the height adjust lever down constantly, and would always sink down to the lowest height when you sat on it. The first attempt to fix it was with an aluminum can, but that got sheared off, hopefully the .007" steel shim does better
3 Likes
Got a better hex, torx, pick sets for auto toolbox, slowly replacing our harbor freight sourced tools

6 Likes
Replaced the plastic parts on this kershaw link knife. Used mesquite burl for the scales and hard maple for the spacer. Since this is a wedding gift I also electro-etched this wedding logo on the blade.

11 Likes
So, I took the babylock class from @John_Marlow last week and it was great. So as a first project (after some practicing) I embroidered the following polo shirt.
@uglyknees has paid someone to create three different size versions of our logo for members to use with the babylock embroidery machine.
10 Likes
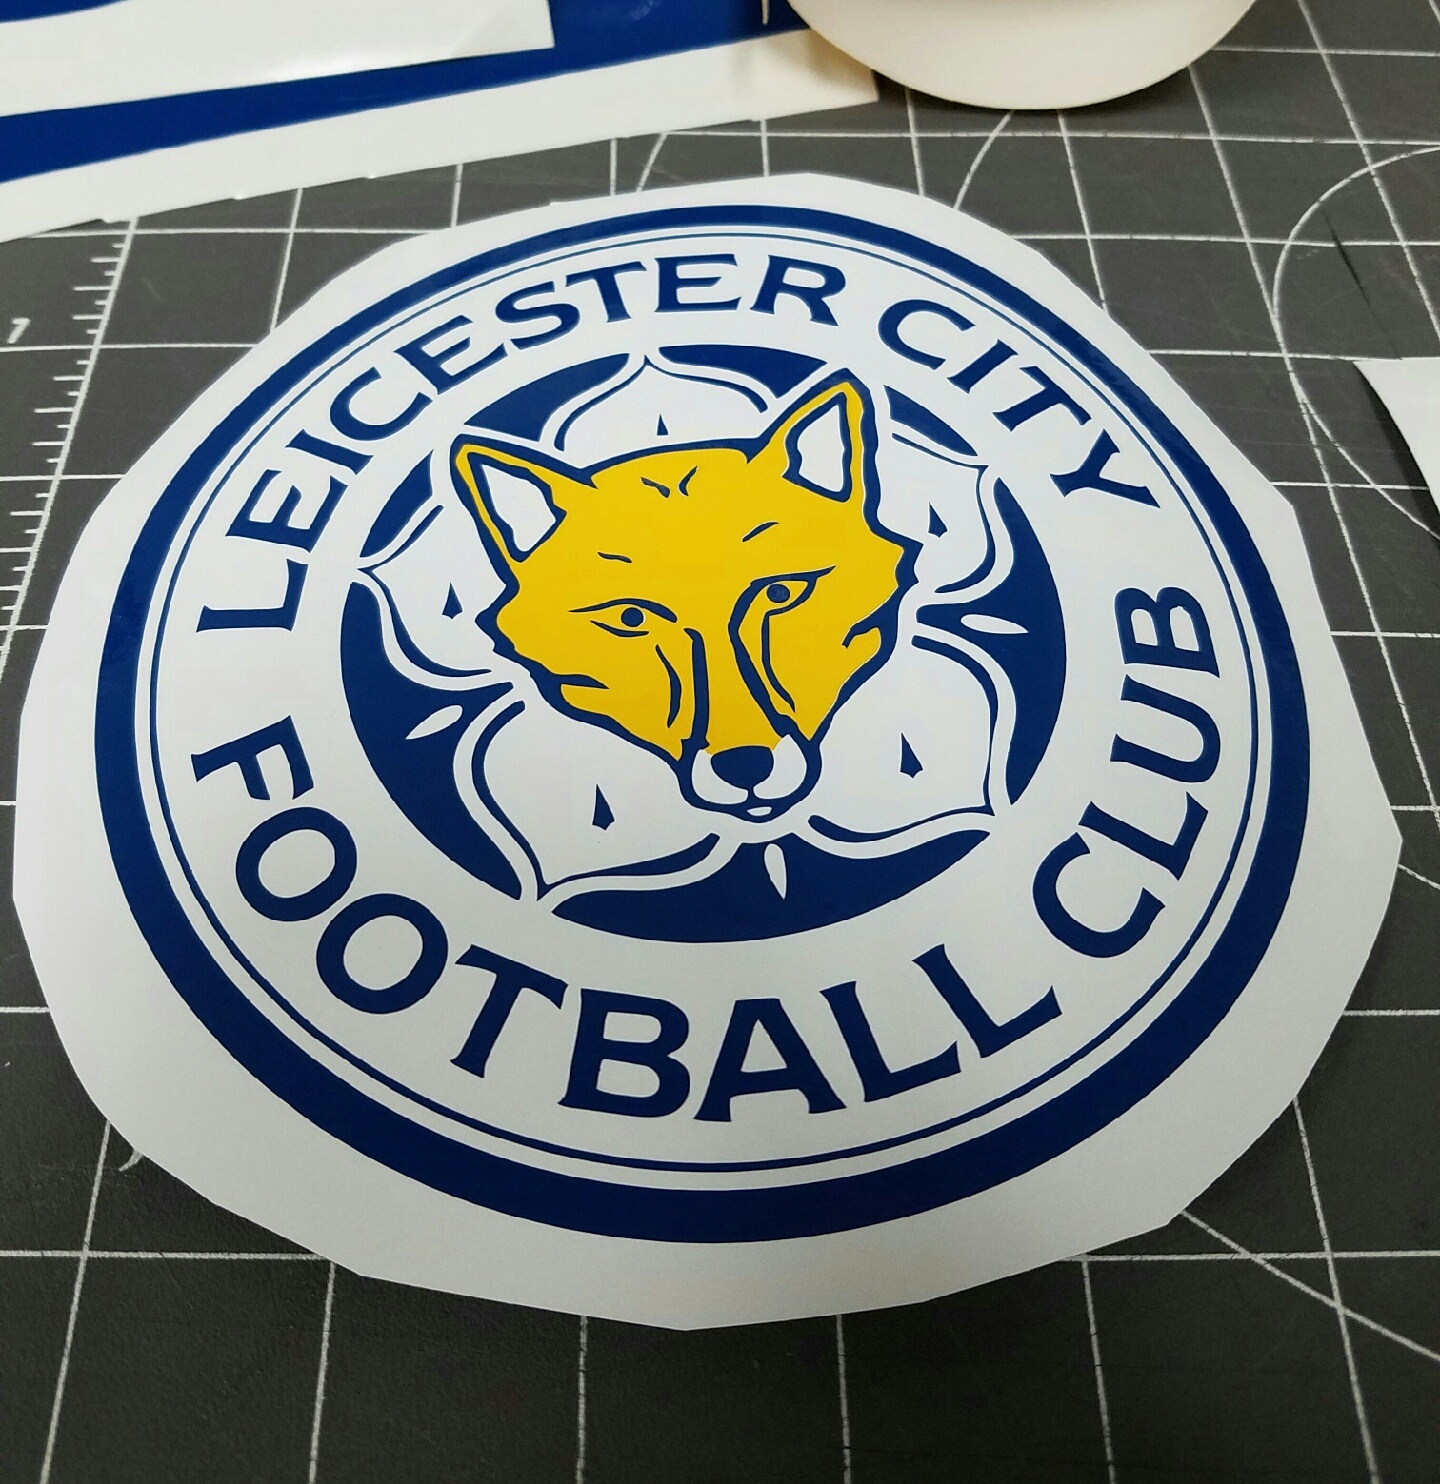
I’m a little late posting (should of been May) but here is a vinyl decal i made for my home teams championship win (and yes, it was a pain in the butt) 
4 Likes
So, the work on the inkle looms for creative arts got my mind contemplating a project for the upcoming election cycle. So I started by weaving bands (made from hemp fiber) in patriotic colors. One for Democrats, with a blue center stripe and held by a blue weft, while the other is for the Republicans with a red center stripe with a red weft. Below is a close-up of the Republican band being woven.
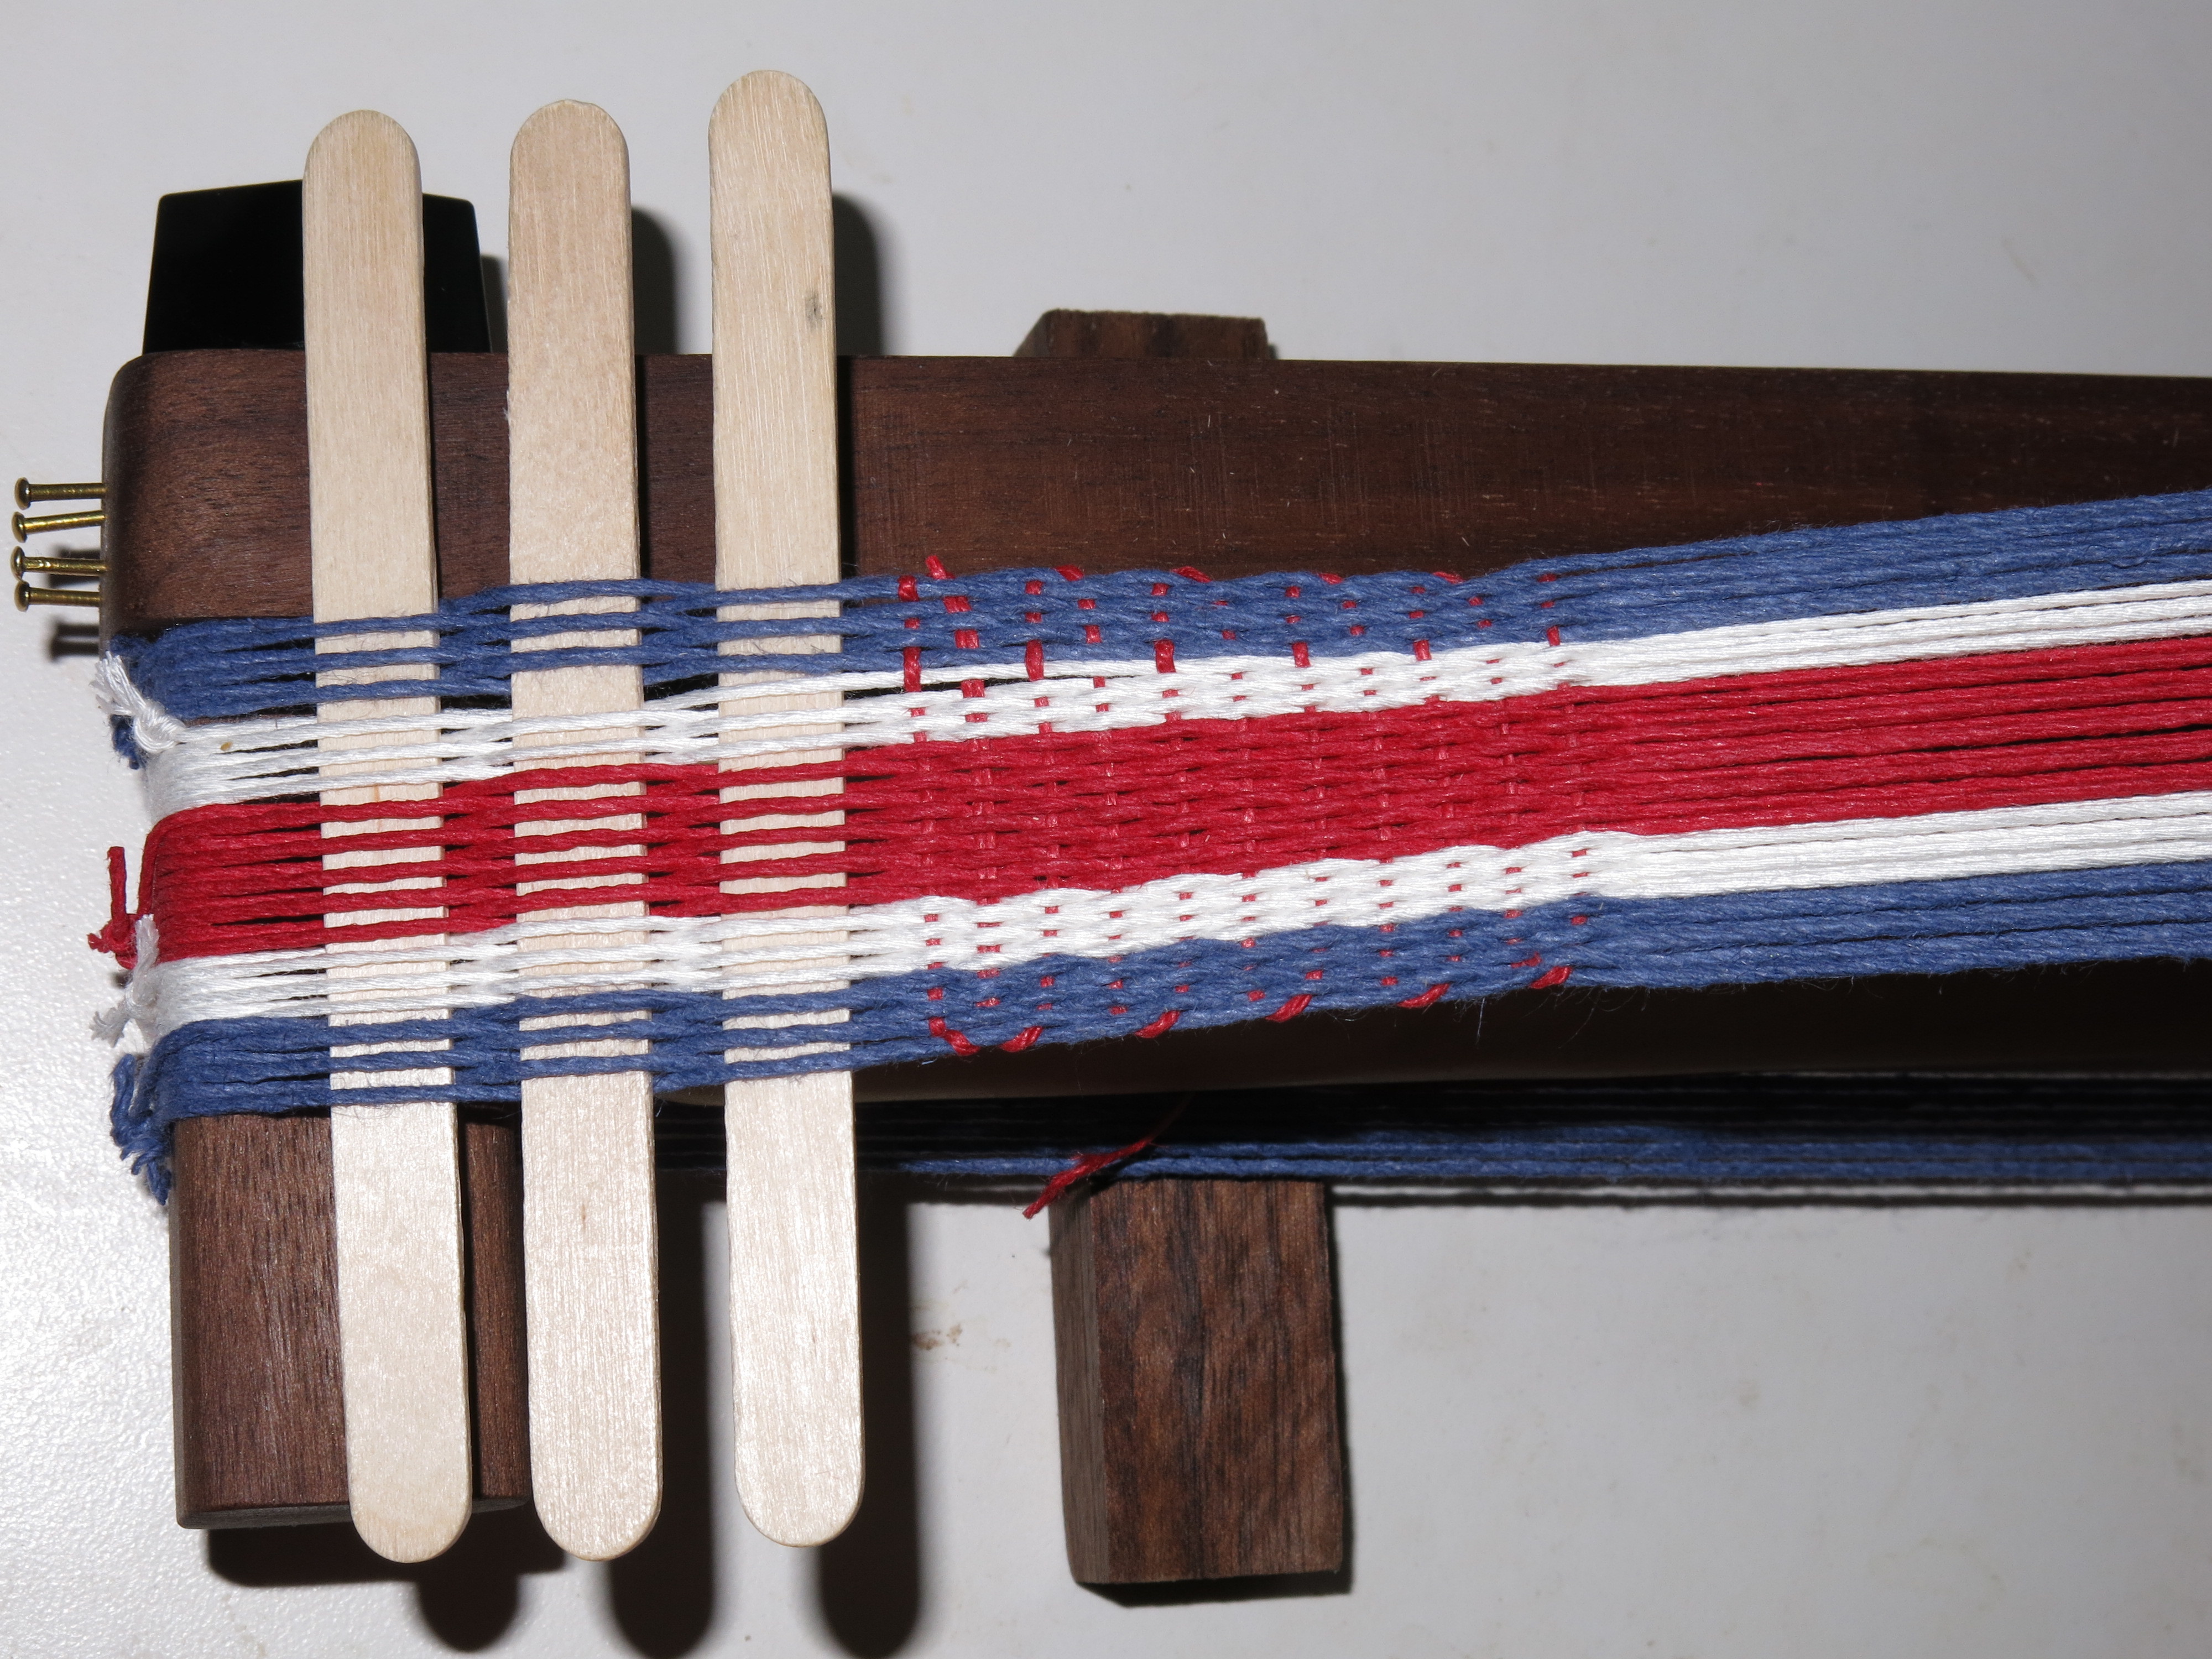
I then decided to create a pair of buttons to attach the ribbons too. Again one for Democrats (on the right), and the other for Republican’s (on the left), where each button illustrates a bit of their parties platform (informal) that imposes on the citizenry. Sorry for the political element to the post, please ignore if it offends, but I thought the resulting project was kind of neat.
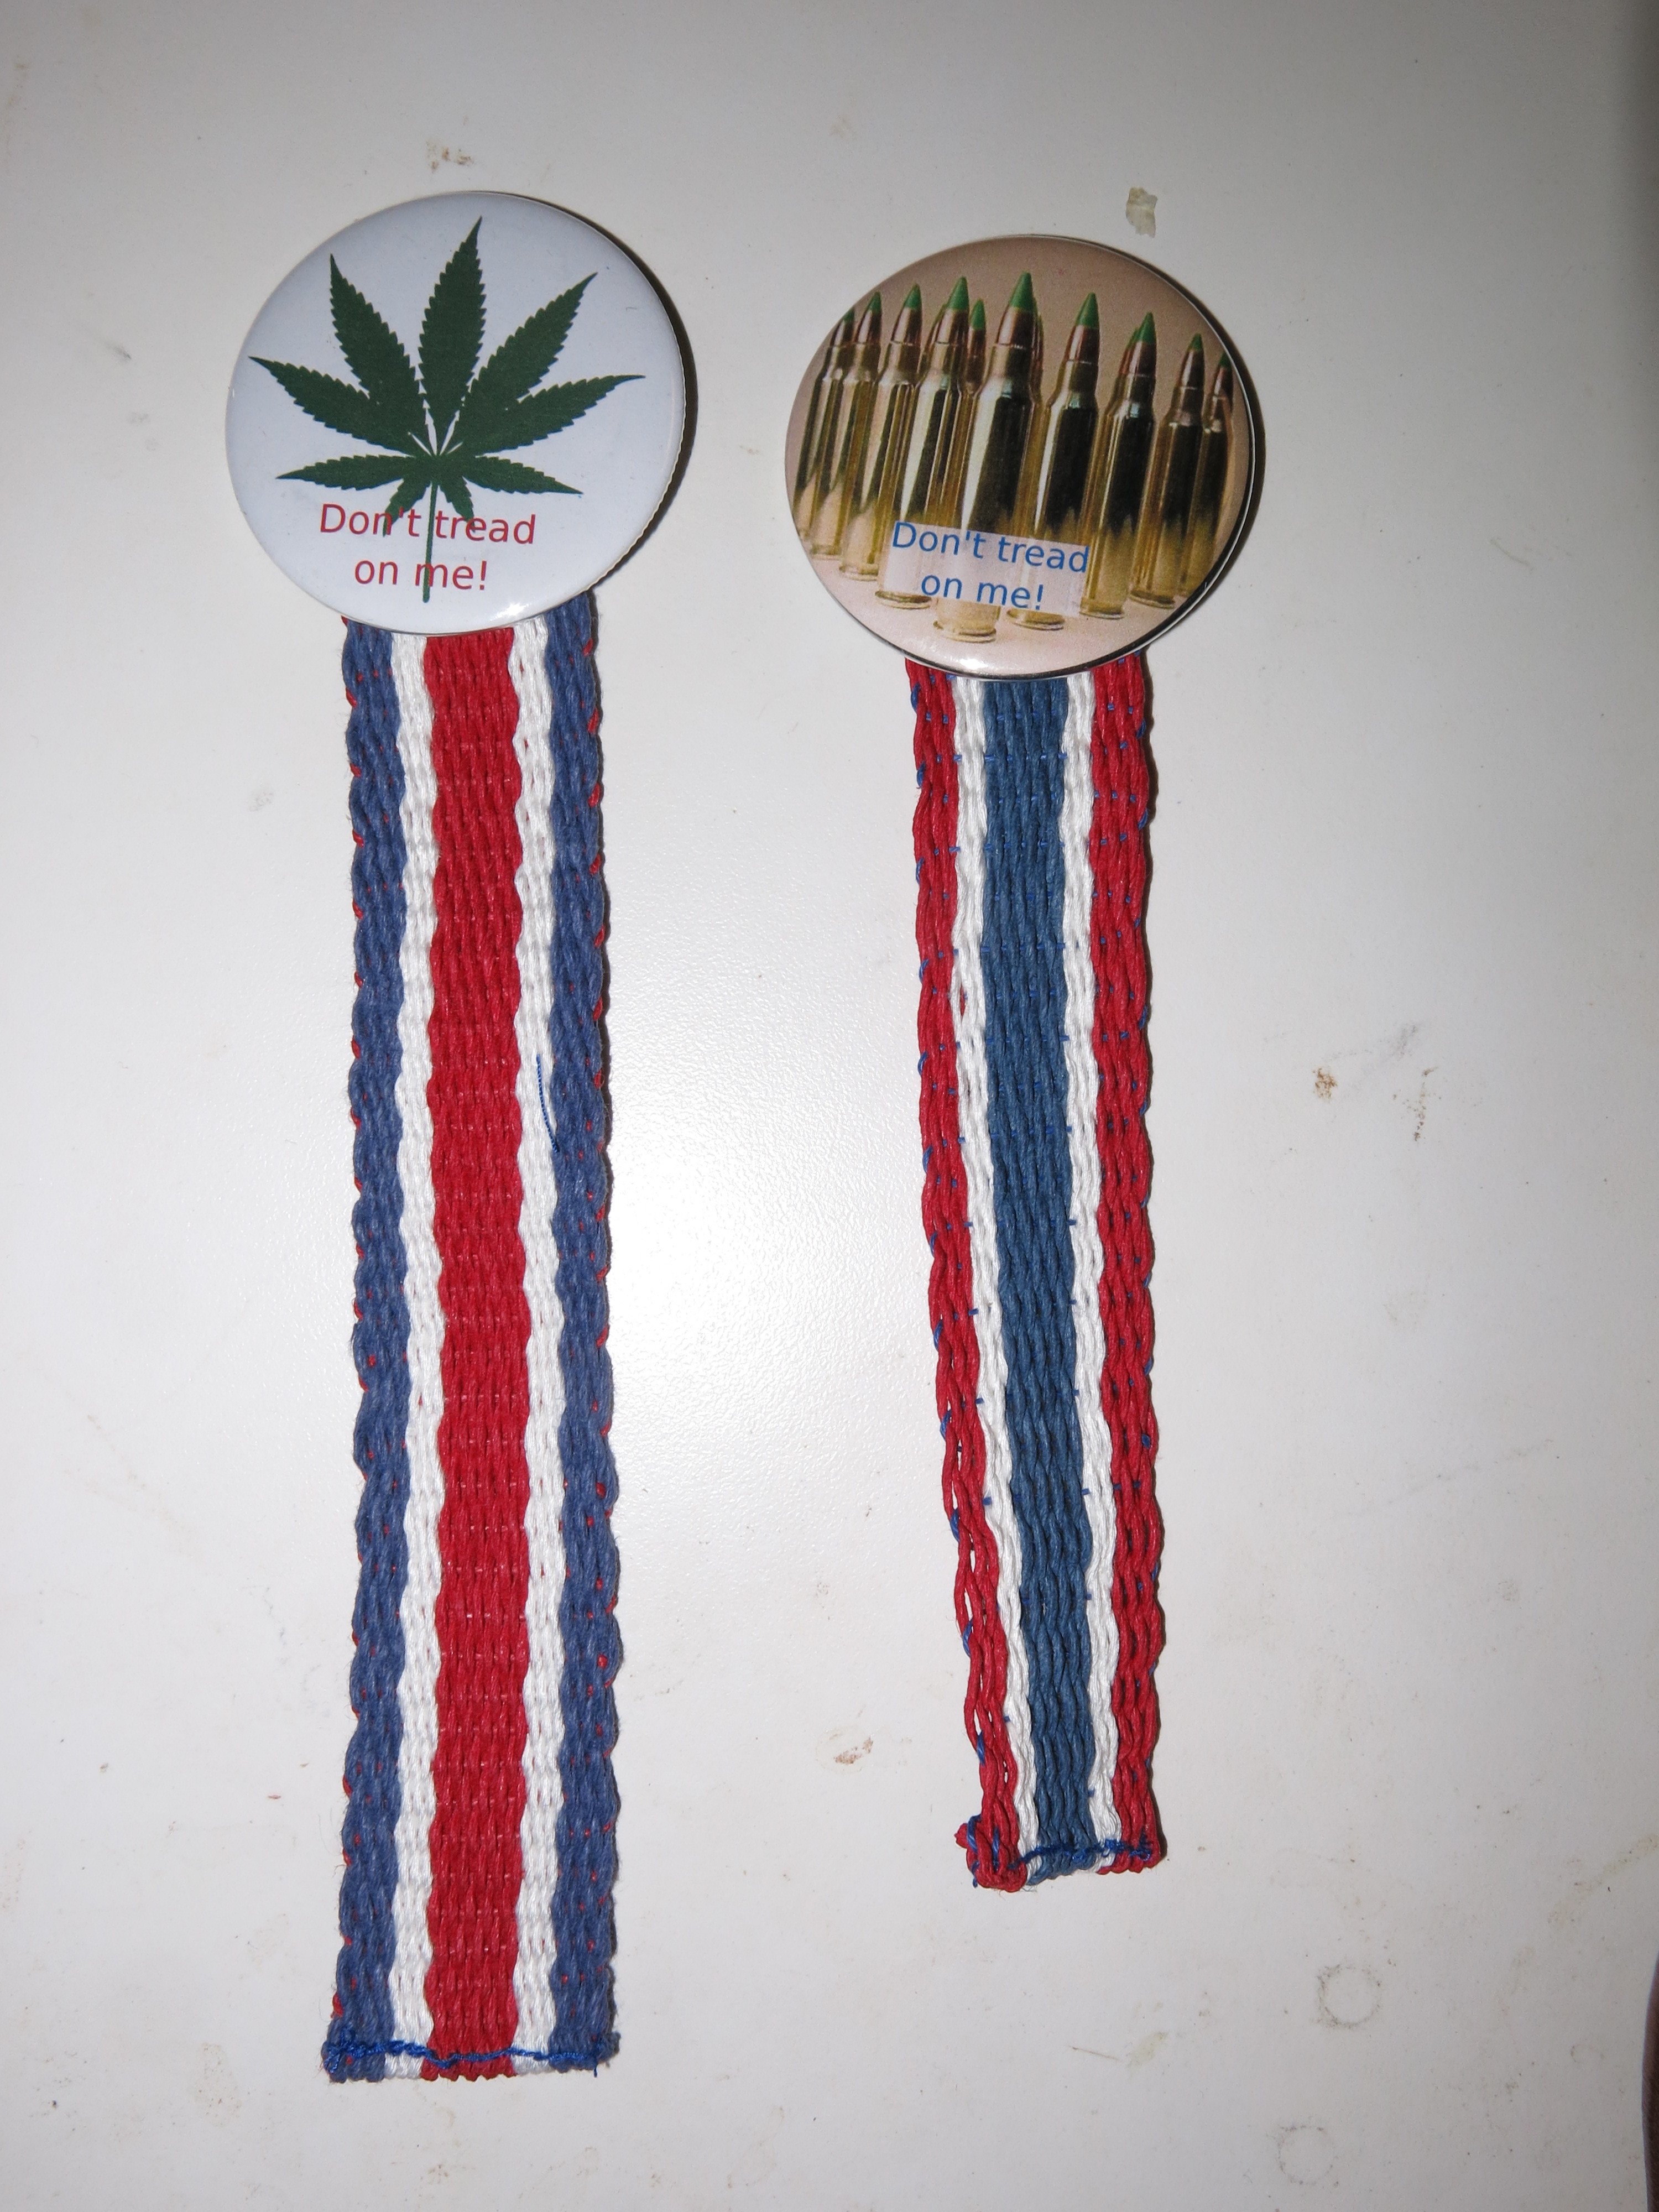
By the way, the hemp fiber was grown in China…
4 Likes
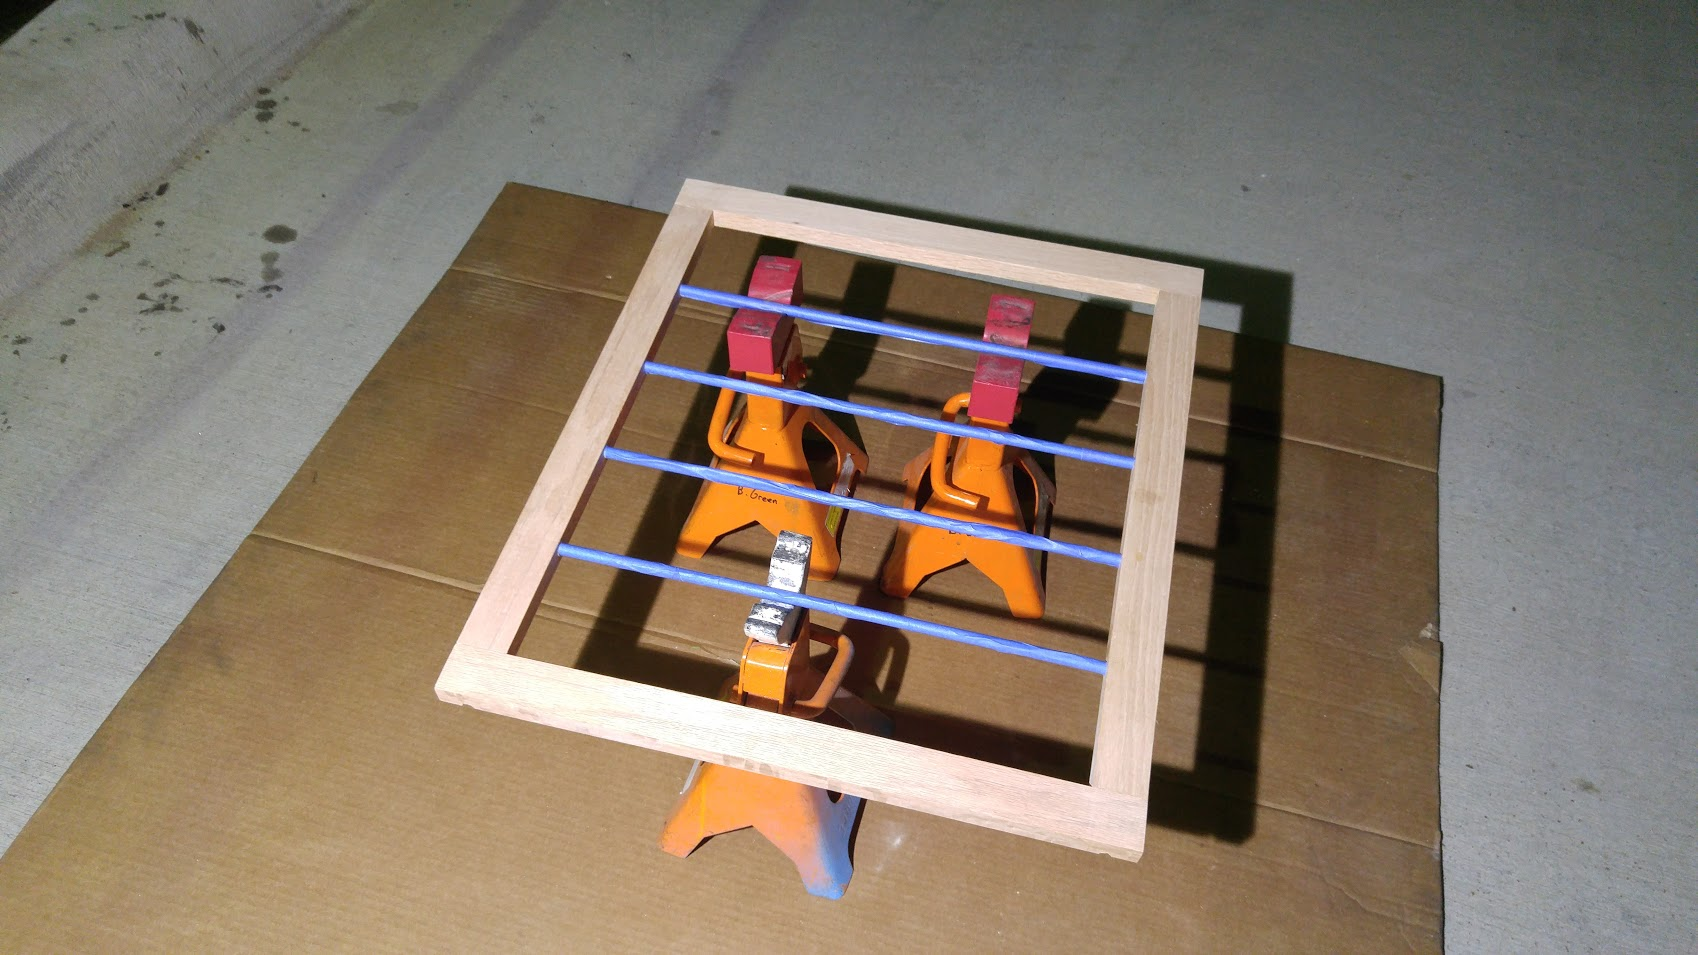
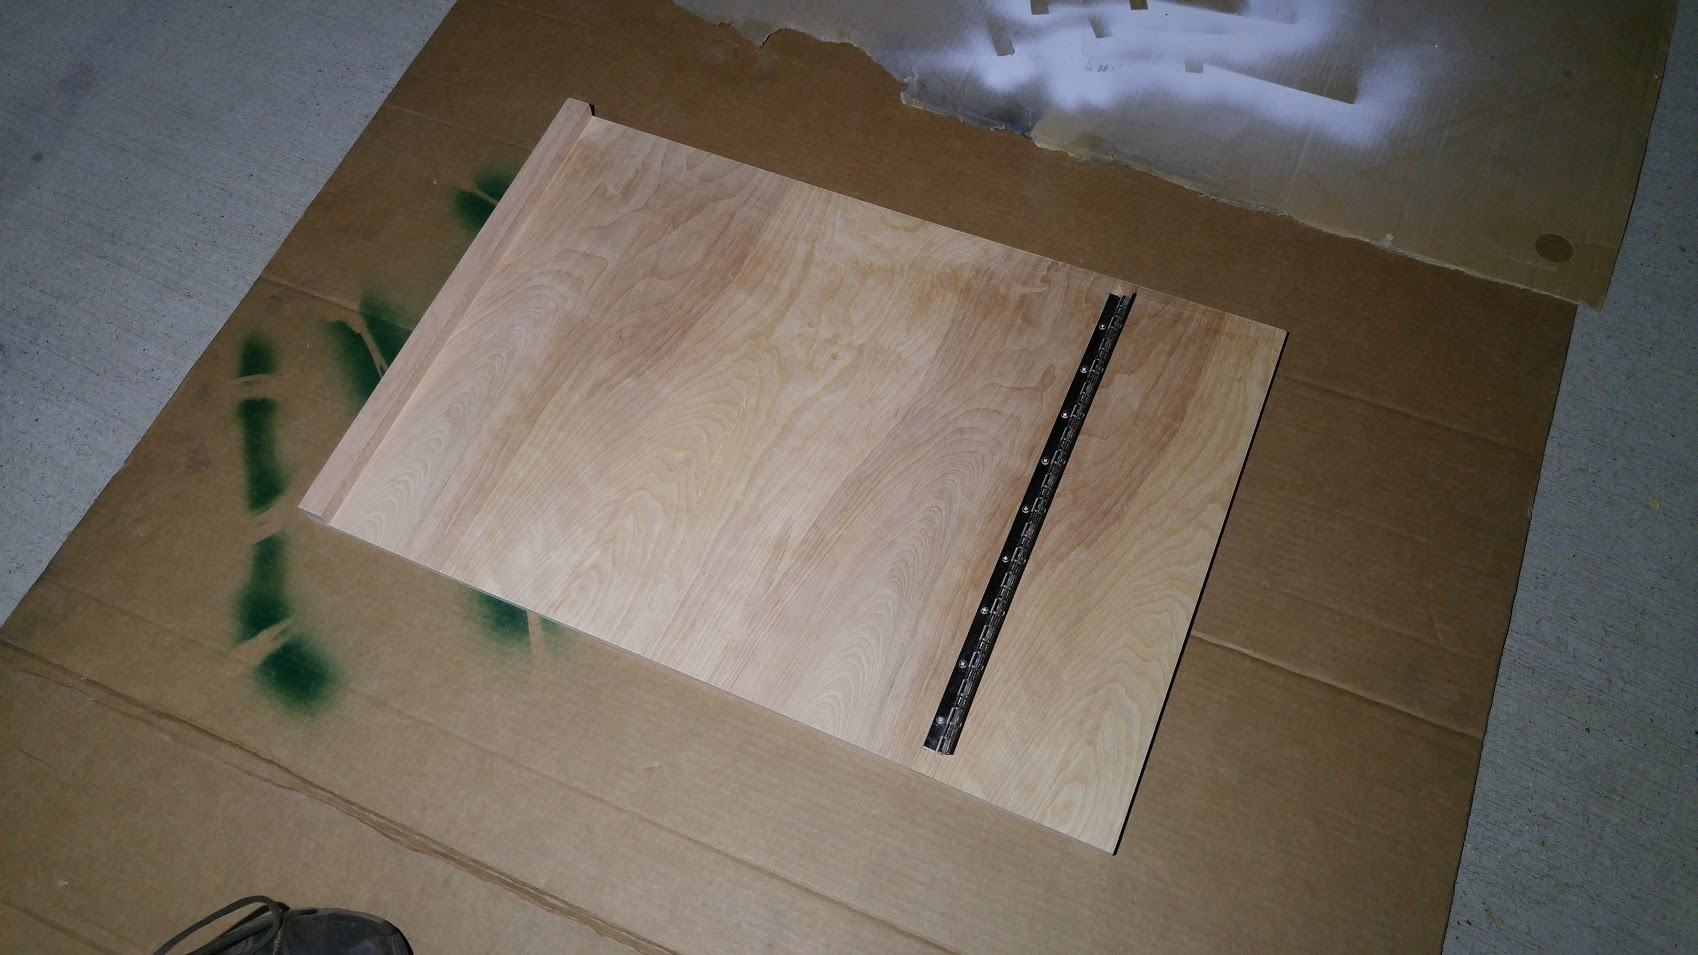
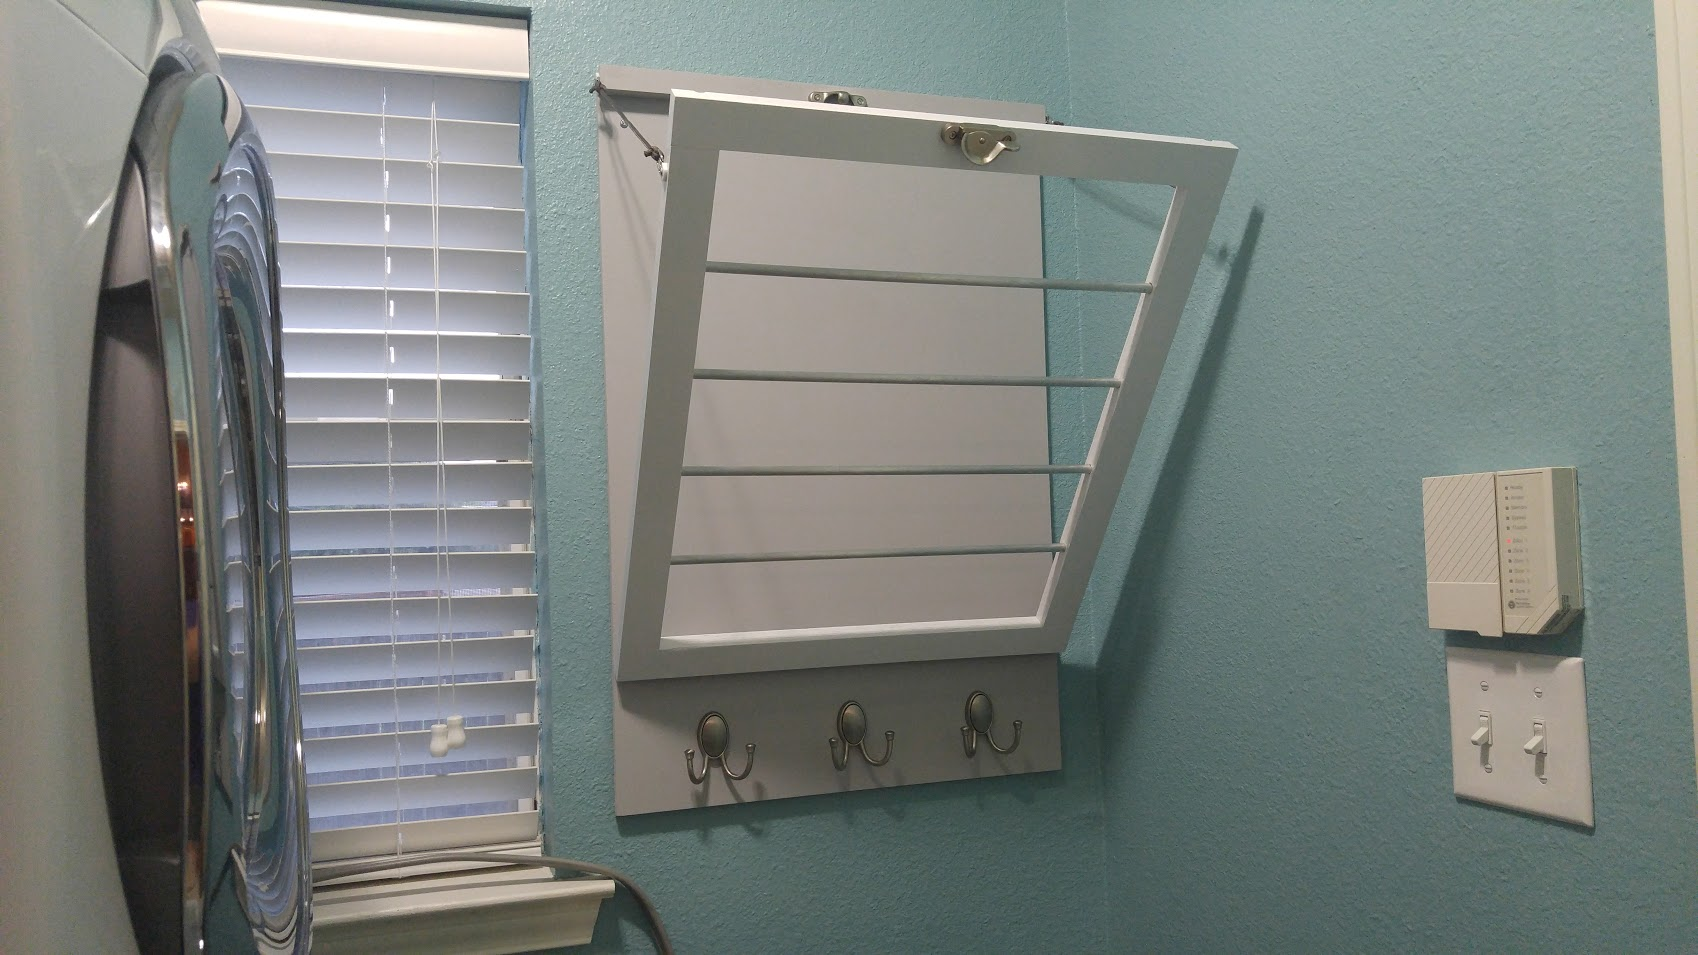
We recently reorganized our teeny tiny laundry room to use the space more efficiently. One of the things I wanted to add was a wall-mounted laundry drying rack, but I didn’t want to pay over $100 for it, so we built one!
Here’s most of the supplies… we had cut a few boards before I remembered to take pics
Aluminum rods in, frame screwed together, wood glue drying
Measure twice, drill once
Pieces ready to paint
Complete!
14 Likes
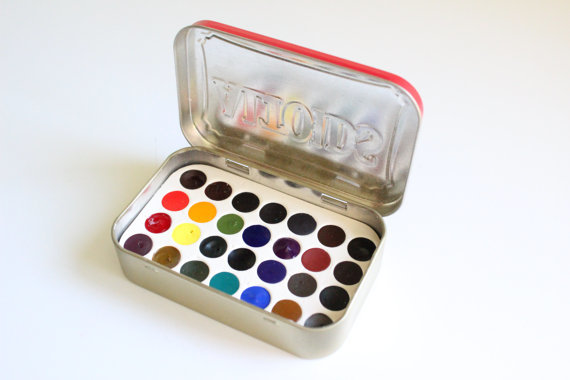
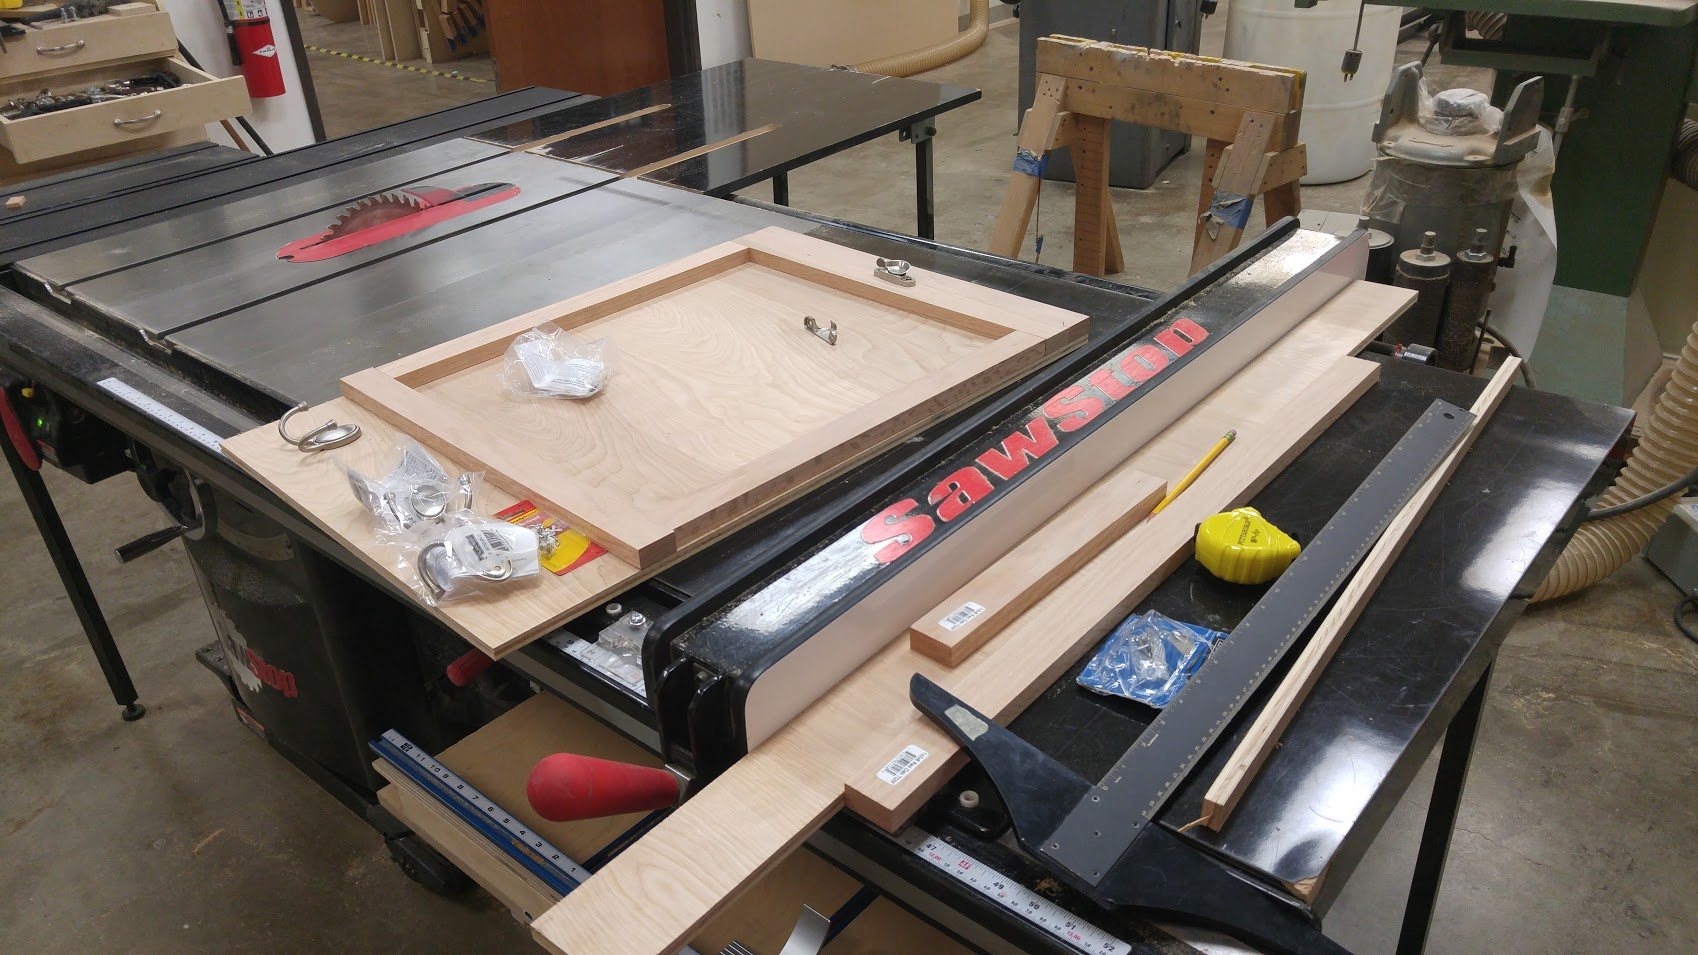
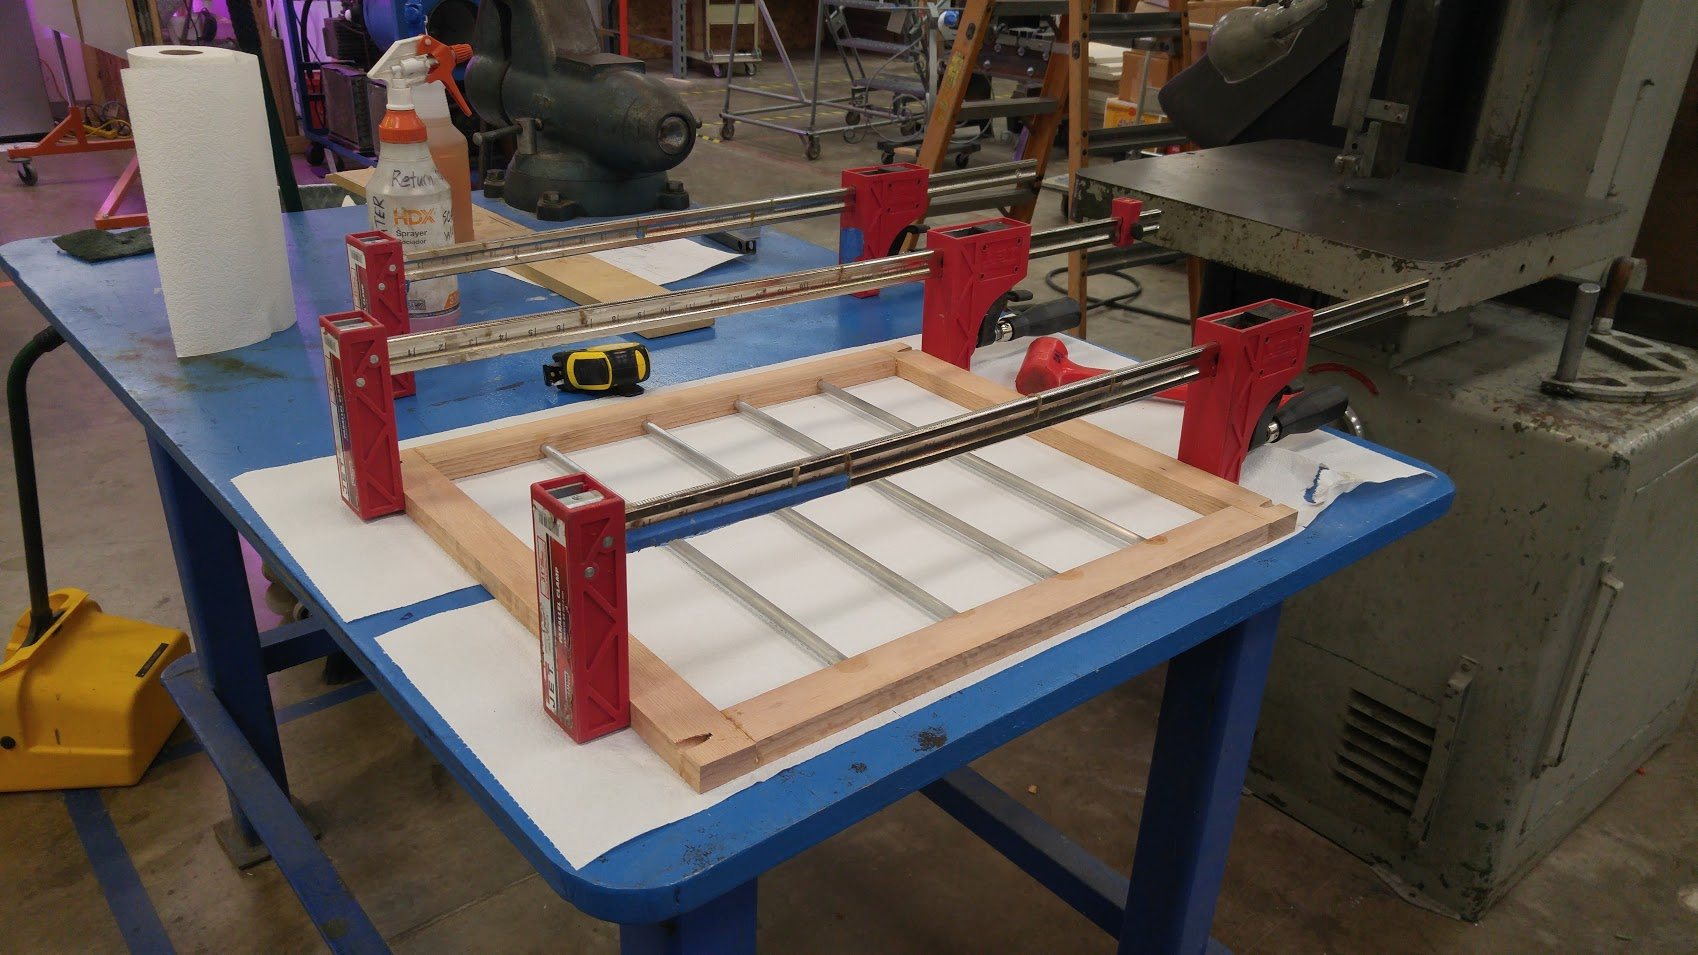
My aunt wanted a paint set like this. This is what I came up with:
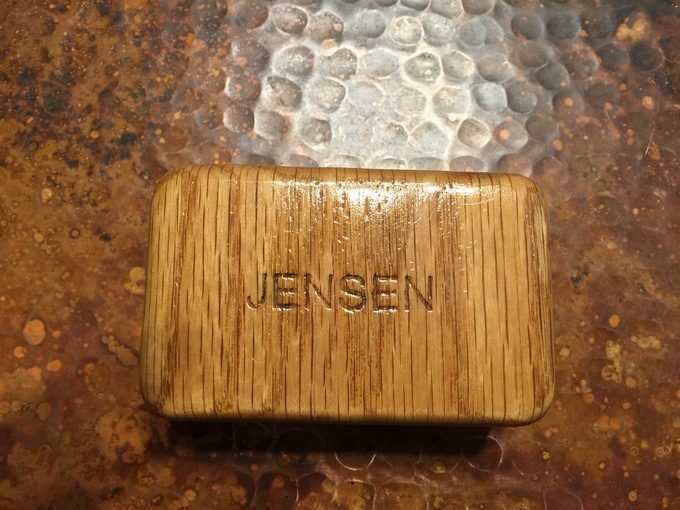
I laser engraved the lid.
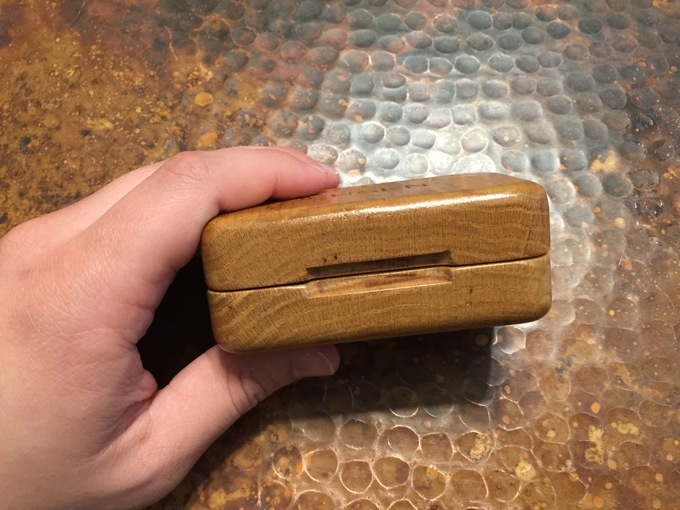
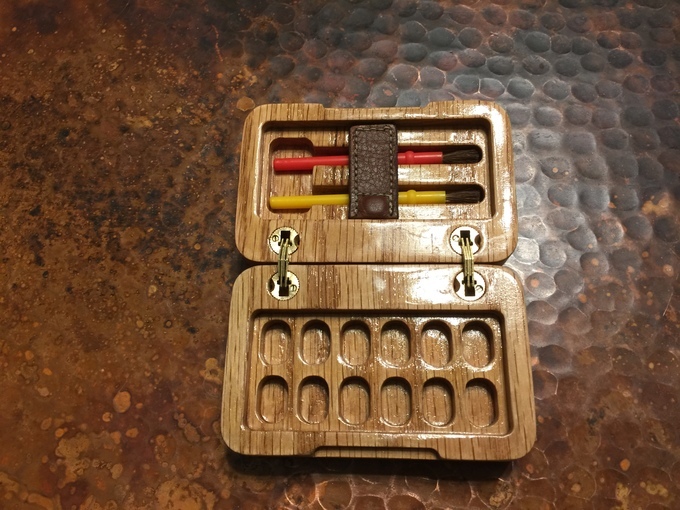
I cut the two wood pieces on the CNC router. It’s ton of fun to see your design come to life on that machine. The idea for the design is that paints can be dried into the wells on the bottom. I sealed the wood real good with polyurethane to protect the wood.

I designed a leather clasp in illustrator and cut it out on the laser.
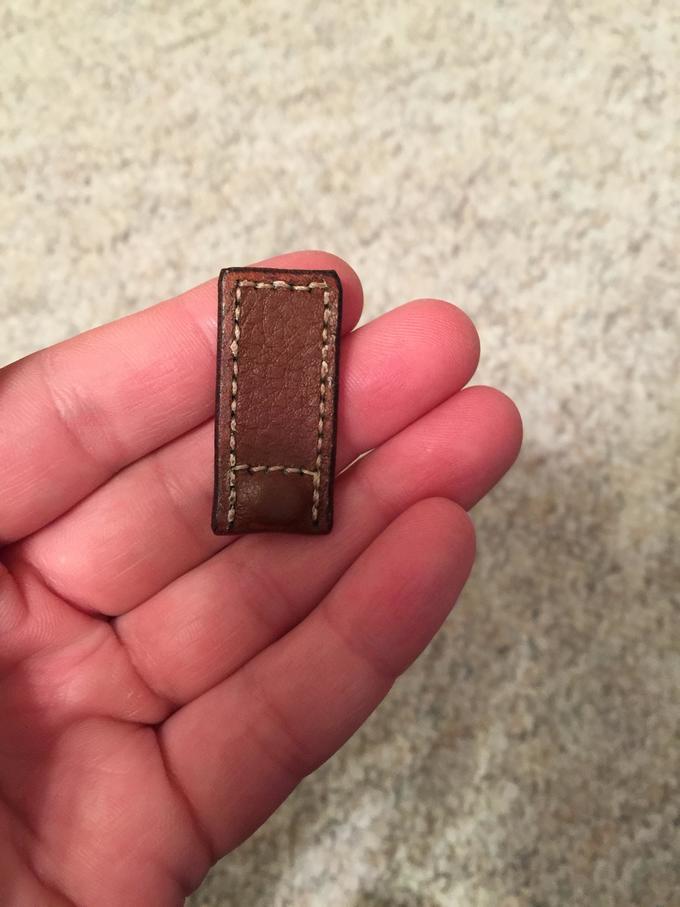
Stitched together with embedded magnet.
Burnished edges.

Installed clasp.
11 Likes
Working on carving a tiki idol for the backglass on Polynesia:
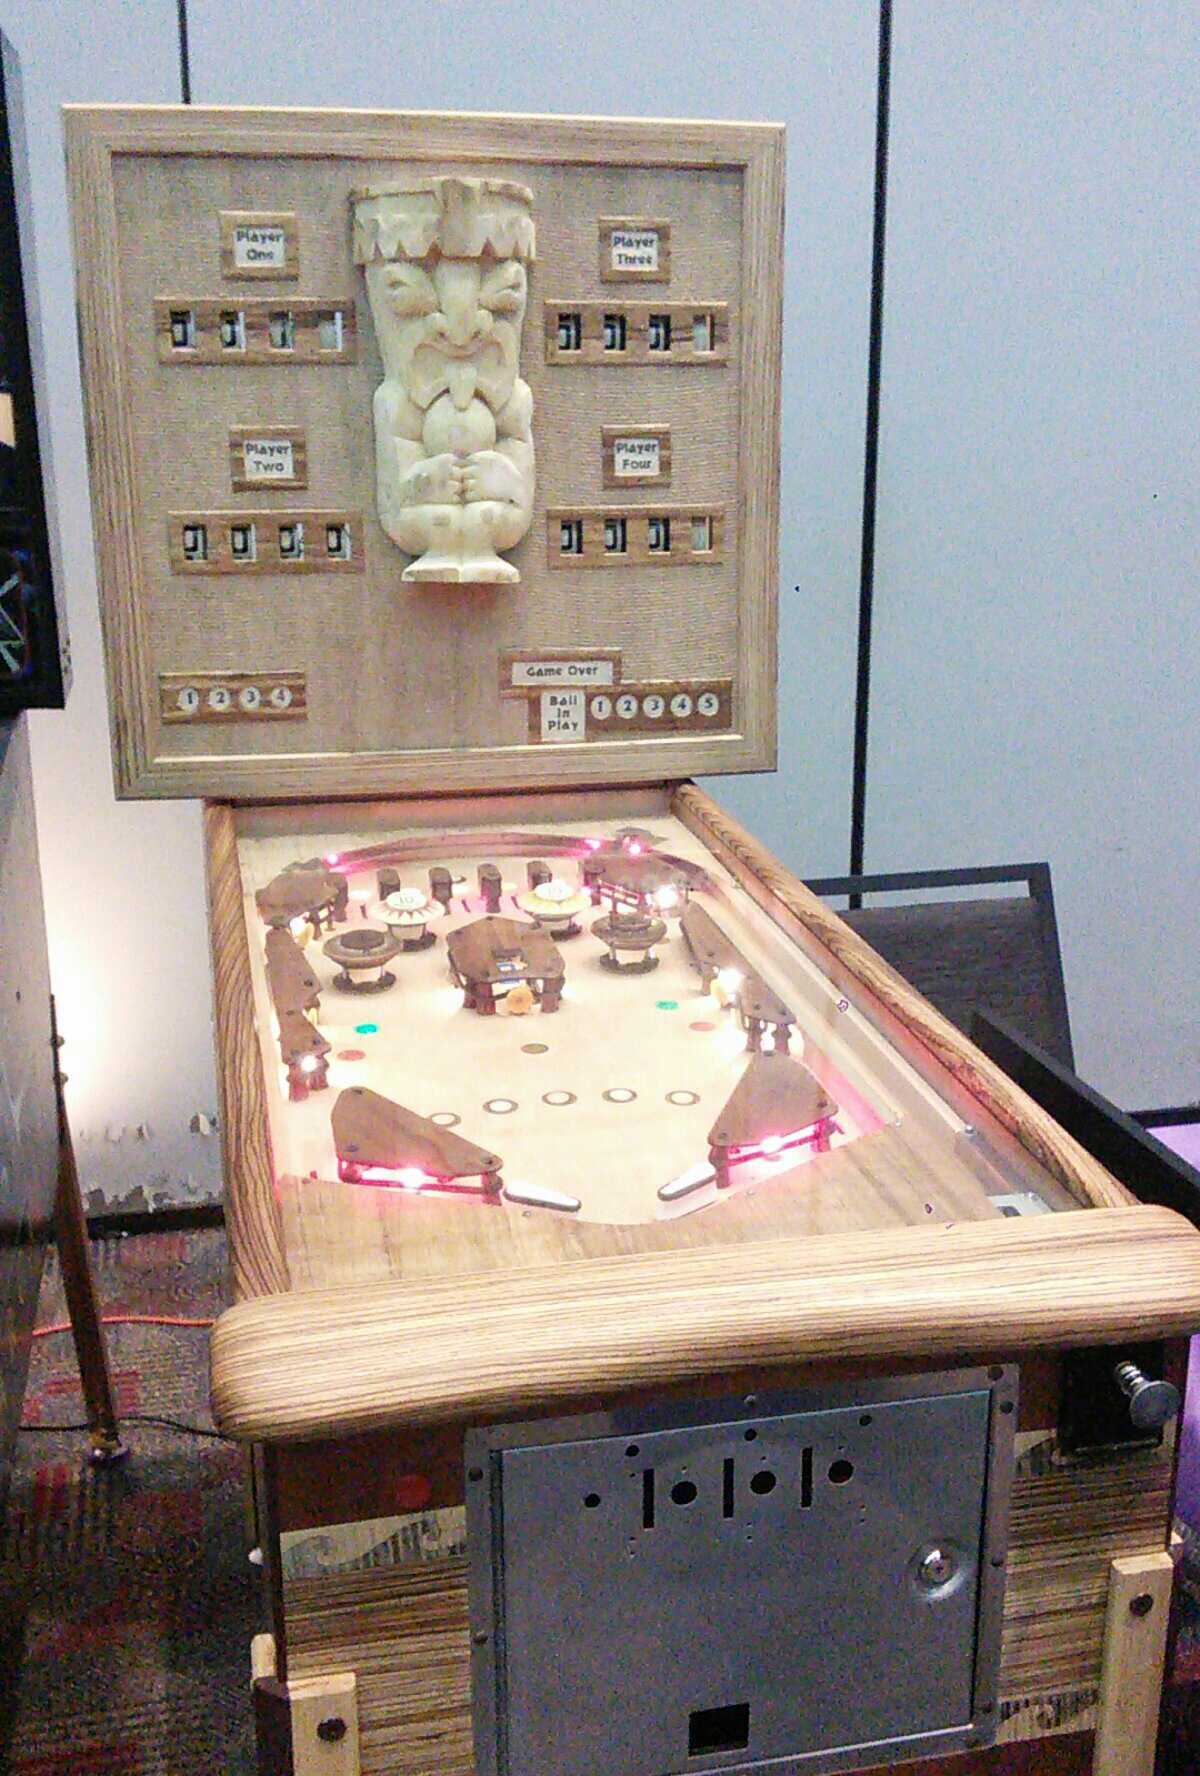
And a animated gif of the carving on the tiki so far:
https://imgflip.com/gif/166bbu
10 Likes
On more than one occasion, I’ve walked past you chiseling on that and successfully fought the urge to ask you about it only because I know how hard it can be to concentrate and stay focused.
1 Like
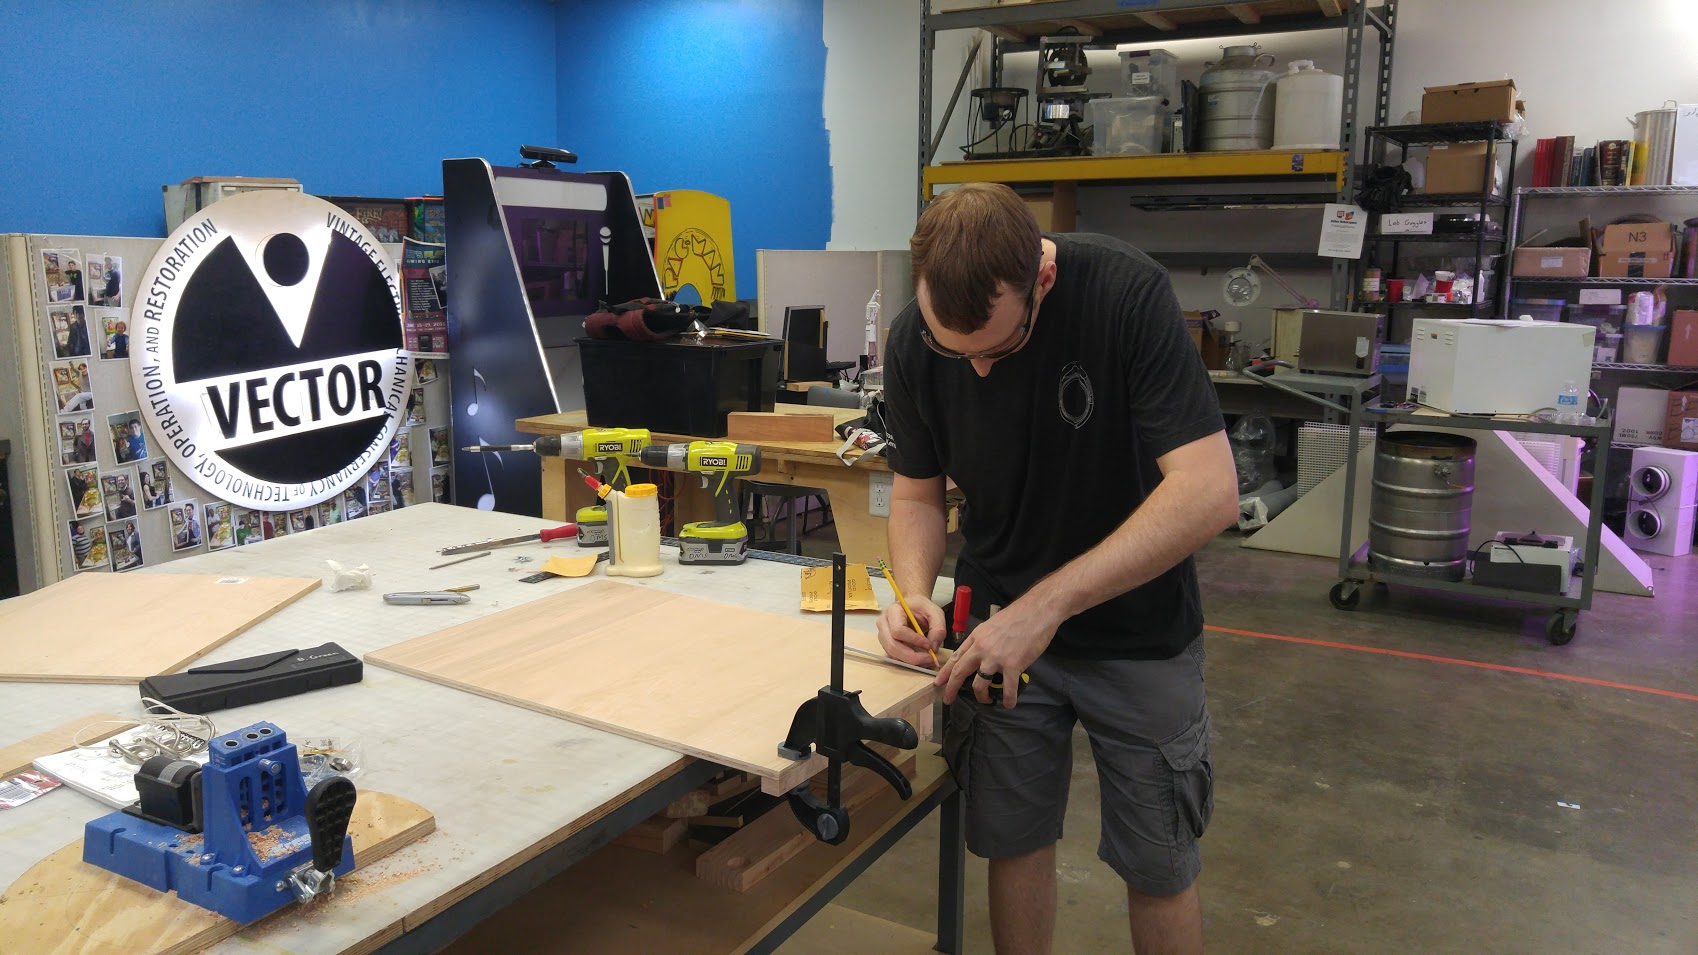
I’ve been kicking around laser-cut designs for a while now and finally decided to execute (that and I scrounged some suitable prototyping material). I settled on a trifold paper towel holder since we don’t have any for either the galley nor the sink by the office supply drawers. @coloneldan called me on it: practical and for the Space.
I got around the apparent scaling issues that plagued me thanks to some advice from @wandrson - R14 DXF, metric units, ASCII format. So long as the drawing limits are less than or equal to the cutting bed (I was still using a 24x36 template for the FSL) and you force it not to helpfully scale things for you, it seems to work alright.
First attempt turned out reasonably decent with only one oops that was readily undone with the belt sander:
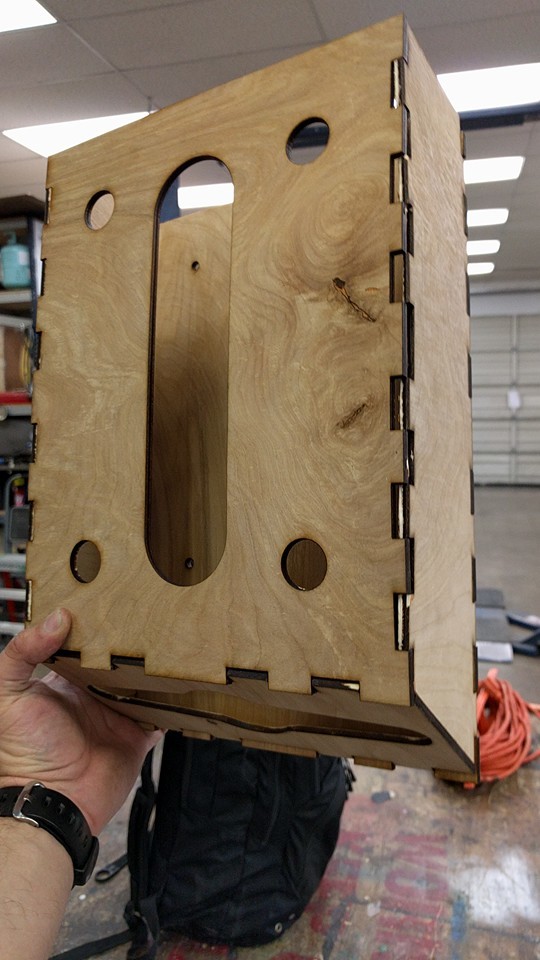
Big slot down the center is so you can assess stock level. The 4 holes on the corners are there so you can install the thing.
Not sure how well it’s going to glue up with that warp in the face. I also experimented with speed and power levels; an experiment that went over poorly on the right side since I had to perform secondary manual cutting to extract the shape.
I look forward to a new laser tube for the Lasersaur.
8 Likes