Rotary Attachment Workarounds for Yeti Wine Tumblers?

I was wondering if anyone has had success engraving any Yeti Wine Tumblers? The problem that I have run into is that there isn’t enough vertical adjustment on the rear rollers of the rotary attachment in order to get the wine tumbler surface level to the laser.

Does anyone have any ideas or workarounds?

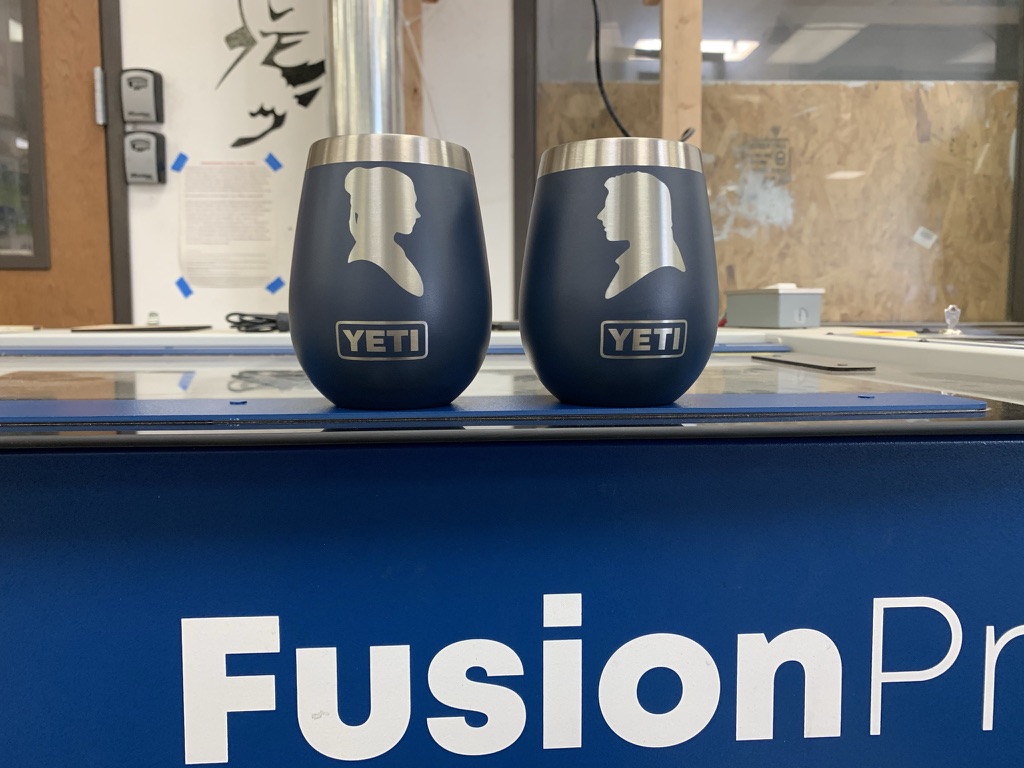
I’m guessing it won’t stay on the roller if you move the roller out closer to the end of the cup?

You might need to make something to go around the top steel lip area to raise up that end instead of trying to lower the butt. Used to be for the old rotary system there were 3d printed ‘forms’, maybe something like that, or a bit of round wood with a hole cut to fit the lip.

edit: or actually, some kind of plug type situation may be better, fits inside the opening and then the part sticking out could just be a larger diameter than the cup. the laser head would have more clearance then so be safer for it

not sure there is way to do this without creating some kind of extra piece really. I suppose some kind of thick tape around the bare metal part might be sufficient.
Apologies for this response being very stream of consciousness. The thick tape material seems like the simplest solution

2 Likes

Thank you for your feedback! I’m going to try sliding the rear roller back a bit to see if I can get it level. If not, I think you are right and I’ll have to use some kind of mold over the lip to increase the diameter to get it level.

When doing wine tumblers I run them the opposite direction and clamp on a little block on the tail rollers to prevent it from walking back. I have to run it a bit slower since I don’t want it to skip at all.

If doing that method it’s important to ensure the rollers are clean since you’re relying entirely on traction caused by gravity without the drive clamp.

1 Like

I hadn’t even thought to run them backwards; that’s clever. Thanks for the tip!

What would you recommend for a speed setting?

I have a yeti preset in the Epilog software; I’d drop speed about 20% from what it’s currently at and drop power accordingly. I’ve had some mixed results with different models’ powder, so make sure you test if you haven’t already.

Could you 3D print a plug for the upper end which had a “cork” which would fit the opening and a outer diameter which would match the widest diameter of the bottom so the tumbler would turn true. The “cork” could have a “*” cross section to allow easier wedging and save filament. If undersized you could pad it with blue tape. If oversized, the arms of the * would be easier to shave down than a full circle.

Then, prop up the upper end of the rotary attachment so that the top line of the print surface was parallel to the print bed so the laser will stay in focus along the length of the top edge.

Coat the tumbler with blue tape and test on very low power to avoid burn thru while testing.

1 Like

Printing a 3D plug as a jig for the top would also be a good solution, and one that could be left with the machine for anyone else that finds themselves in the same dilemma. It would just have to have a recessed area cut out so that the drive clamp had something to clamp down to. If I knew how to use the 3D printers I’d happily volunteer to make one…

Foam tape?

Make your own rollers for the right height. A couple of ball bearings bolted into wood or a 3d part should do.

If you run it flipped as Jim suggests, you will need to flip your image 180’.

I wish would try @ladysandry idea first

I ended up getting ladysandry’s suggestion to work. I moved the rollers as far back as I could without compromising the grip of the rear rollers and was able to get a level surface to work on. If there were any more curve, I would have had to go with a creative solution.

Thank you everyone for your feedback and recommendations, it was very helpful!!

F4D3E8C0-3233-46B7-B86A-F70F1C584D2C_1_105_c|666x500

5 Likes

Looks good! What settings did you use?

Thank you! I just used the imported Yeti Powder Coat settings for the first pass, then ran a cleanup pass at 20% power.

That does look really nice! How did you line it up with the yeti logo? I can never get the designs where I want them on my cups, when the laser starts up it always rotates that cup for reasons I don’t fully understand

You can use the cropping bars in the software to select a thin line over the center of the image, print, image trace, then center where the line is cast on the cup with the center of the yeti logo. You’ll have to readjust the cropping bars after you get it lined up, but that’s a quick way to trick the machine to show you where it’s center is relative to the cup on the rotary tool.

2 Likes