Nitrogen Laser Build - Saturday, July 4

I plan to be in the Science area on July 4, moving the nitrogen laser closer to completion. We are so close!

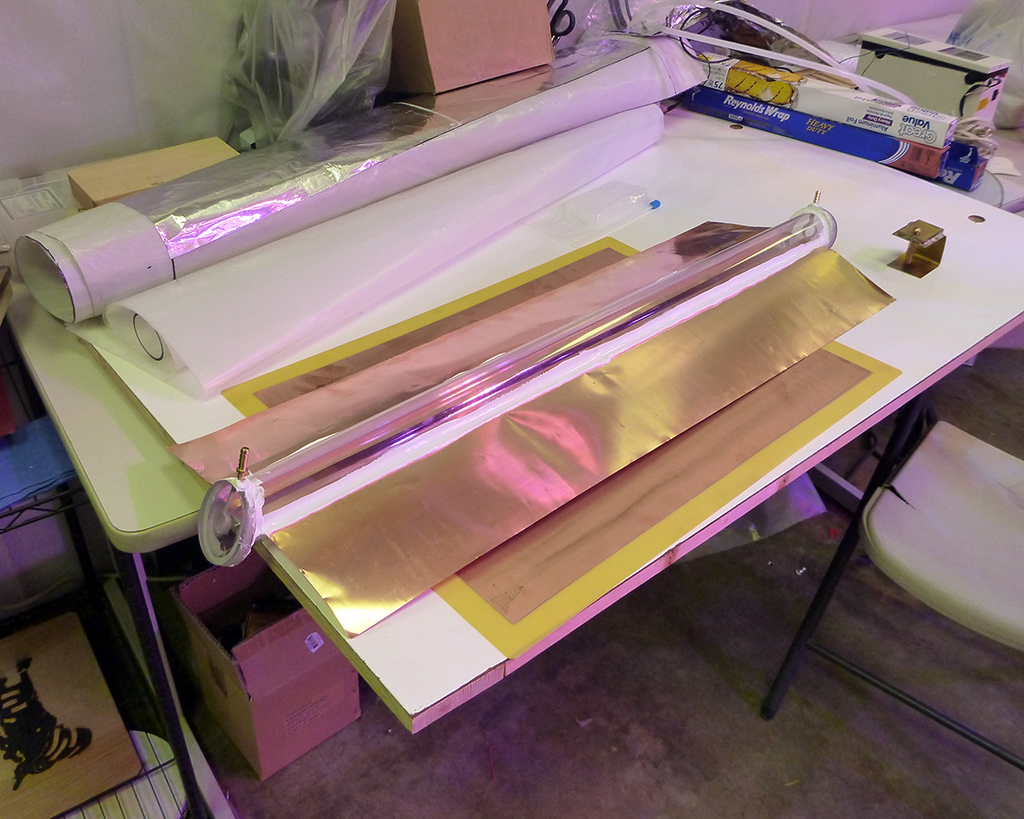
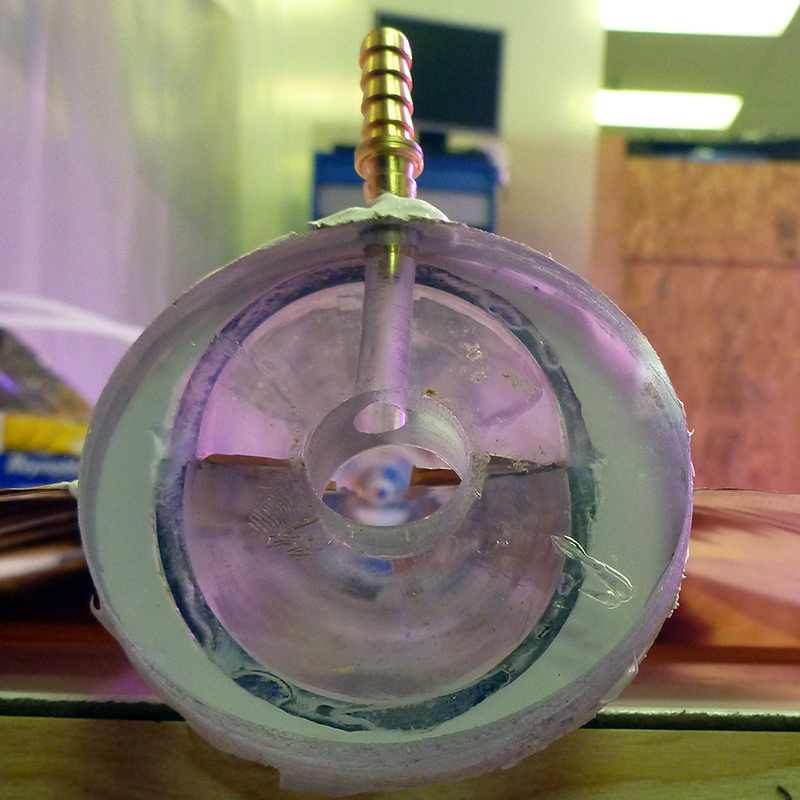
Last night, Alex helped me cut end pieces for the laser cavity. The end pieces won’t be perfect fits, because the ends of the cavity are oblong (due to their angle cut), and we are using circular drill blades to cut the end pieces. They will still work; they just have to seal the ends. We discovered that drilling too quickly melts the polycarbonate, which then gets stuck firmly inside the circular drill; that took us a while to get out. It would be nice if we could use the laser cutter, but we don’t have suitable acrylic sheet.

I also brought up my glass tabletop, so we have an insulating surface on which the laser can rest. Add to that the insulating surface of the table tops (though, wood becomes conductive at high voltage, I read).

Walter @wandrson loaned us a high voltage probe, so now I can measure actual voltage levels on our power supply. My personal neon sign transformer appears to be putting out only about 3kV; Walter’s supply looks closer to 9kV. If that isn’t enough, I have my old voltage multiplier.

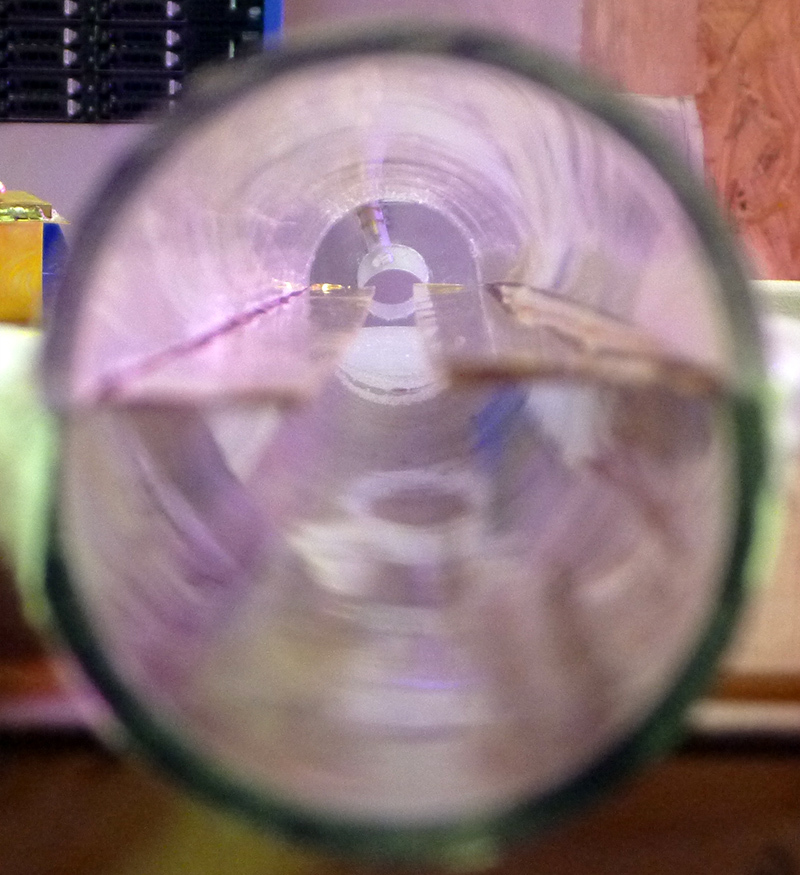
We still need to assemble and attach the spark gap and finish sealing the vacuum and gas systems. It would be nice if we could find a needle valve.

Hmm, what kind of needle valve are you looking for? I have some needle valves that have push to connect fit to fittings for 1/4" od tubing. I believe that they are parker branded, but have no other info on them. I probably have some extra poly tubing that will fit them and is rated to 100psi, and maybe a couple of adapters to get to 1/4" NPT. Let me know if any of this sounds helpful.

That might work. I need to connect a nitrogen bottle to my laser. I have some tubing, about 1/4 inch, though I don’t remember their exact size.

We could try your valve and see if it works.

Sounda good, I will drop it off this evening on my way home. The tubing for these is 1/4" OD. I am guessing that the threads on the output of your nitrogen regulator are 1/4" NPT also, so I will dig out one of the adapters to thread into it.

1 Like

Thank you.

I don’t have a regulator at the moment, but I think that David Ratcliff ( @Tron ) might be supplying me one, along with a gas cylinder.

1 Like

We continue to make incremental progress towards completion. The end plates are on the laser cavity, the spark gap is assembled and we have the main capacitors ready. We still need a source of nitrogen gas (maybe), some way of regulating the flow of nitrogen gas into the laser cavity, some means of blocking the UV radiation from the spark gap and we need to attach the spark gap to the capacitor. I would have tested the seal on the tube, except that I needed to let the silicone caulking dry on the end plates.

One concern I have is that if the tube is evacuated to the desired pressure of 5 torr (~0.1 psi or 5 mmHg), the tube will have to support more than 1000 pounds of atmospheric pressure over its entire area. Although the plastic might be strong enough, any misalignment between top and bottom pieces likely would cause the tube to collapse along the seal. Also, as the tube is evacuated, it will compress the copper electrodes inside the tube, causing them to bend. We don’t have much room for misalignment. I probably should have drilled at least 1-inch holes in the end plates, instead of 3/4-inch.


2 Likes

Hand cranked nitrogen laser http://hackaday.com/2015/07/08/legit-hack-creates-tea-laser-power-by-mr-wimshurst/

2 Likes