Lasersaur Parts and Build

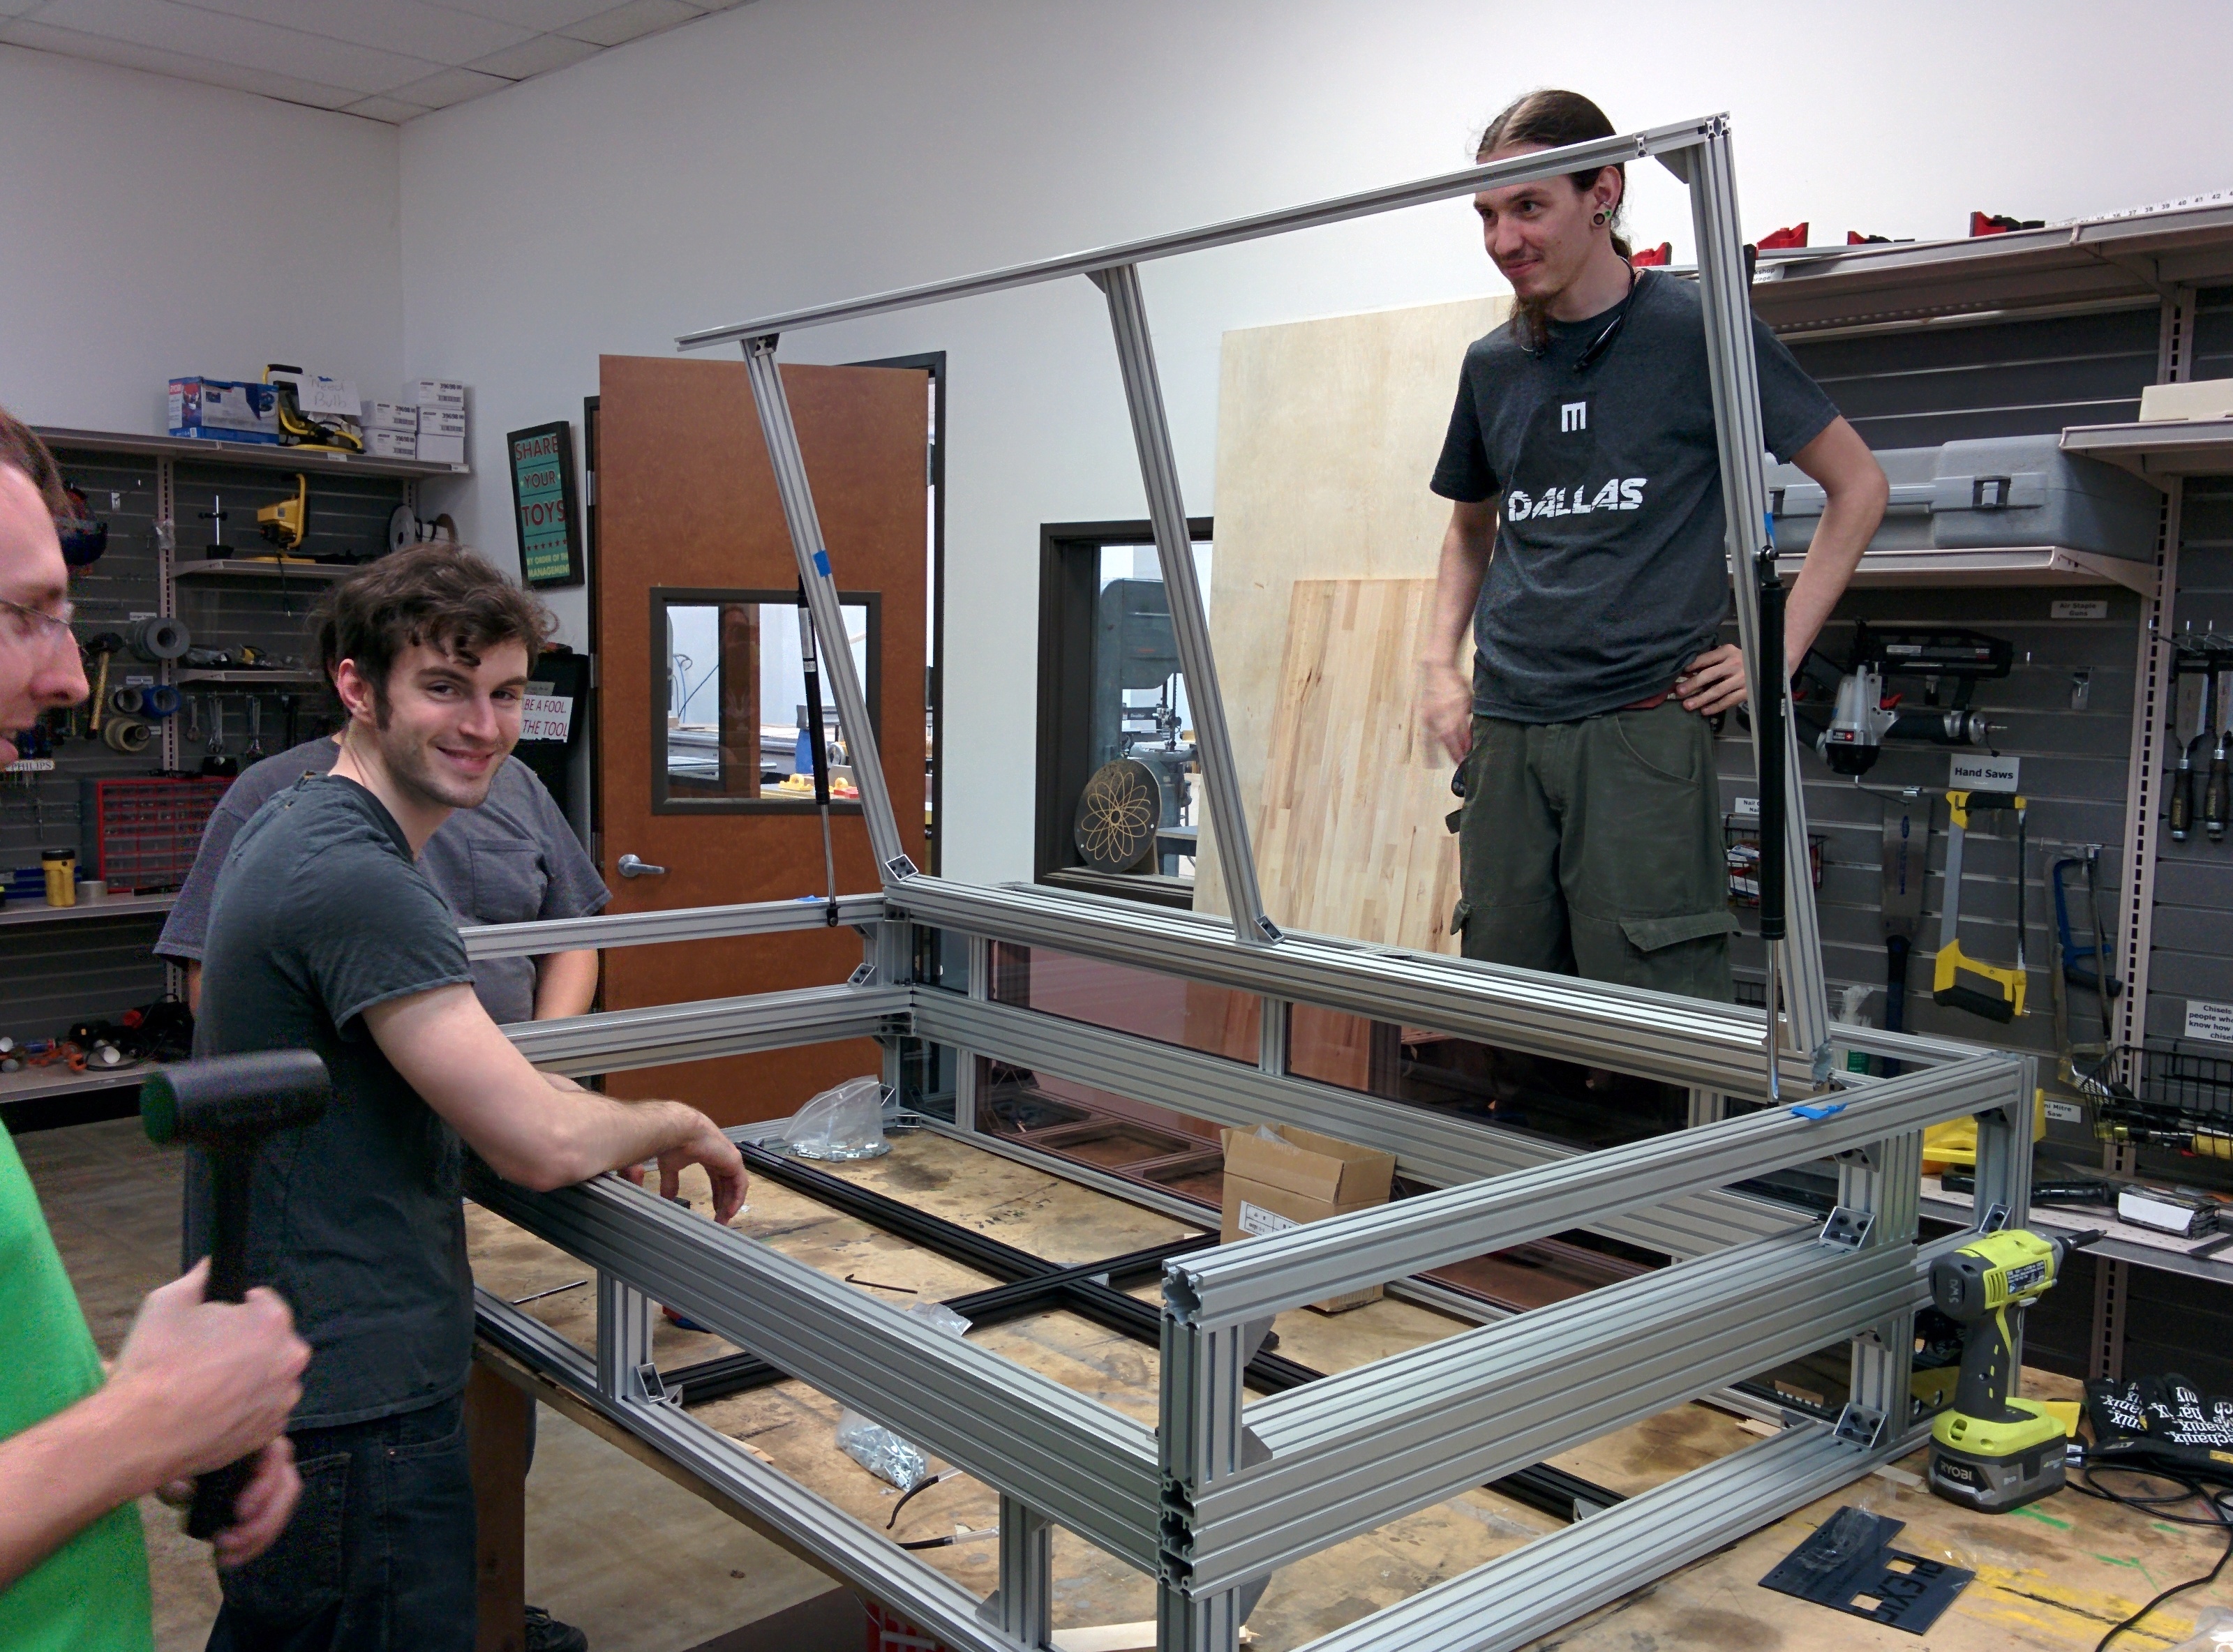
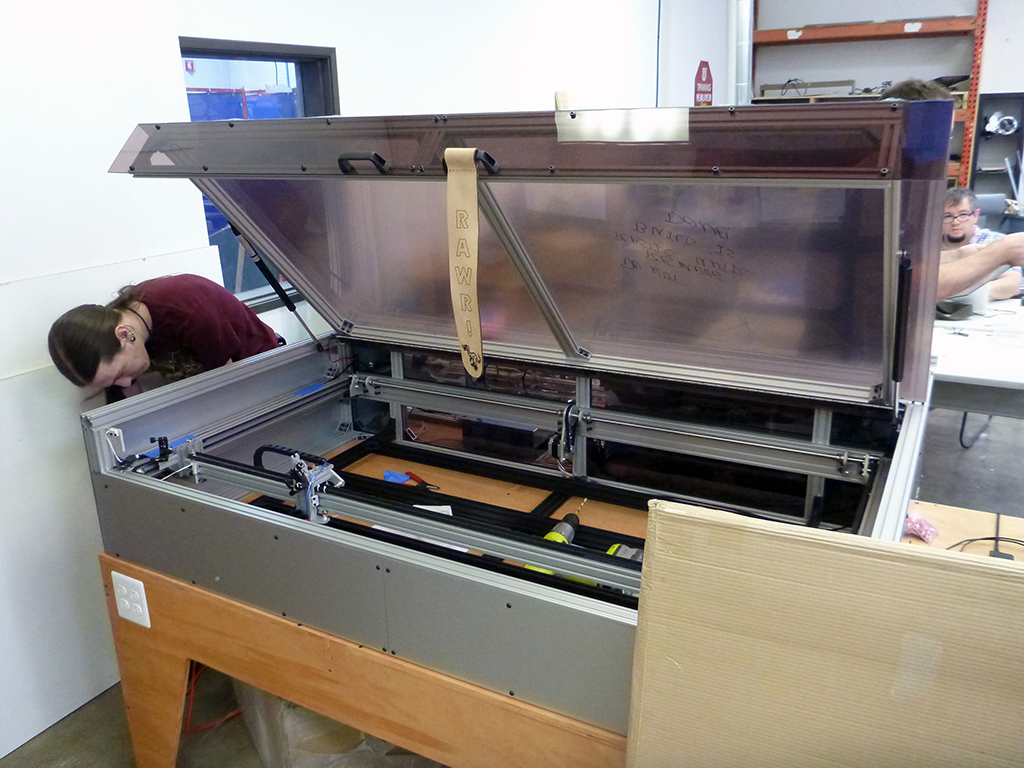
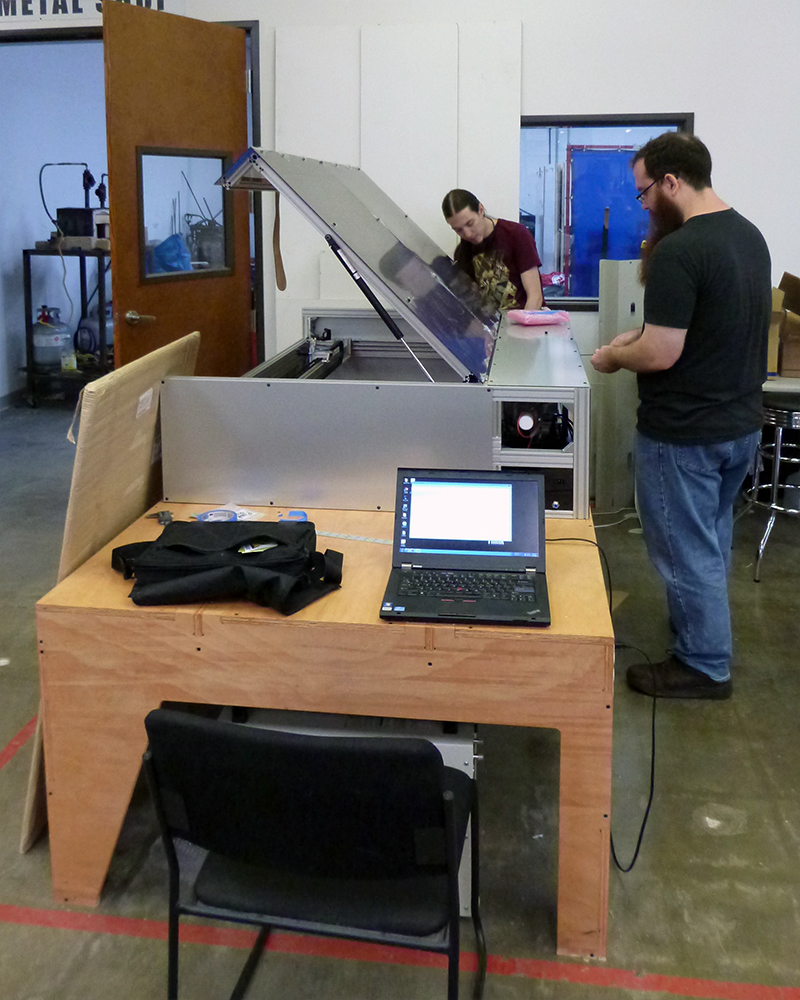
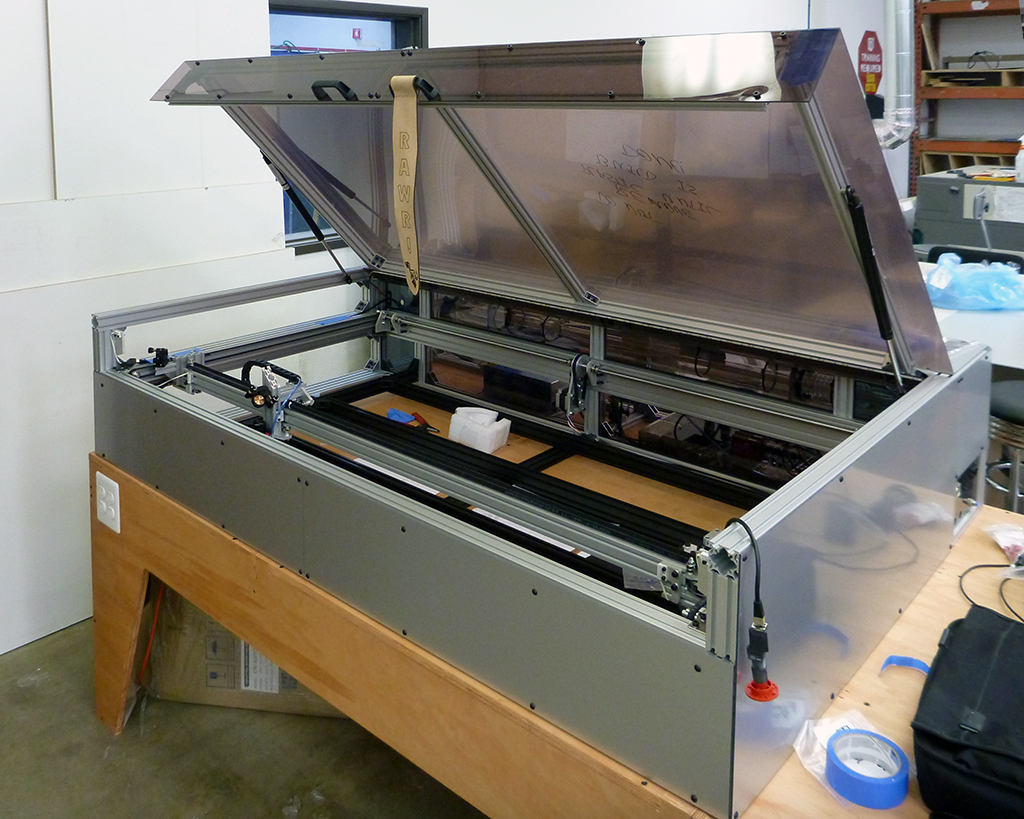
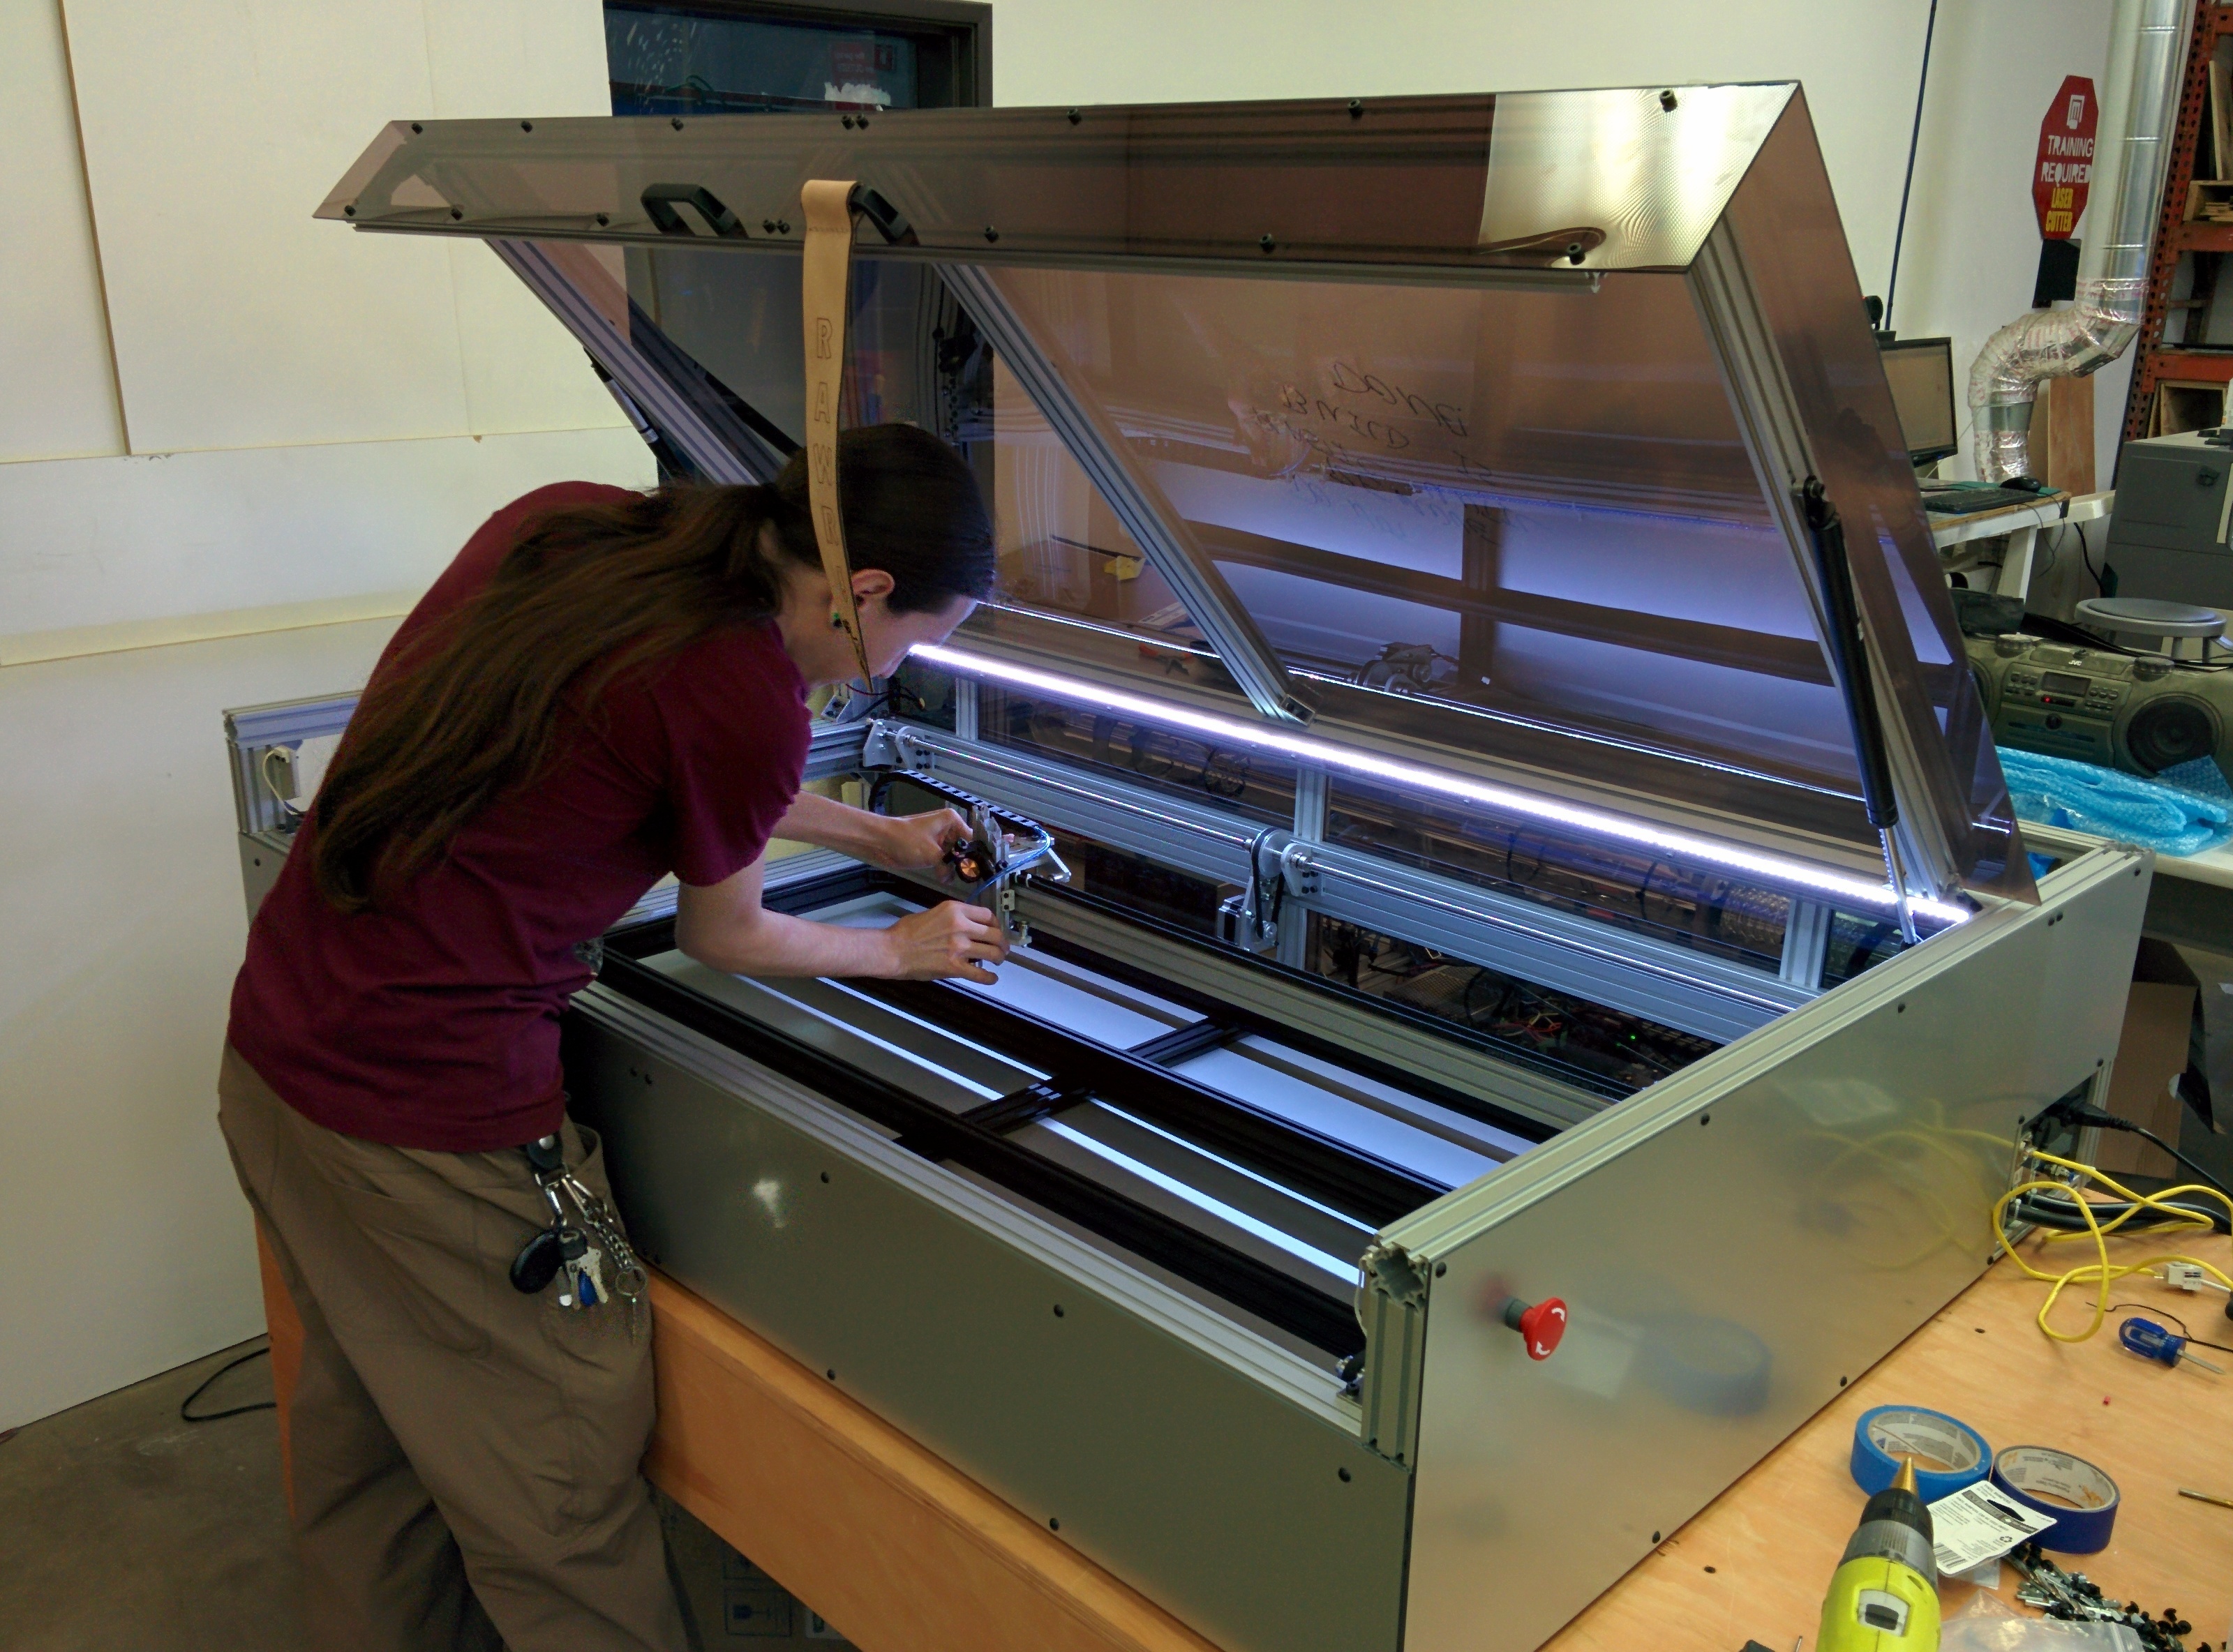
All parts from the bill of materials have arrived for the Lasersaur. Build sessions can begin soon. Two things need to happen prior to the build sessions: clean up the laser area and build or acquire a worktable. The status of the stuff on the wiki has been updated.

https://dallasmakerspace.org/wiki/Lasersaur_Laser_Cutter

If anyone is interested in building a sturdy worktable please see William for funding. It needs to be approximately 4’ by 8’ and able to hold 400 pounds stably to accommodate the Lasersaur.

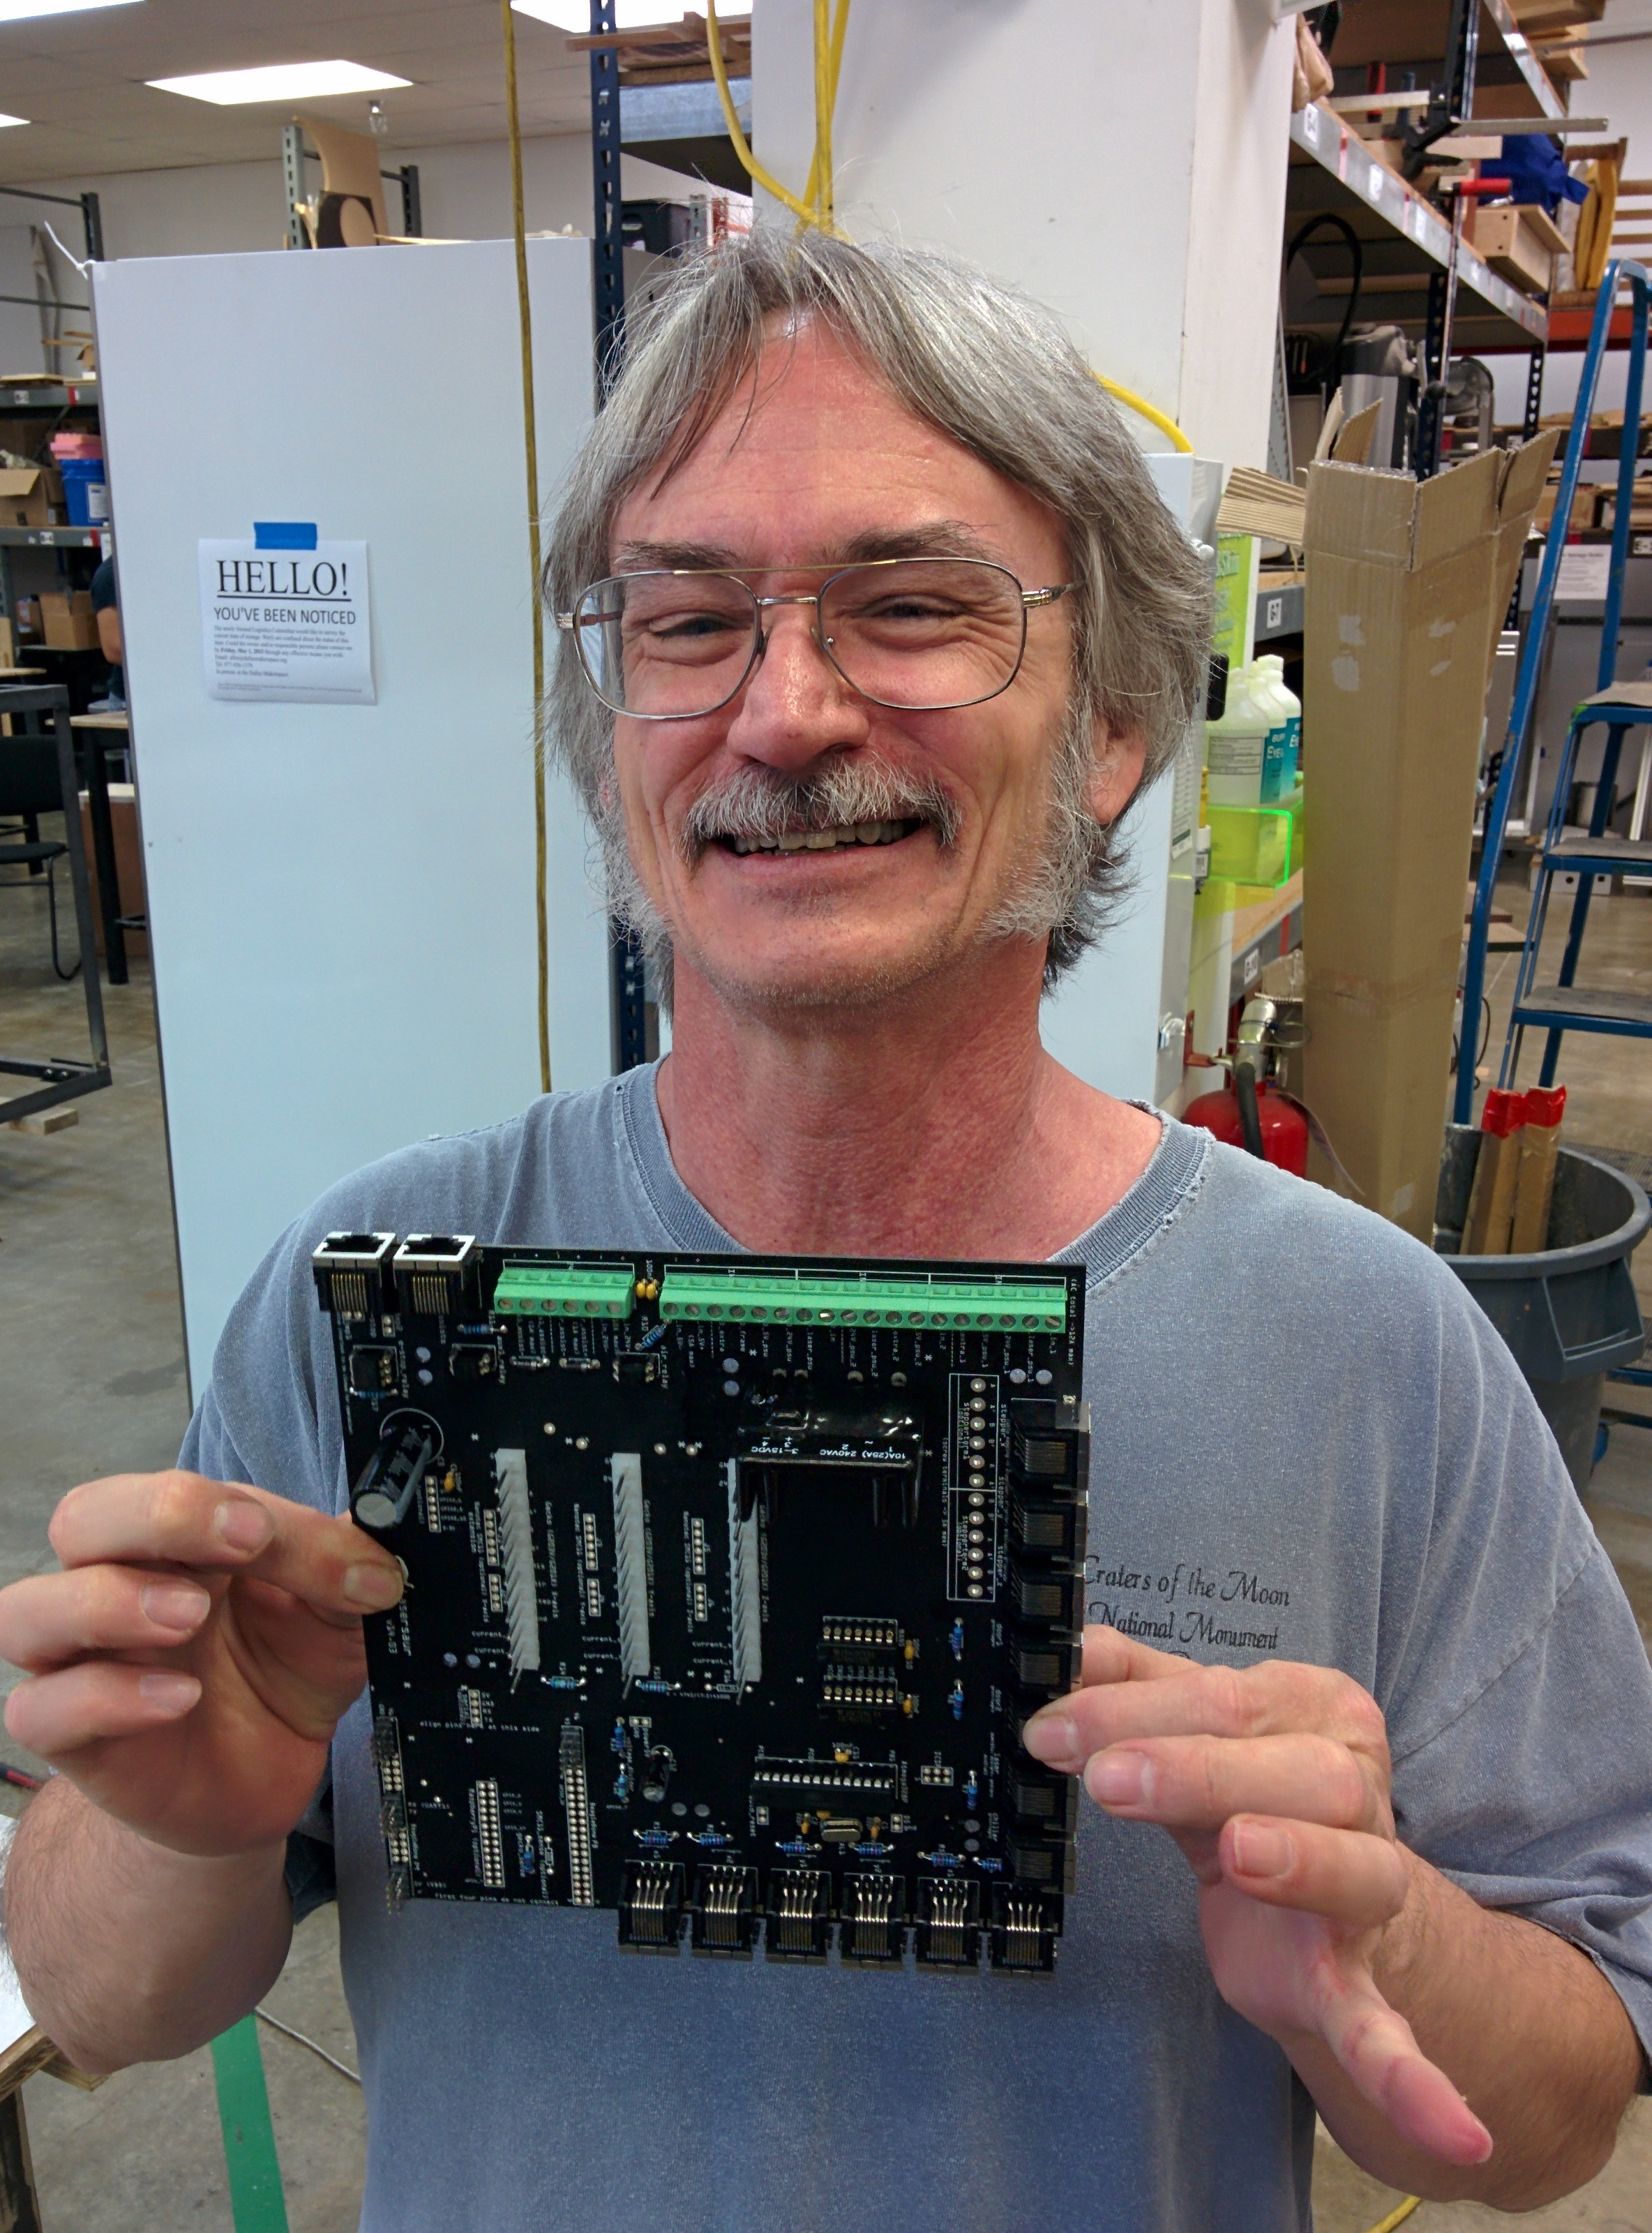
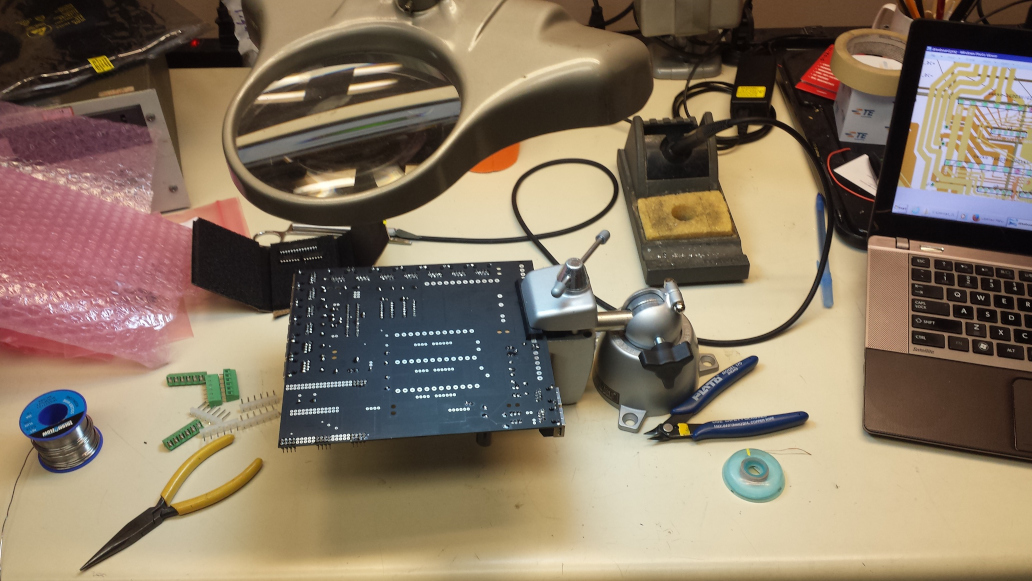
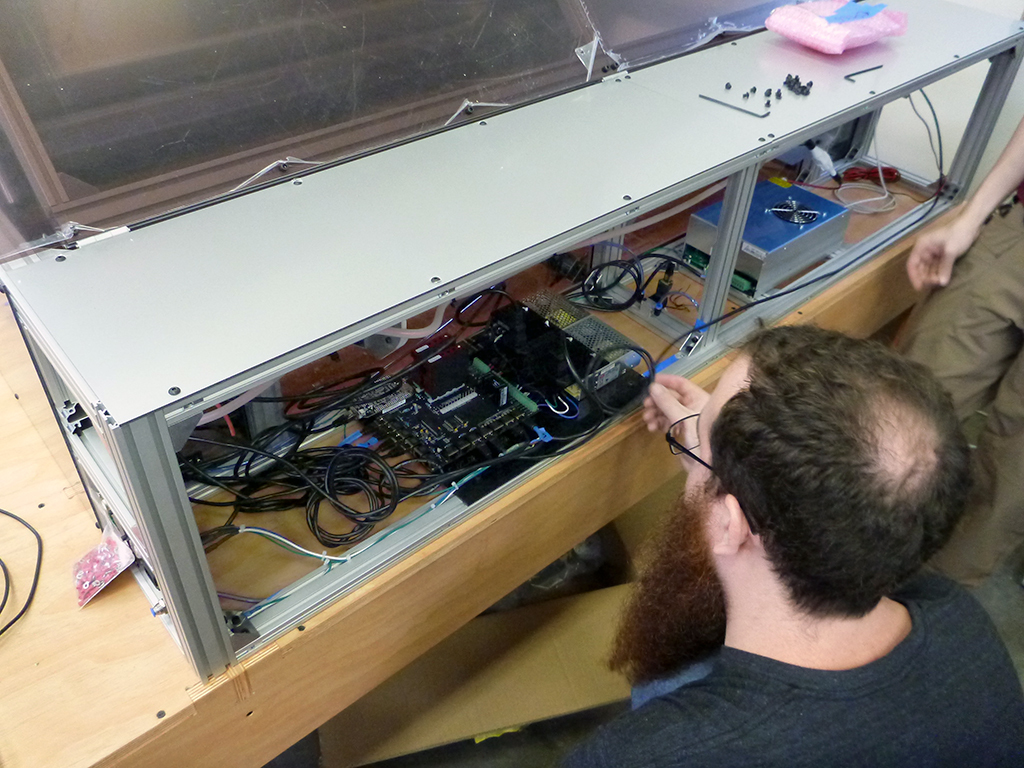
I’m thinking Thursday evening we can clean things up in the laser area and build a worktable. Possibly begin building the Lasersaur if those things are accomplished. Some of the other parts of the Lasersaur can be constructed concurrently like the motherboard which is all through hole-components with a few IC that need sockets. Perhaps the electronics committee or a skilled member wants to assist with the motherboard?

2 Likes

How tall does the “table” need to be?

I would be happy to build the motherboard and/or help with the rest of the build

Electronics would be happy to build out the motherboard. Or if @phil_ayache Gets to it first.

Do we want to design in a usage timer built-in from the start?
I could make another one just like the one I made for the original laser. If so - this would be a good time to get it’s dimensions, figure out where & how to mount it, and talk about any changes. @larrydag has been making good progress on the case - which is almost complete & ready to be mounted…

@lukeiamyourfather was talking with Art last night on the electronics… So Electronics will be handling the soldering of some of the components to the driver board.

@cottjr If you can get the parts together for another, that would be great. I can reimburse you out of committee funds. In terms of mounting, we need to see how much room we have in the case. The FS unit, I think, has more room in the than the lasersaur.

Anywho… Thursday night. 7PM. Be there. If for nothing else than to help get things organized and ready for the build. I may be taking the FS unit offline for a bit to do some re-arranging then as well.

1 Like

@william_petefish sounds good - I’ll order parts - it’s not much.

If you’d like to size up usage timer #1, check out my storage bin in the galley - bin w/ my biz card on it just to the left of the phone. The current case is a relatively largeish cube, with the height driven by the big blue arcade button. I was thinking for the Lasersaur, it would be nice to arrange some interior console space which looks a bit more built-in. Would only need a few cubic inches for the display and button.

By the way, can you say where to find / if there is an actual schematic for the wiring harness? We’ll need to figure out if the signaling between controlboard and power supply is any different from the full spectrum. The closest thing I see is this kind of harness netlist at http://www.lasersaur.com/manual/driveboard.

Looks like the controlboard (schematic & layout) can be found here http://www.lasersaur.com/manual/model, and was done with a package called Fritzing. At first glance, the schematic is an eyefull - it might be easier to read if we print it out on that new architectural printer…

Unfortunately won’t be able to swing by the space until next Monday…

The worktable needs to be around 30" or something close to that.

A lot of progress was made today on the Lasersaur. Thank you to all who contributed! I’m looking forward to what comes next.

6 Likes

Side Note: That is a great picture of Art, Not sure if we are allowed that level of sexy on these forums. :blush:

1 Like

I shot some photos of the Lasersaurus build yesterday (May 2):

Pierce and Luke (@lukeiamyourfather) at work

Pierce installing a side panel

Pierce and Luke installing side panels

Luke examining the electronics board

Mirrors in their mirror mounts

Ghost in the machine: my reflection in the zinc selenide (ZnSe) lens

Optics are installed in rough alignment

3 Likes

That machine looks awesome! Kudos to all the guys who are putting it together.

Looking good! What material will stop the laser beam from burning through the wood table its sitting on?

We’re going have a water spray bottle next to the laser, so when you see the table is on fire, just pump out a few squirts… :wink:

Seriously, Luke said the next step would be tipping the cutter over on its side and putting the aluminum bottom on it. I don’t know why that is the next step.

Wow that is looking really good! Ya’ll didn’t waste any time getting it together. Awesome!

The bottom of the machine is a solid panel of aluminum which can be seen in these photos after it was installed. The panel has rubber standoffs holding it up above the wood table so the heat doesn’t make it to the wood.


2 Likes