The lack of seal between engine and transmission lets you know if your rear engine seal or transmission input shaft seals are leaking, based on what fluid is dripping out.
Wife’s 03 Mazda Tribute has a slow rear shaft seal leak. 

The lack of seal between engine and transmission lets you know if your rear engine seal or transmission input shaft seals are leaking, based on what fluid is dripping out.
Wife’s 03 Mazda Tribute has a slow rear shaft seal leak.
Thanks, all!
One of my heads has warpage at the end visible to my naked eye. Is there a method available at DMS for flattening this, and/or maybe someone who is comfortable doing something like this? If possible, I’d like to keep the rebuild an entirely DMS one, out of pride alone.
Do we have anyone comfortable with hand lapping? Although tedious, this method seems less prone to human error and I like the idea of a pitch change as you approach a state of proper valve seat… I’d like to spend a few minutes with someone more experienced who can walk through the process with me on a valve or two. Anyone use this method?
My grandparents had a milkhouse on their dairy farm. Lots of fun milking cows and dealing with the stray cats always lurking for a taste of milk or the occasional mouse that ventured in. (The cats took care of them most of the time) Fun times indeed and yes my mom, who grew up on the farm, would agree that farm work is the best incentive to go to college.
I rebuilt a 250 cid Chevy inline six for a Chevy II. My dad and I rebuilt the car before college. I paid $50 for the car and it was not running at the time. My dad and I pulled the engine and rebuilt it. When we were done that first start was something to remember.
My dad had an automotive shop we did all the work in and he had almost every tool you can imagine. There is no substitute for good tools. (Most of them were American made back then)
What a great learning experience and what a great time with my dad, too.
The same goes for “good parts” (not the least expensive parts)
If you have visible warpage on that head, you need to get it resurfaced to see if it is even salvageable before investing any more $$ and effort into it (if beyond limits you now have a practice fixture to learn valve lapping on). Compression will go up some, varies by amount head material removed, it could be noticeable. Also, if the warpage is that noticeable, you’ll want to CC the chambers afterwards to see how much difference there is to ensure the compression will be balanced because more material will be removed in one area than another, otherwise you could induce some serious balance issues due to uneven power in the cylinders.
But know how much, you could have valve clearance issues afterward - cars today are designed with very little margin. In the good old pre-EPA days we ALWAYS had the head milled to raise compression, usually to get half a point more. But valve clearance wasn’t an issue at that time and we could actually get 100 octane gas (okay it was laced with tetraethyl lead, but you’re engine didn’t knock and the valves we’re nicely lubed). We of also ported and polished the heads, CC’d everything - not sure we actually improved anything, but the placebo effect I’m sure as in good order. One friend found out how thick the wall was between the intake and water jacket … who’d have thought one can be too aggressive with a grinder on a steel head… it would have had a great intake but the the engine wasn’t designed for water injection.
Humor aside, if the head has visible warpage get that issue addressed first to determine if it is salvageable.
Most European Car engine head gaskets are available in different thicknesses (to a point) to accommodate milling of the heads.
I’d like to know how you can tell that the head is “warped” from just looking at it. Just pure curiosity on my part.
Photomancer is right tho-if you have a head(s) that cannot be surfaced/rebuilt - then you may have to go with plan B.
If you have a large enough oven and a thick steel plate you can try heating and bending the head. 
Just thought of a quick how-bad-is-it check for warpage that’s easy.
These numbers should give a good indication of twist and warp. Won’t give you the center but should give you how much it is out and how much would have be machined off. Not high presion but it will give you a good estimate.
Hope this helps.
I’ll bring the heads back to space and we will get a look. Maybe it was the lighting where I looked at them, but it appeared to me that one of the heads has serious warpage at the end of it, visible to my eye, or shadowy optical illusion. Both are possibilities.
I had a silverado in college that wanted to be sure I got a practical engine-eering education. So while I was slaving away solving a never-ending set of math problems, my reward for completing my homework would be that I got to go outside in the Bryan, TX heat, shimmy under the truck with my $10 Autozone rachet set, and replace the broken component for the week. I remember one time my girlfriend at the time threw a birthday party for me, and while all were drinking away in the usual college tradition, I was out in the dark putting shims under my remanufactured starter. With only one truck to rely upon, it had to run or we were both SOL. Good times.
But I never did internal engine work, so I guess I learn about that now. I plan to be at space tonight wrestling with heads. I feel fortunate that the Mazda wishes to further my engine-eering education. By the end of this, I’ll either be smart about cars, or perhaps I’ll have my pHd in poor automobile selection.
I’d still like to find that valve man, should he exist at DMS. If you have confidence in your skill lapping valves on a Mazda v6, please give me a shout…
Oh, and I’m also still looking for set of chemical solvents for cleaning the valves and heads. Anyone got a good cocktail?
IMHO get them tanked professionally. No chems to buy or dispose of and cleaned excellently in the internal passages.
Opinion duly noted and respected.
One thing is for sure: the mazdabeast will comply with compression specification as measured using the procedure documented in the Mazda Millenia service manual for KL, and this will happen and be compliant PRIOR to sending any spark to FORD down below.
However, I would like to see how much of the valve work we can do independently. I’d like to limit the external work as much as I can with the dual purpose of 1. expanding my learning and 2. so that I am very involved, understanding the important aspects of valve/head rework, and checking the work fully so we are fully spec compliant.
My vision here is that the work is performed to Mazda spec. The parts are either new or reworked using the specs as the minimum boundary, and of course, I’m shooting for stock all. To my mind, if I meet these requirements, I should wind up with an engine that behaves as it did in 2001 when it rolled off the line in Japan (according to vin, this is where this particular Mazda was built). And with any luck, I also am shooting for an engine that lasts similarly to a new millenia rolling off the mazda line in 01.
So I think that my taking a crack at doing what I can with the heads will help me to separate what is doable on my end, and what I must rely upon professional support to accomplish. I want to meet spec, but already I have overspent on this project, so I’d like to trim where I can as an additional impetus.
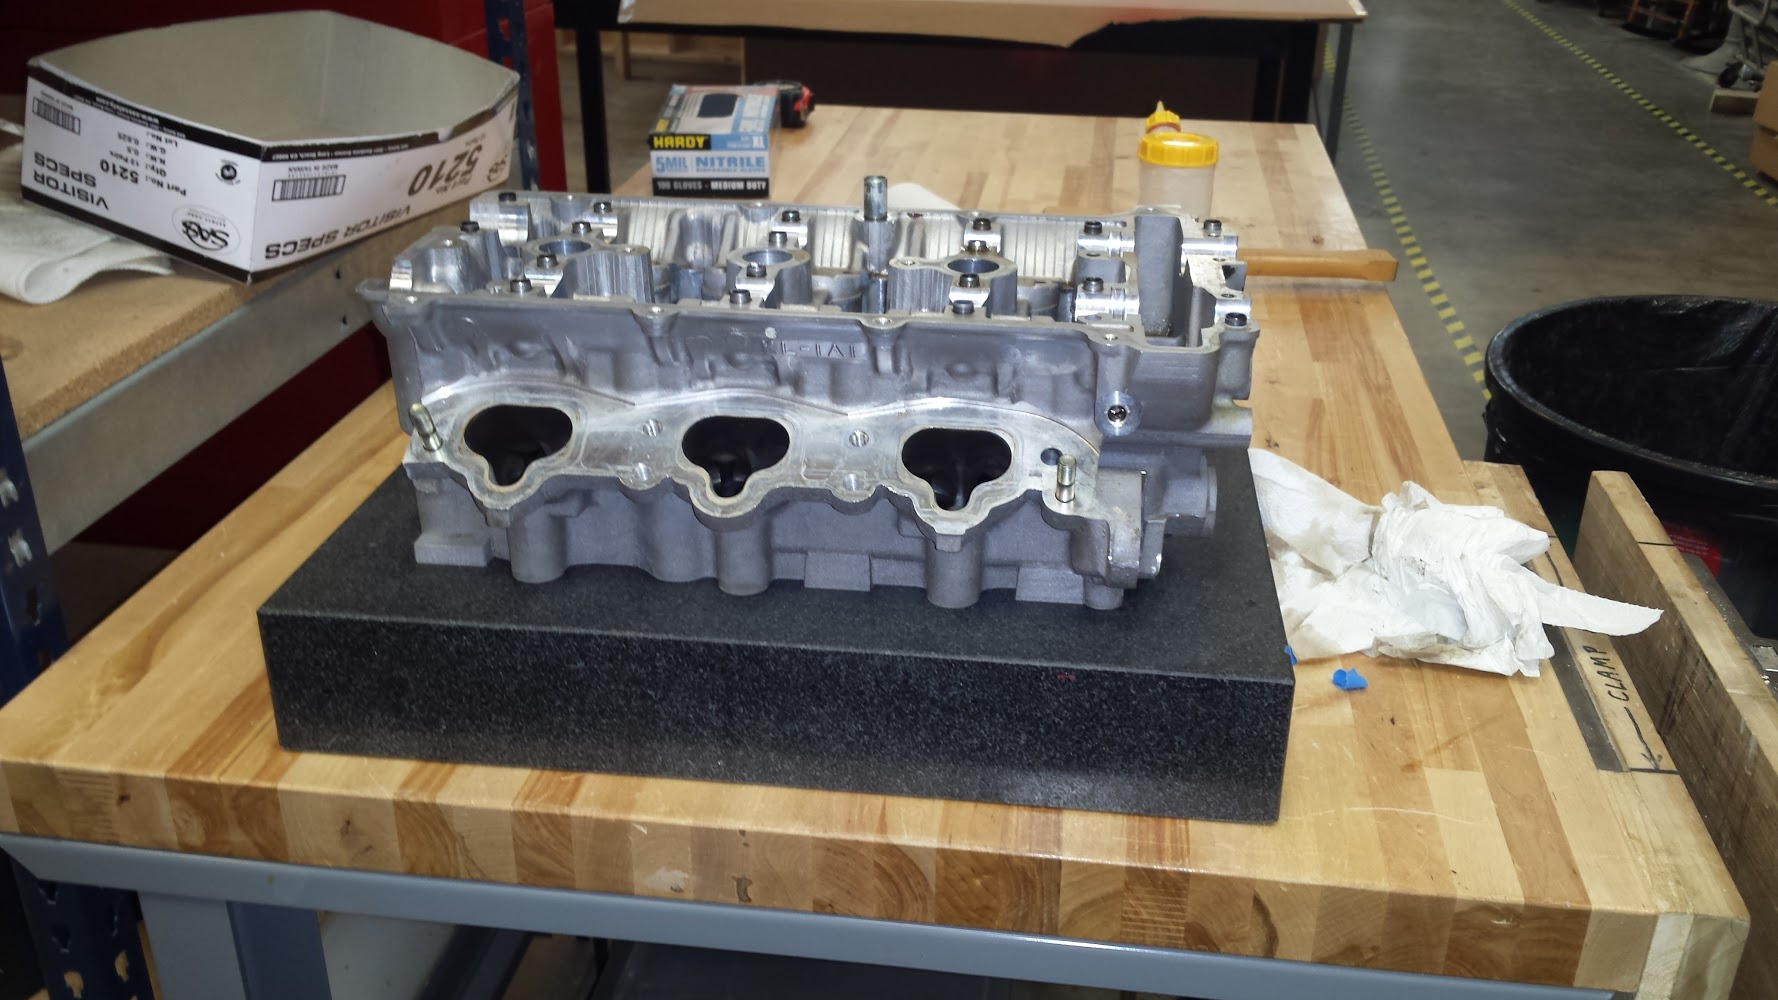
New update: I cleaned the heads in the parts wash. They came out clean, sparkly and beautiful. And whats more, I took them over to this piece of marble or granite that a fellow maker pointed out and suggested that I use to measure warpage. When I did so, I was unable to detect any sign of warpage whatsoever. The heads sat flat on the stone, and I would be unable to slide anything underneath from any side.
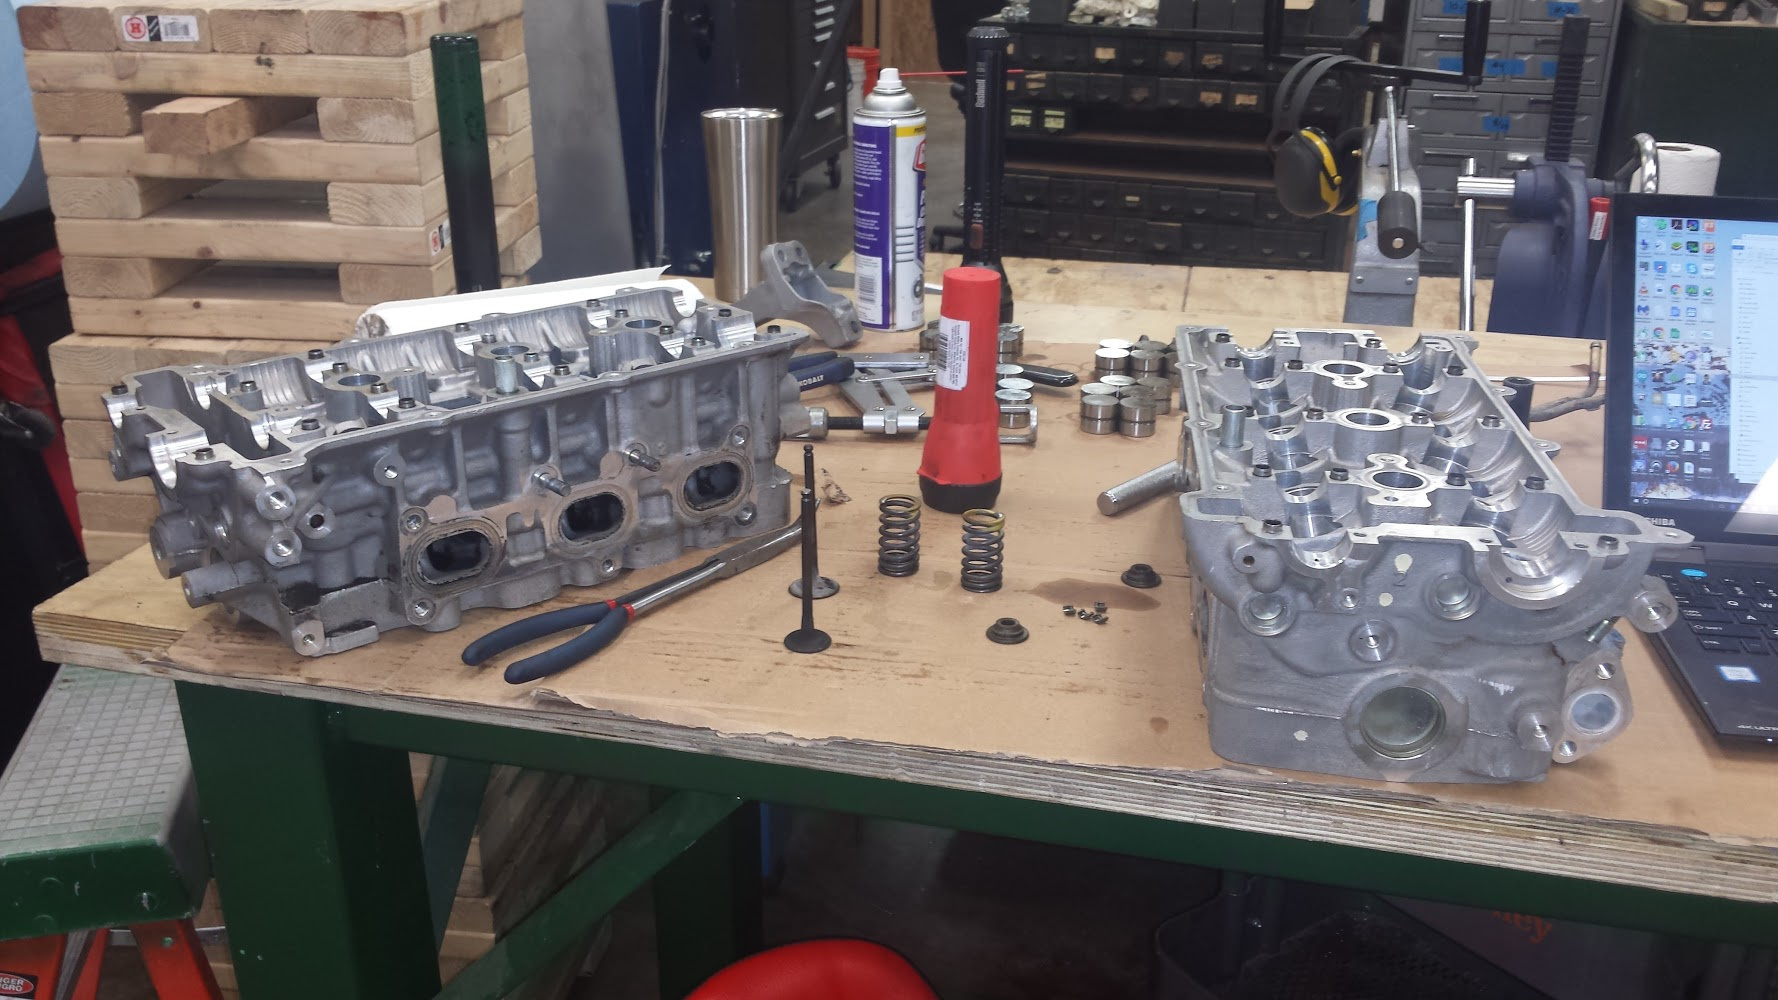
As for the valves, I was able to remove a representative intake valve and representative exhaust valve. There was carbon on both. The edges are rough, and clearly need some lapping. I will use lapping compound and a hand twirler to get this job done.
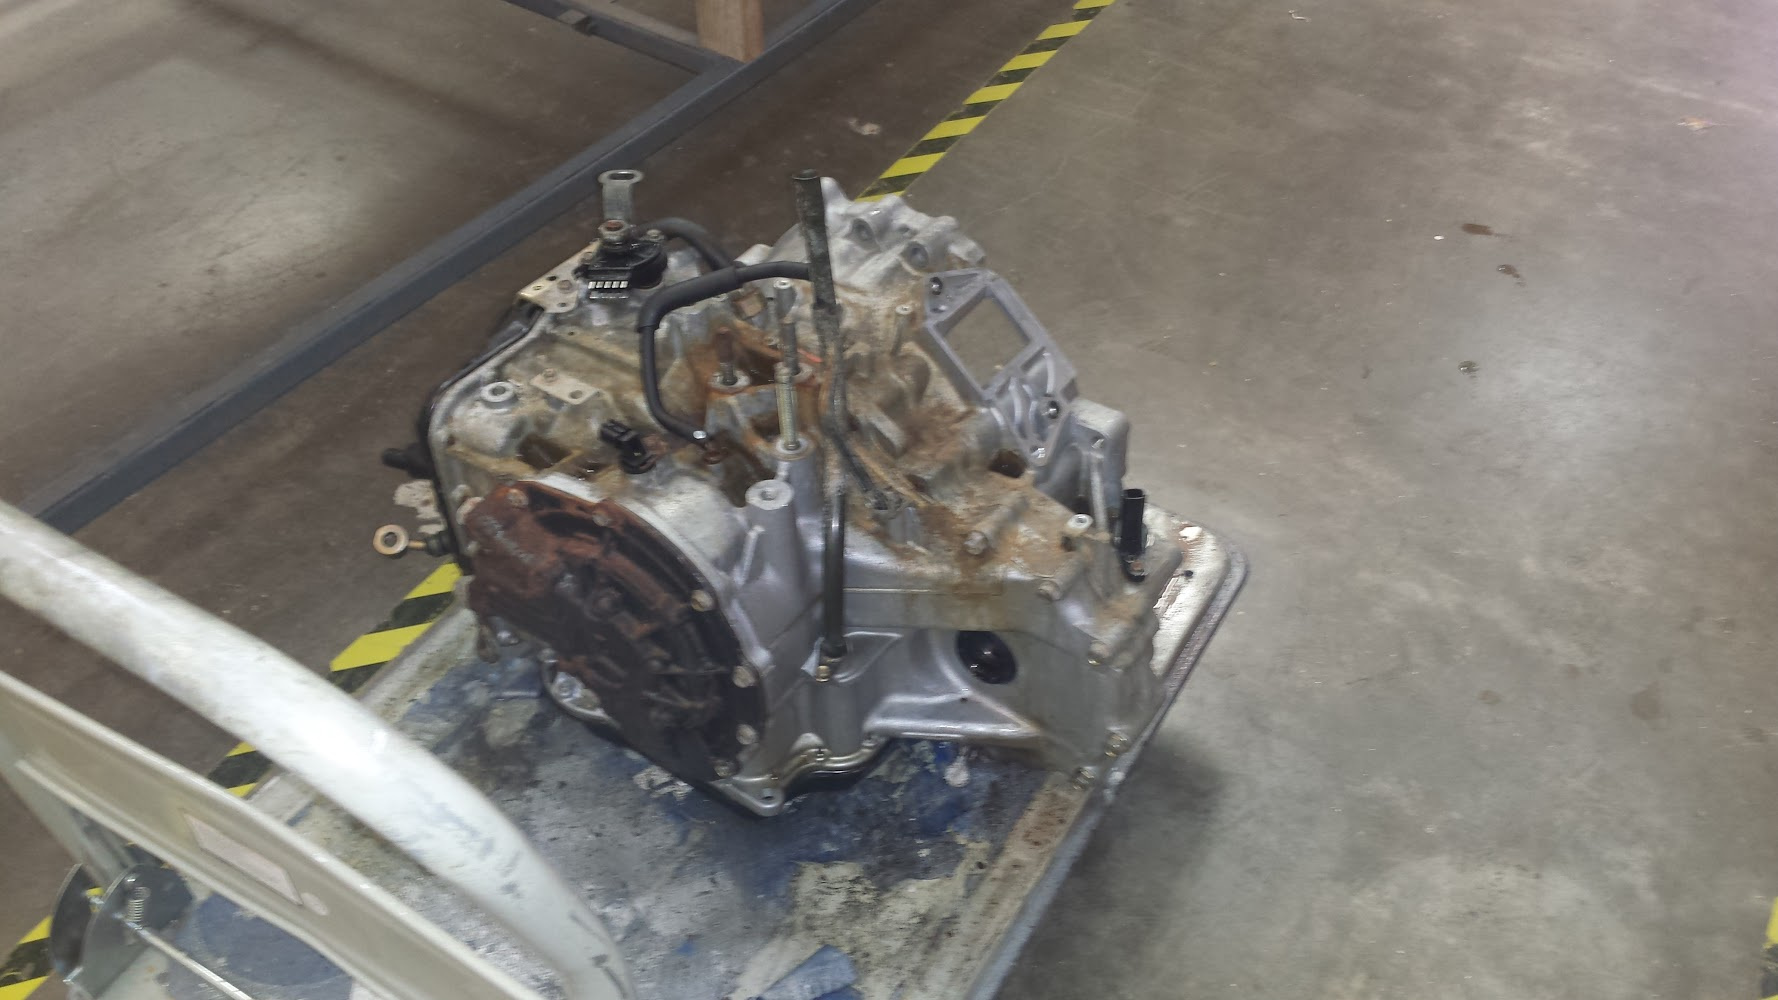
I also did some cleaning on a lump of grease and rust that I had found attached to the torque converter. It took some time, but after a while I was able to identify that a transmission was underneath all the oxidation, dirt and slime. I can’t be certain, but I think that it might even work. We shall see. Here are some pics:
Get a piece of cardboard and label it with the cylinder numbers and punch holes in the cardboard with the valves you remove from corresponding cylinders.
Since you are just planning on lapping the valves and not cutting the seats - it is a good practice to put the vales that came out - back in the same seats.
Do you have lapping compound? Spit and saliva won’t cut it.
Are you going to change the trans fluid and filter (if so equipped)?
This chemical dip is the Shite when it comes to chemical based cleaner:
http://www.bettymills.com/shop/product/view/Berryman/ORS084-0905.html?referer=search
Thx 4 info…
I am aware that the lapping compound has abrasive material in it. I plan to swing by Oreillys and pick up some along with a suction cup type twirler handle. Once I am satisfied that I have gotten the valves sufficiently clean, I plan to simply do the hand twirl method of lapping, while listening to the change in sound produced as my cue to indicate improved surfaces.
The engine had some 200 psi compression before the break-down. So I think that the valves are pretty good. The idea here is that I don’t want to do anything drastic, but I do think that carefully smoothing the existing surfaces is a good play.
Now I have zero experience doing this to back up my gut. So, from experience, can you tell me am I on a reasonable path here, or had I better completely reevaluate if I expect to achieve my goal of long lasting engine life for my Ford in Mazda rebuild?
Here is what I believe is an excellent video on valve lapping. The indication here is that this process is just cleanup maintenance, a smoothing of mating surfaces. If there is a problem, it should evidence itself here, and the heads must go to specialized machine shop for seat cutting, etc. I had to watch this several times. This guy talks fast…
Note that he indicates in his text this procedure is ok for non specialist. It’s when there is a problem identified doing these steps, I’m to pay $. He’s got a subsequent video at the machine shop showing what they do to cut surfaces. No way would I attempt that! It comes on after this video automatically I think. It becomes quite clear why the expert must handle anything more than smoothing of seats…
U tube rocks!
Everything you’re done so has gotten the engine heads looking good. Just curious, what the psi difference between high and low cylinders?
If you are wanting minimum $$$ - do what you are doing. Although as @TLAR says if you can cut the seats also before lapping that would be better (then the seat angles have the proper multiple angles restored) If you are truly looking to make it “like a new long lasting engine”, then new valves, seats and guides should probably be installed you’ve got everything broken down at this point. If your service manual has wears limits and you can “mike” valve stems and measure the guide bores and see if they are still good. If they are out of limits or right near the limits, you’ll want to consider replacing those as they impact valve wear and seating while in operation.
Good work!
200 psi - was that a total of the six cylinders? If it had stellar compression why was it taken apart?
proper hand lapping (“twirling as you call it”) is time consuming. The brand of lapping compound he wanted to use in the video is the CLOVER brand (but it doesn’t come in a tube - so I am sure that is out for you due to it’s inconvenience). it is available in half a dozen grits.
The older well made version of this hand cranked mechanical lapping tool made hand lapping less tedious. Still tedious, still time consuming…
http://www.ezbore.net/v/vspfiles/photos/ROT-9050-3.jpg
How are you going to support the heads whilst lapping?
Time consuming? No way! There is no way on earth the Mazda could burn an inordinate amount of my time!
Dude in video glazed over grit. He used the same stuff I have. Will I be able to arrive an non-0squeaky/smooth-enough for govt work seats? What granularities should I be looking for in the event I grow a conscience about this item?
Head meets Mazda spec for compression (to be measured at operating temperature). A couple of the cylinders measure about half of what they did when cold. 204 psi +/- 30 is Mazda spec and only valid at op temp.
Heads getting attention pursuant to new block that will soon be beneath them. The old block is siezed. My instinct says they would have probably been OK untouched. But the procedure discussed gives me a chance to check things out, and see what I see.
I am open to suggestion about supporting the heads. I’m thinking clean and softer than aluminum.
Is that from the engine that had “200 psi” ?