I intend to be in tomorrow and I will warp one up and check it out.
Thanks so much for these.

I intend to be in tomorrow and I will warp one up and check it out.
Thanks so much for these.
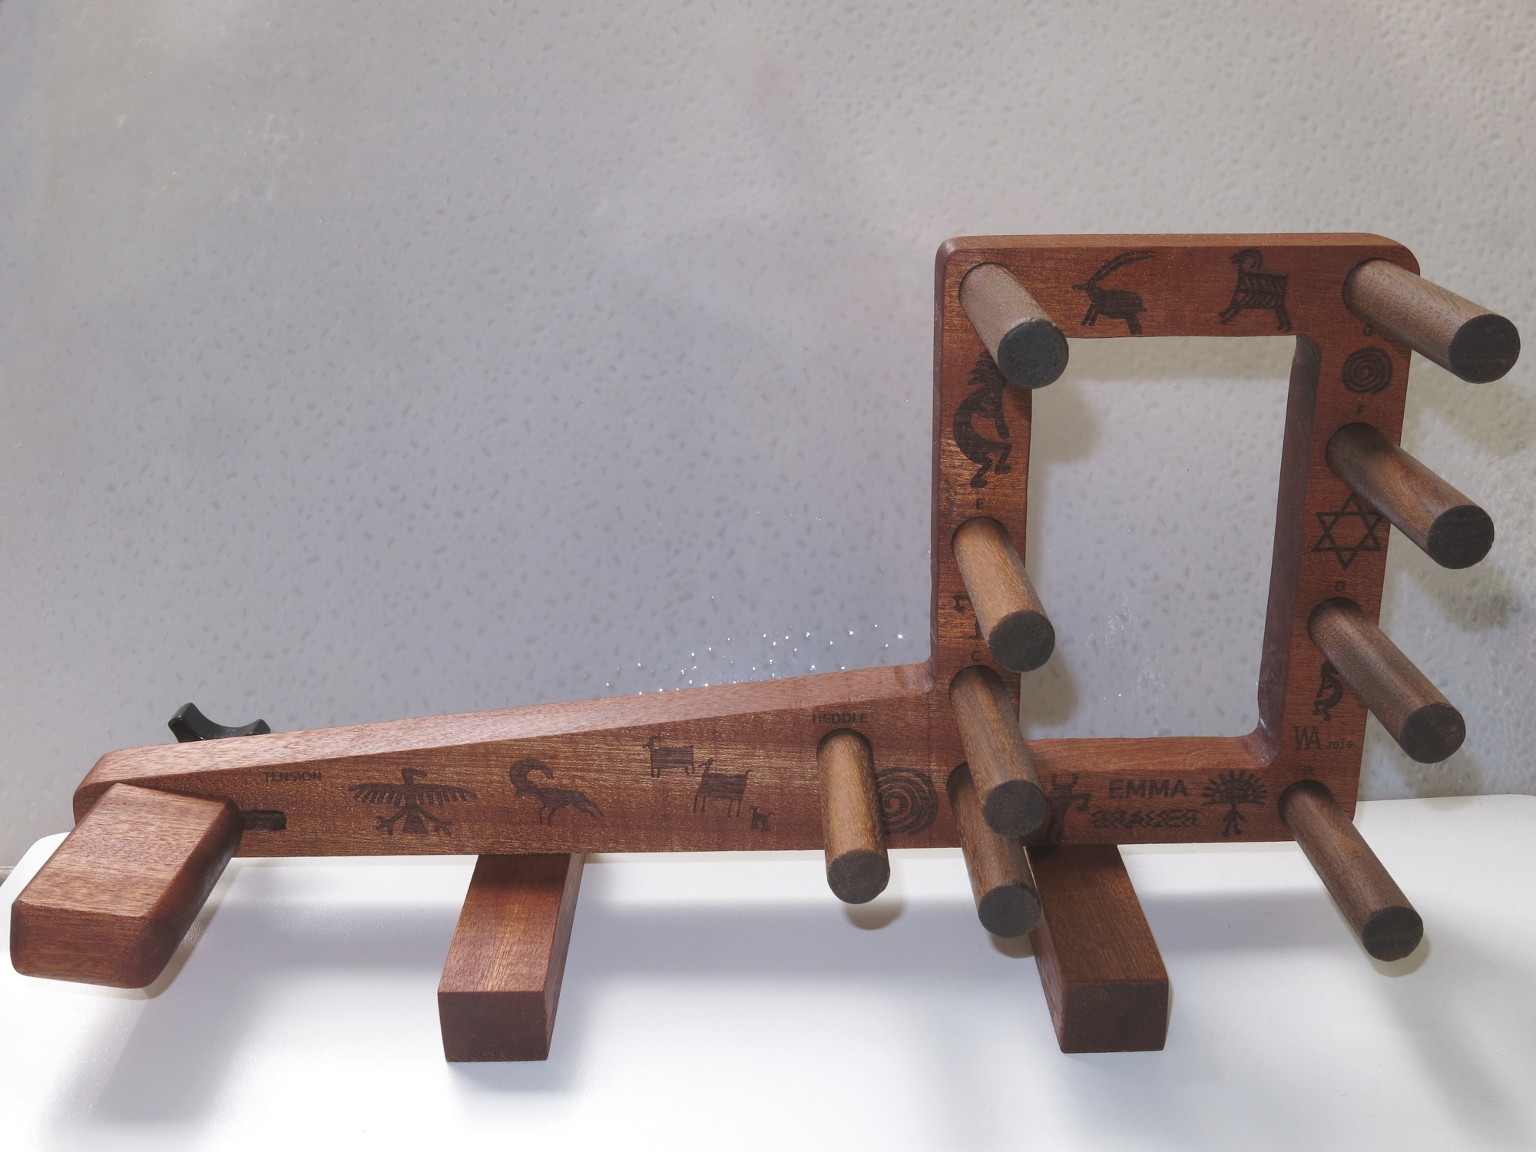
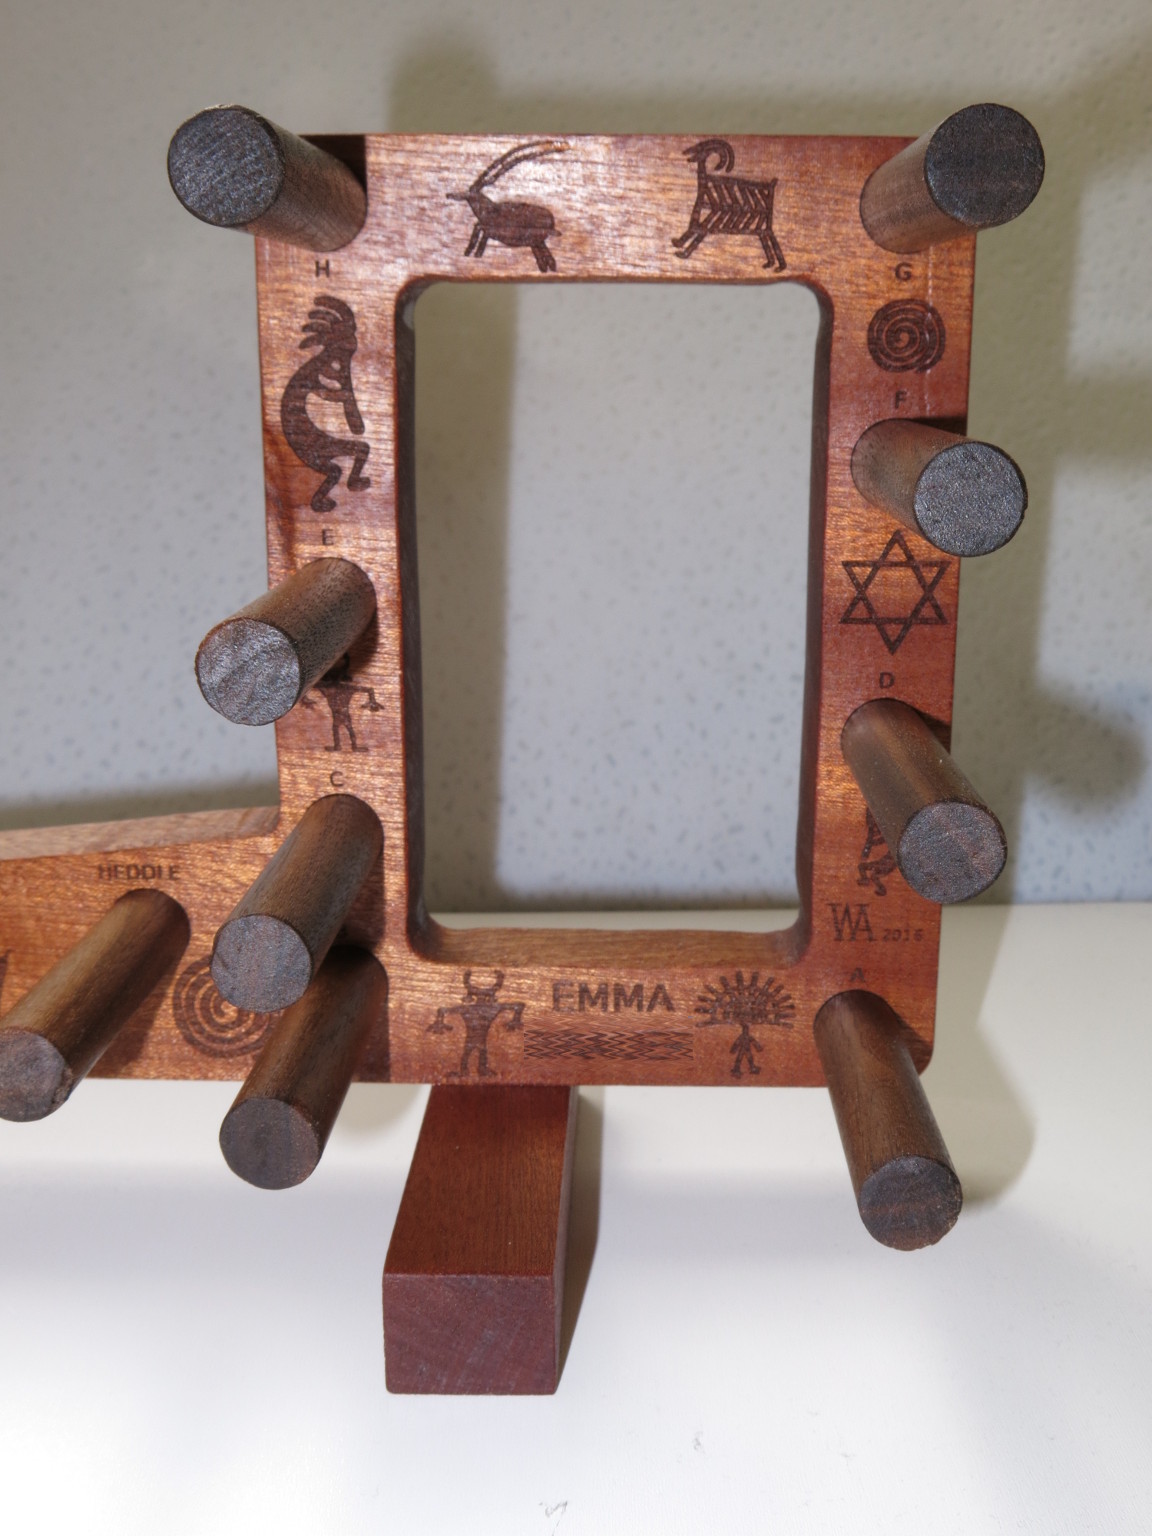
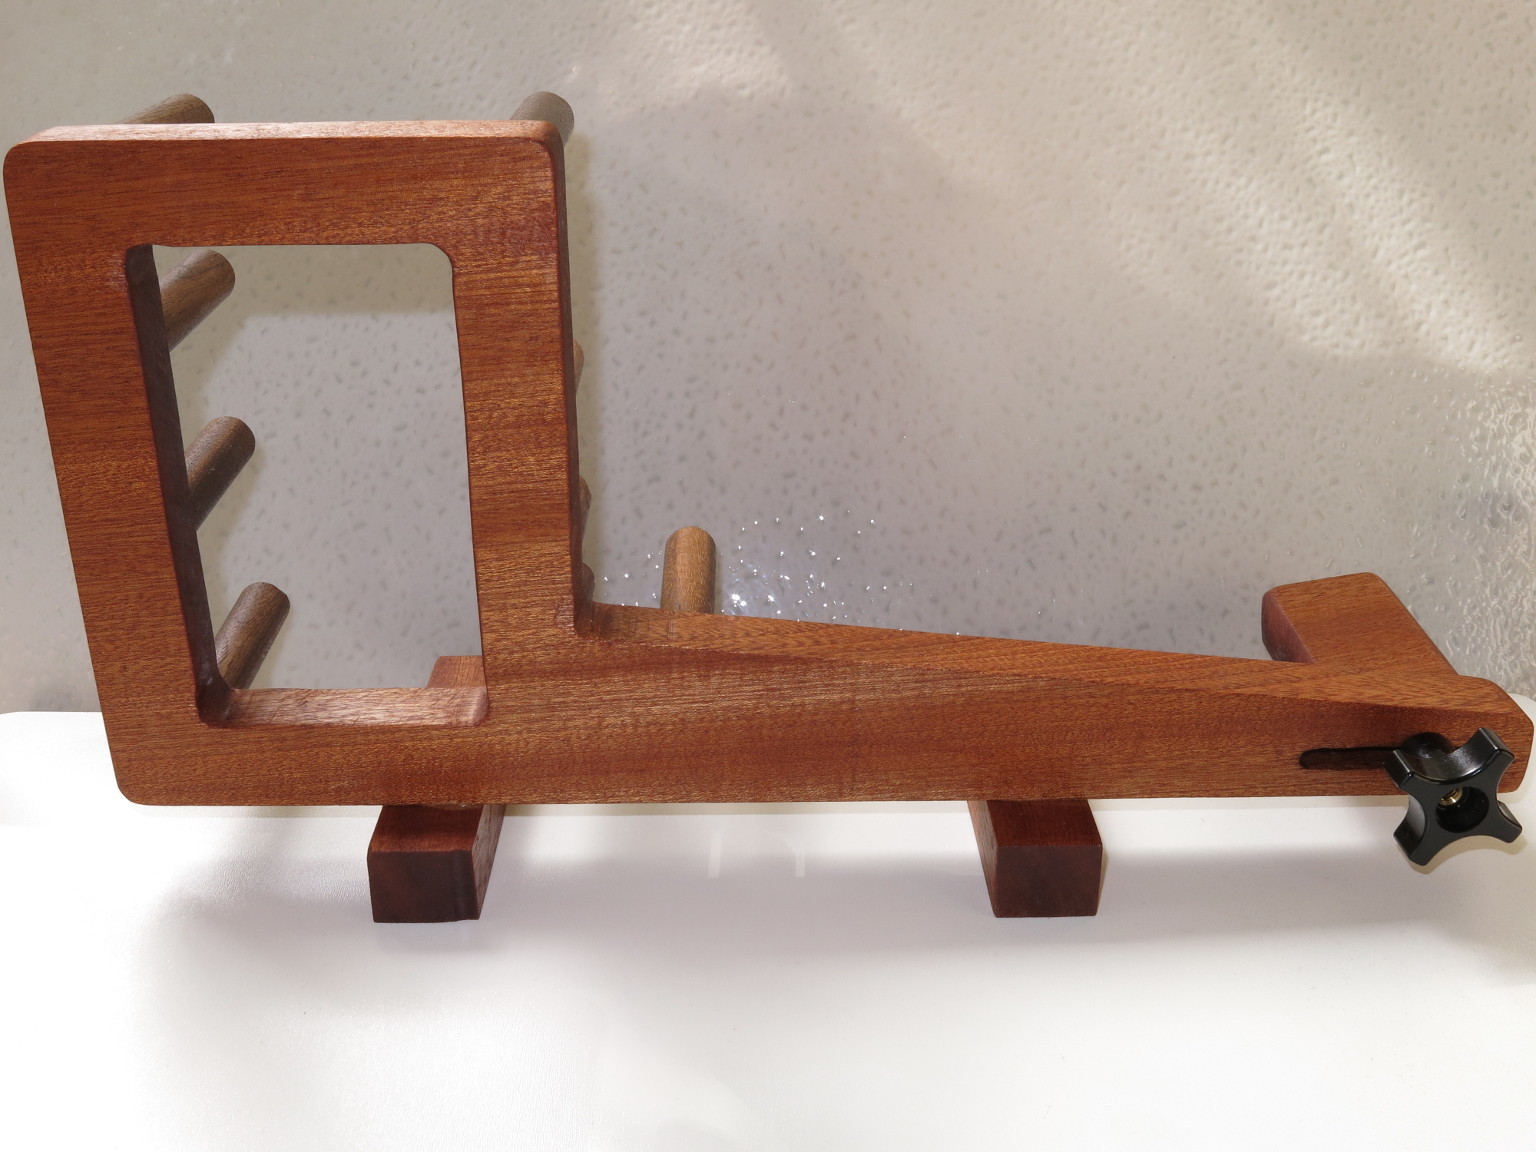
Well I finished another one of these small inkle looms. This one is intended as a gift for a friends daughter.
Got the RFID bracelets in, now i cant lock myself out of the building anymore, when i leave my keys on a table.

Toyed around with the Thunderlaser and after destroying 2 bracelets, came up with this.
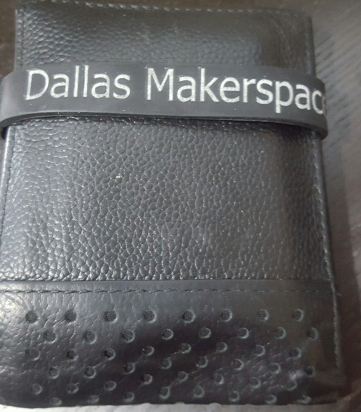
Next step is to get the logo on the top section
Have you thought about trying the Zing for that. You don’t need Thunderlaser power for those.
i went backwards, checked out on TL first, I’m pretty sure the zing can do the same. This was more of a test on the TL to confirm silicone rubber can be done w/o screwing up the laser. It cut fine with no nasty fumes as well.
I’m trying to figure out how to eliminate the material in the letters
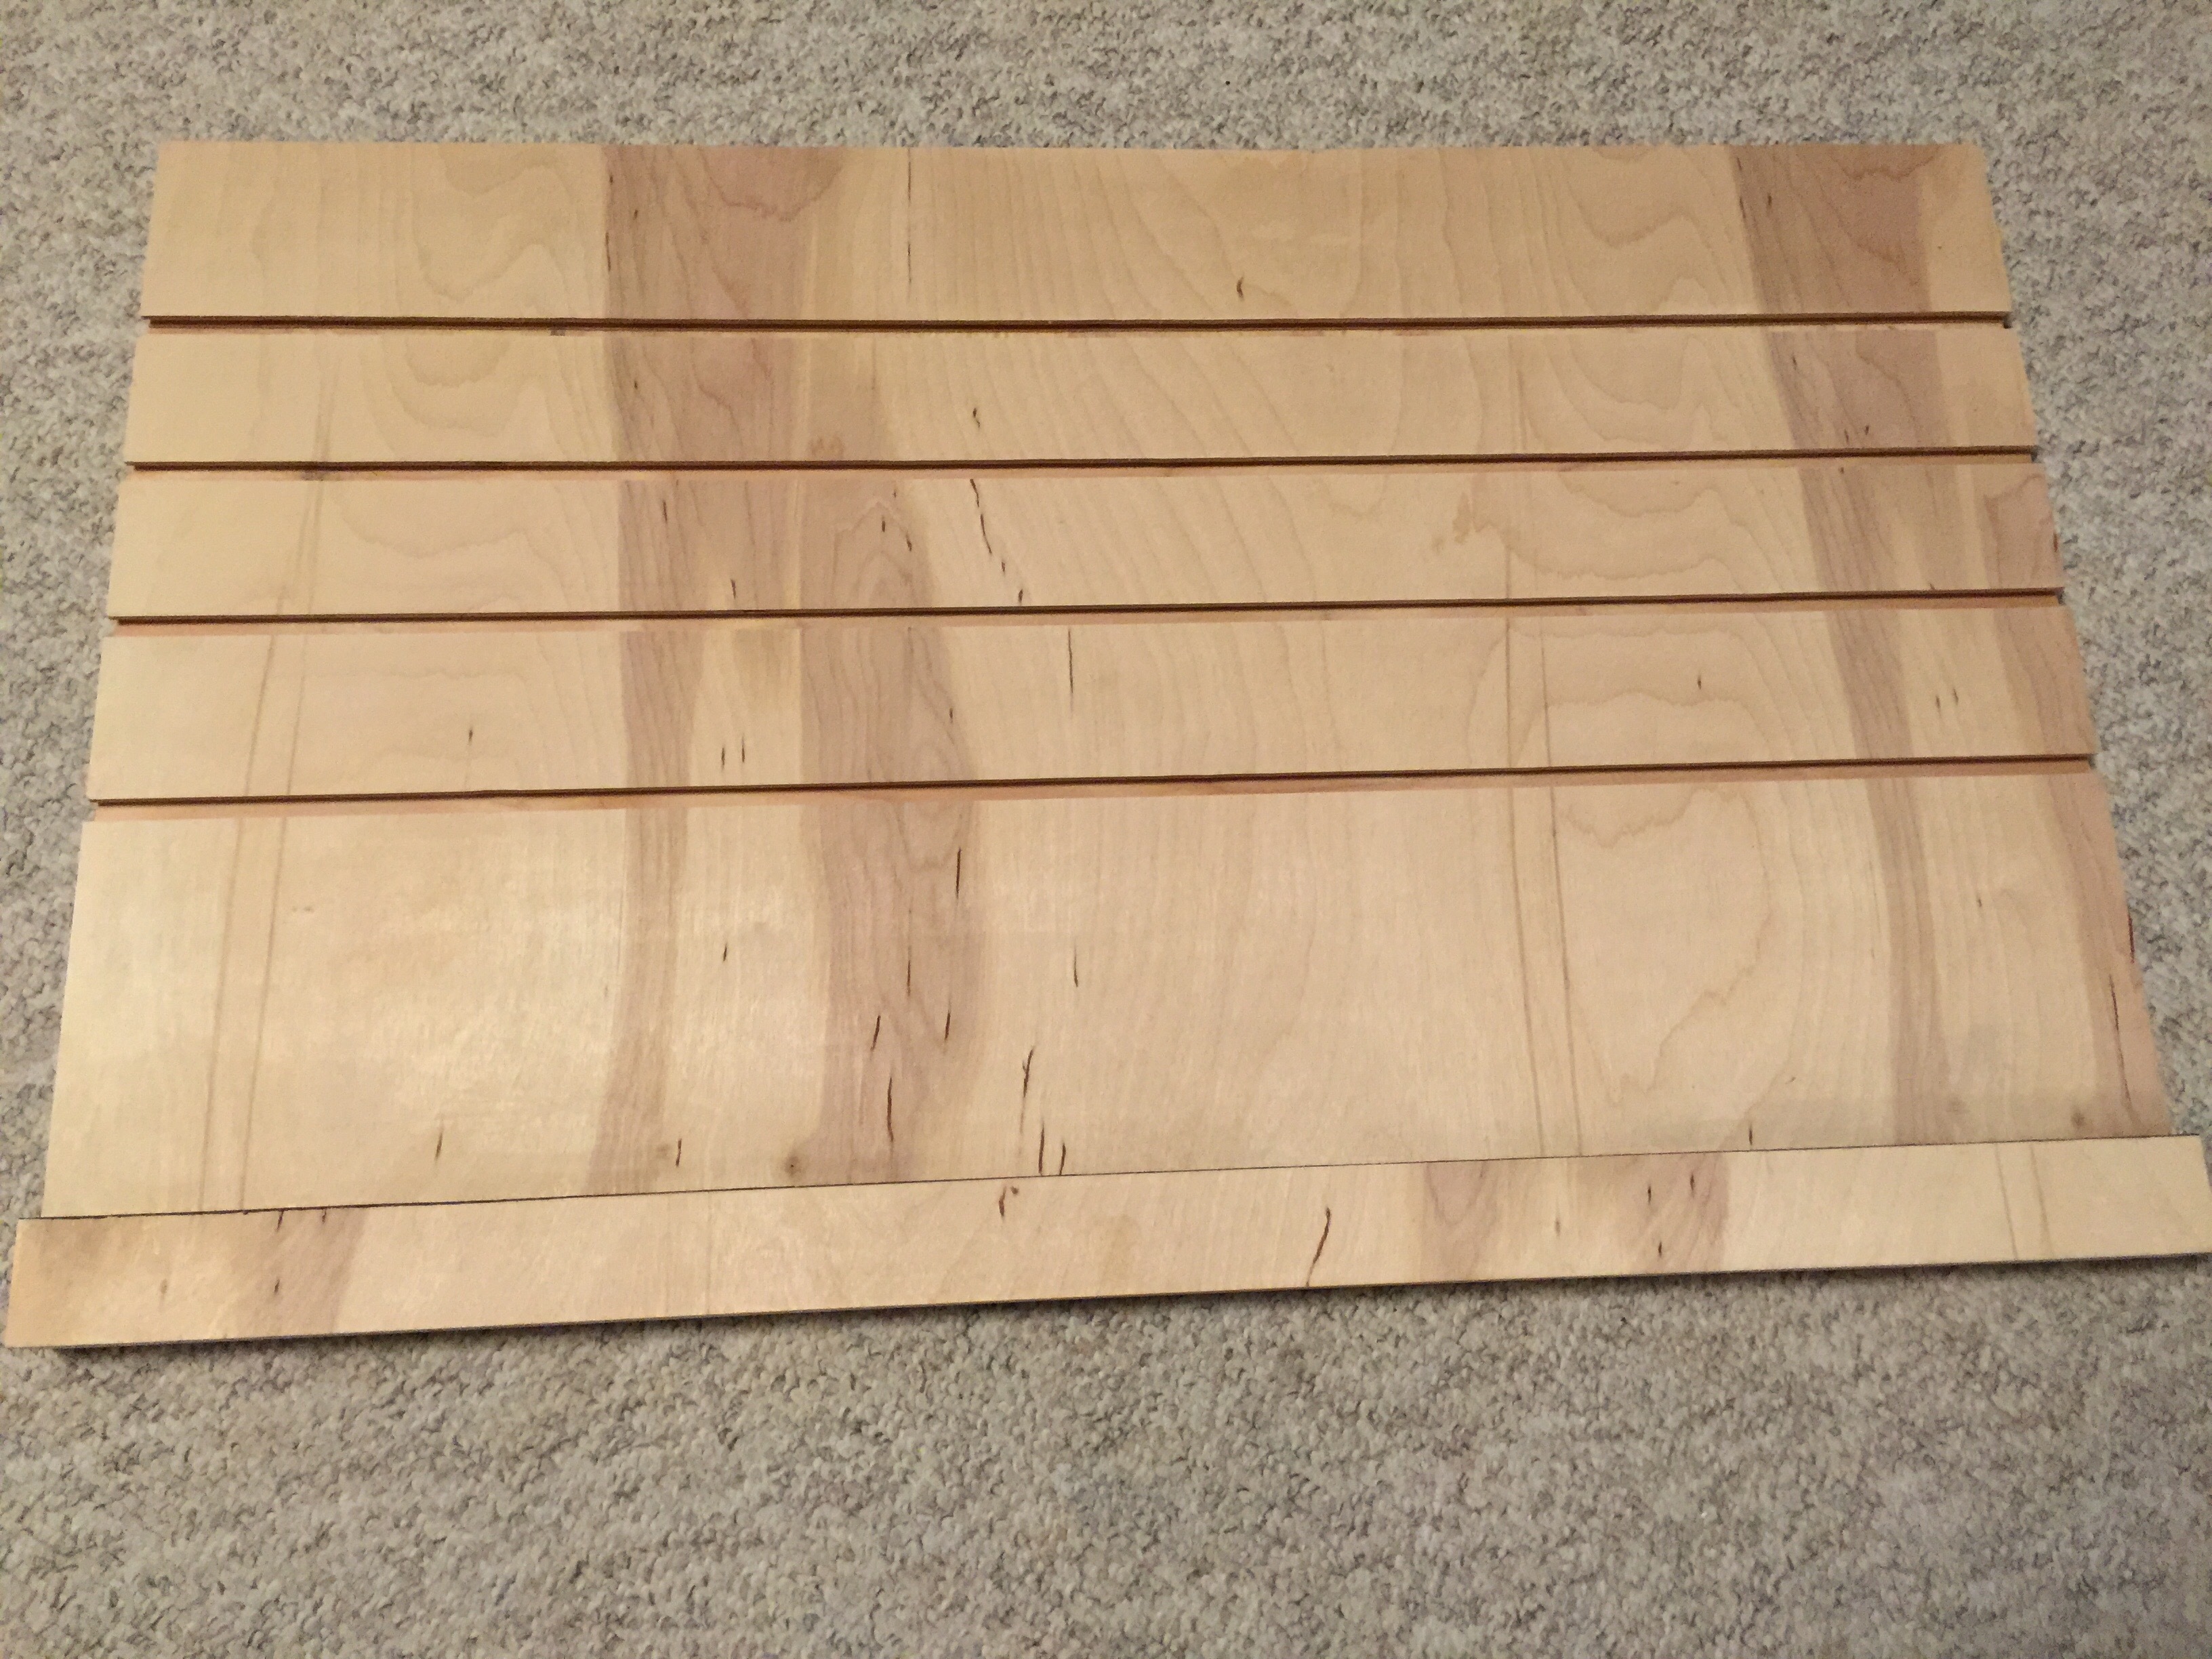
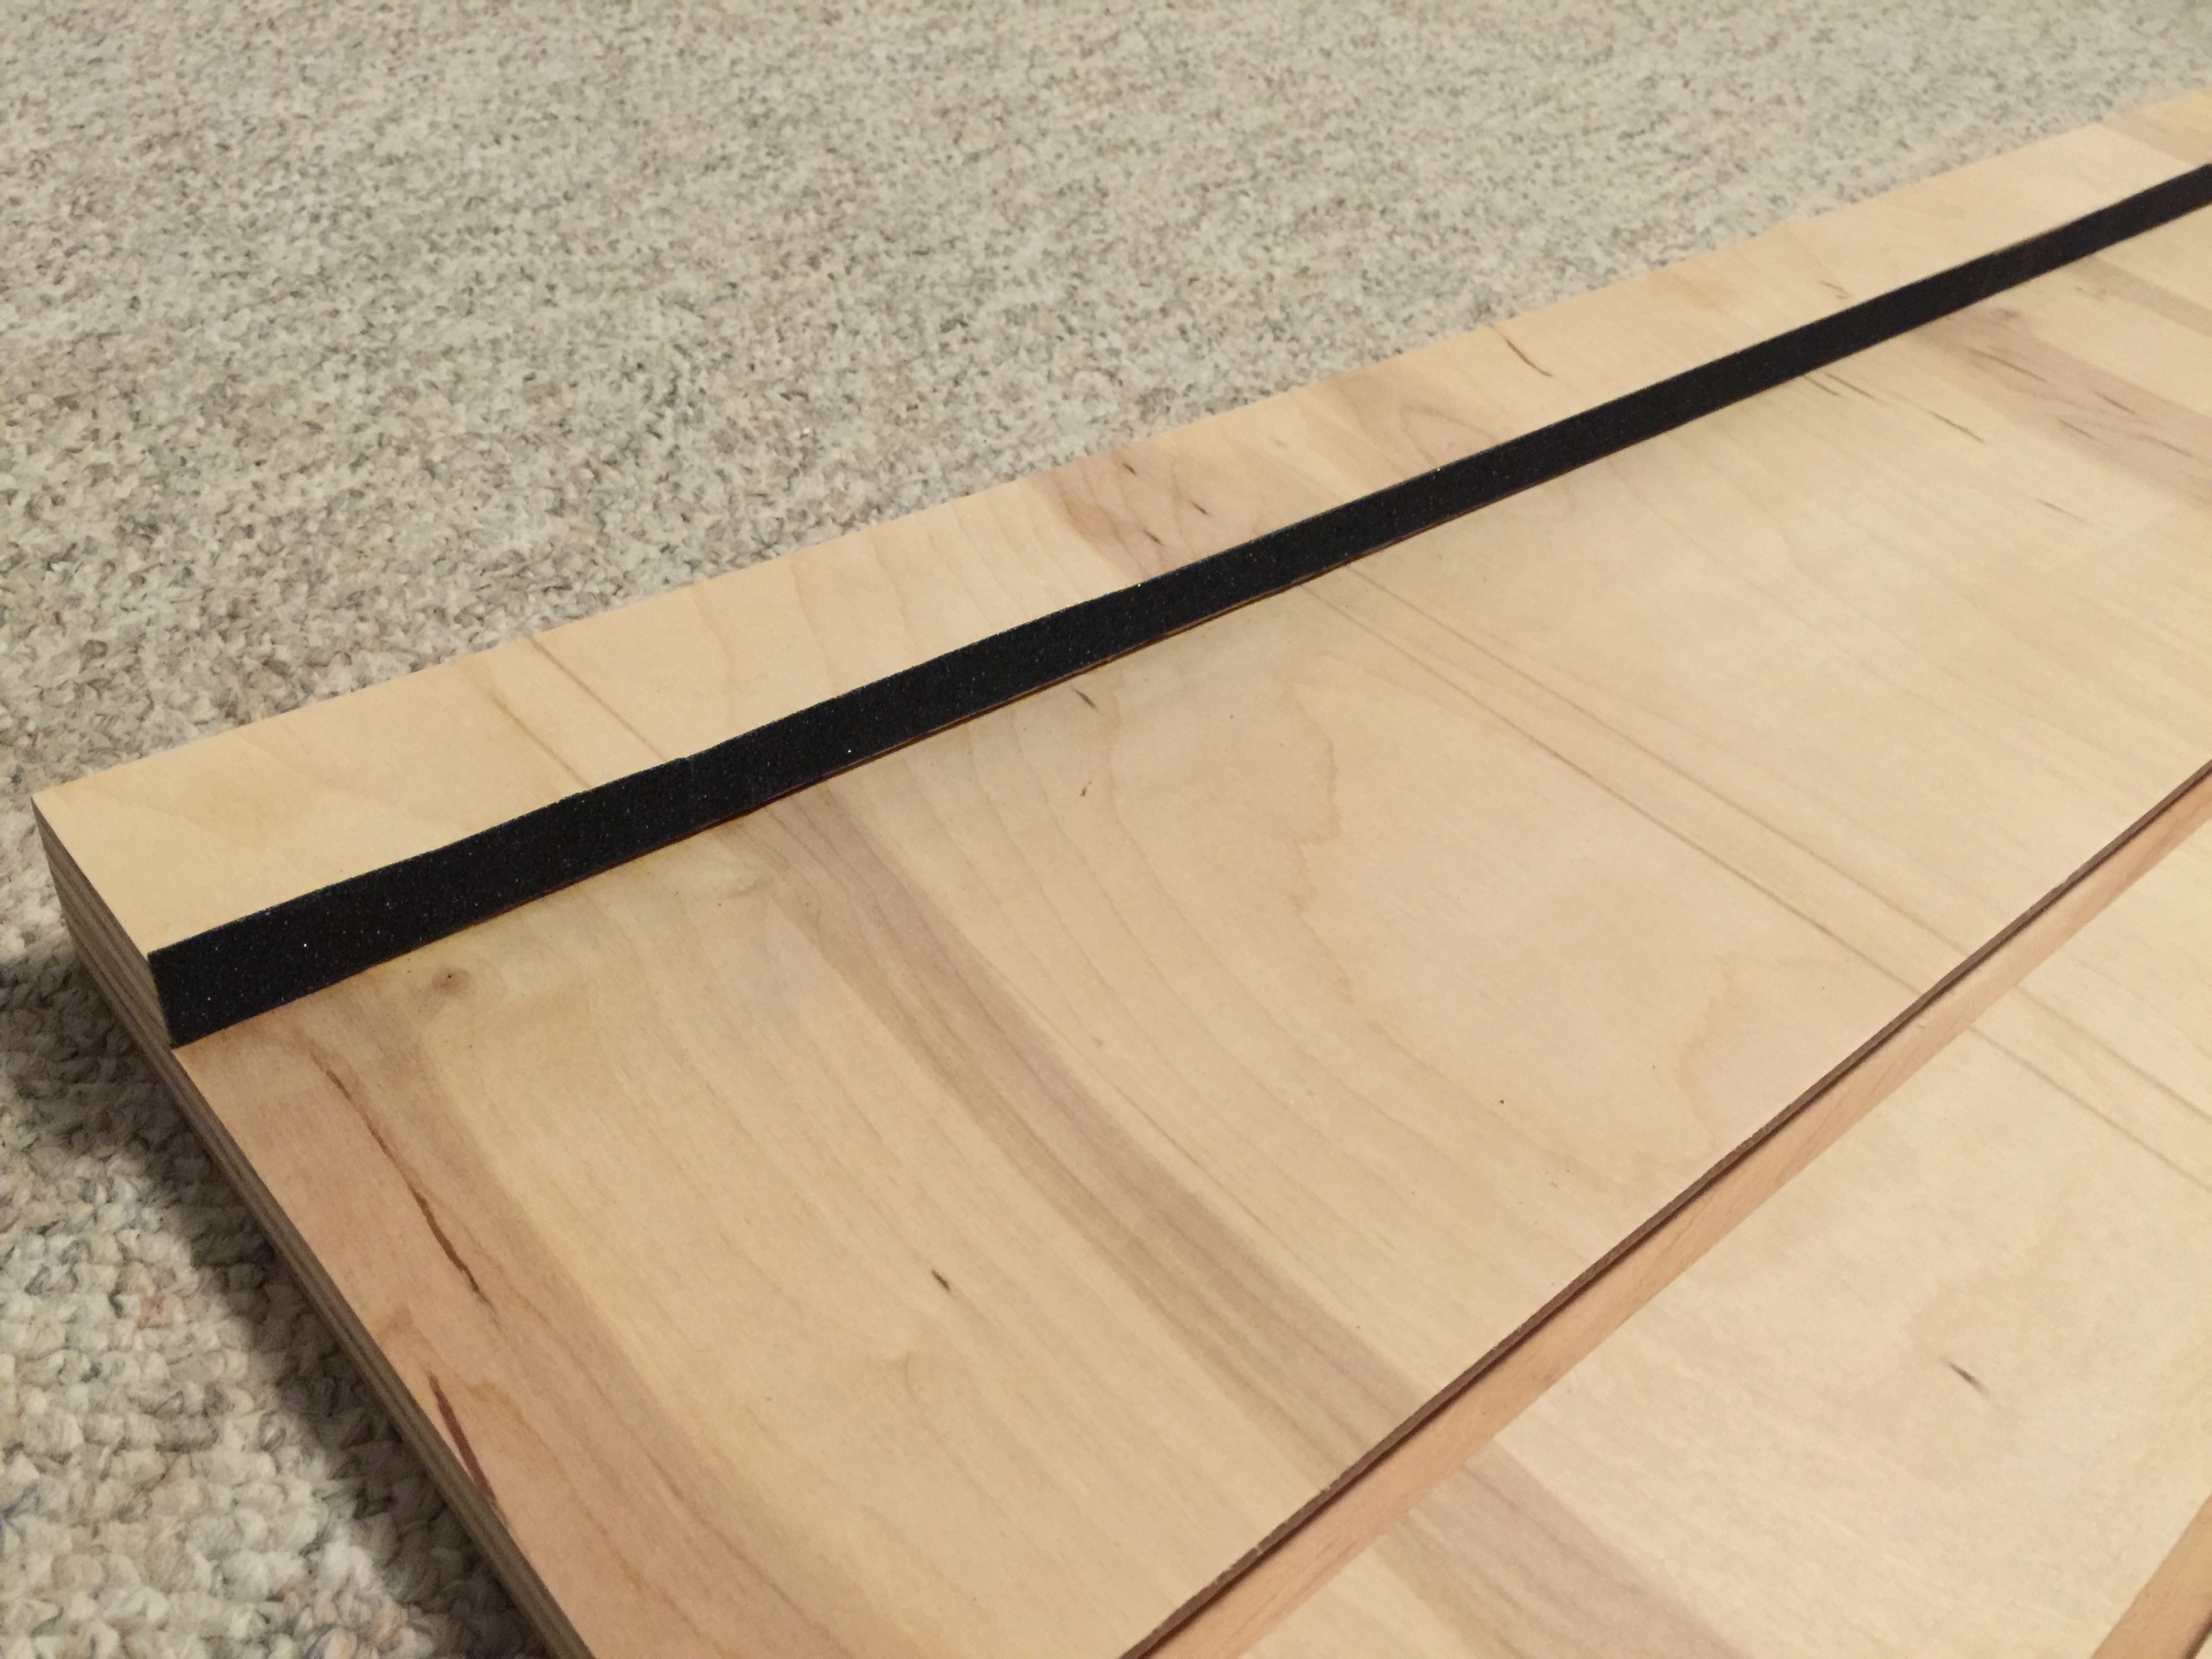
Made a jig for the multicam. It’s inspired by one that Chris in the woodshop made for the same purpose. It allows you to secure smaller pieces that normally would not have enough surface area to be held in place by the vacuum table. It also protects the LDF spoil board from being cut into in the event the bit slips or the router bit is somehow not set properly to the appropriate depth. I’m excited to use it to make some cool things!
Put some grip tape on the lip to really hold the piece in place. It’s basically rough grit sandpaper with a sticky backing. Probably overkill, but the engineer in me LOVES to over design things 
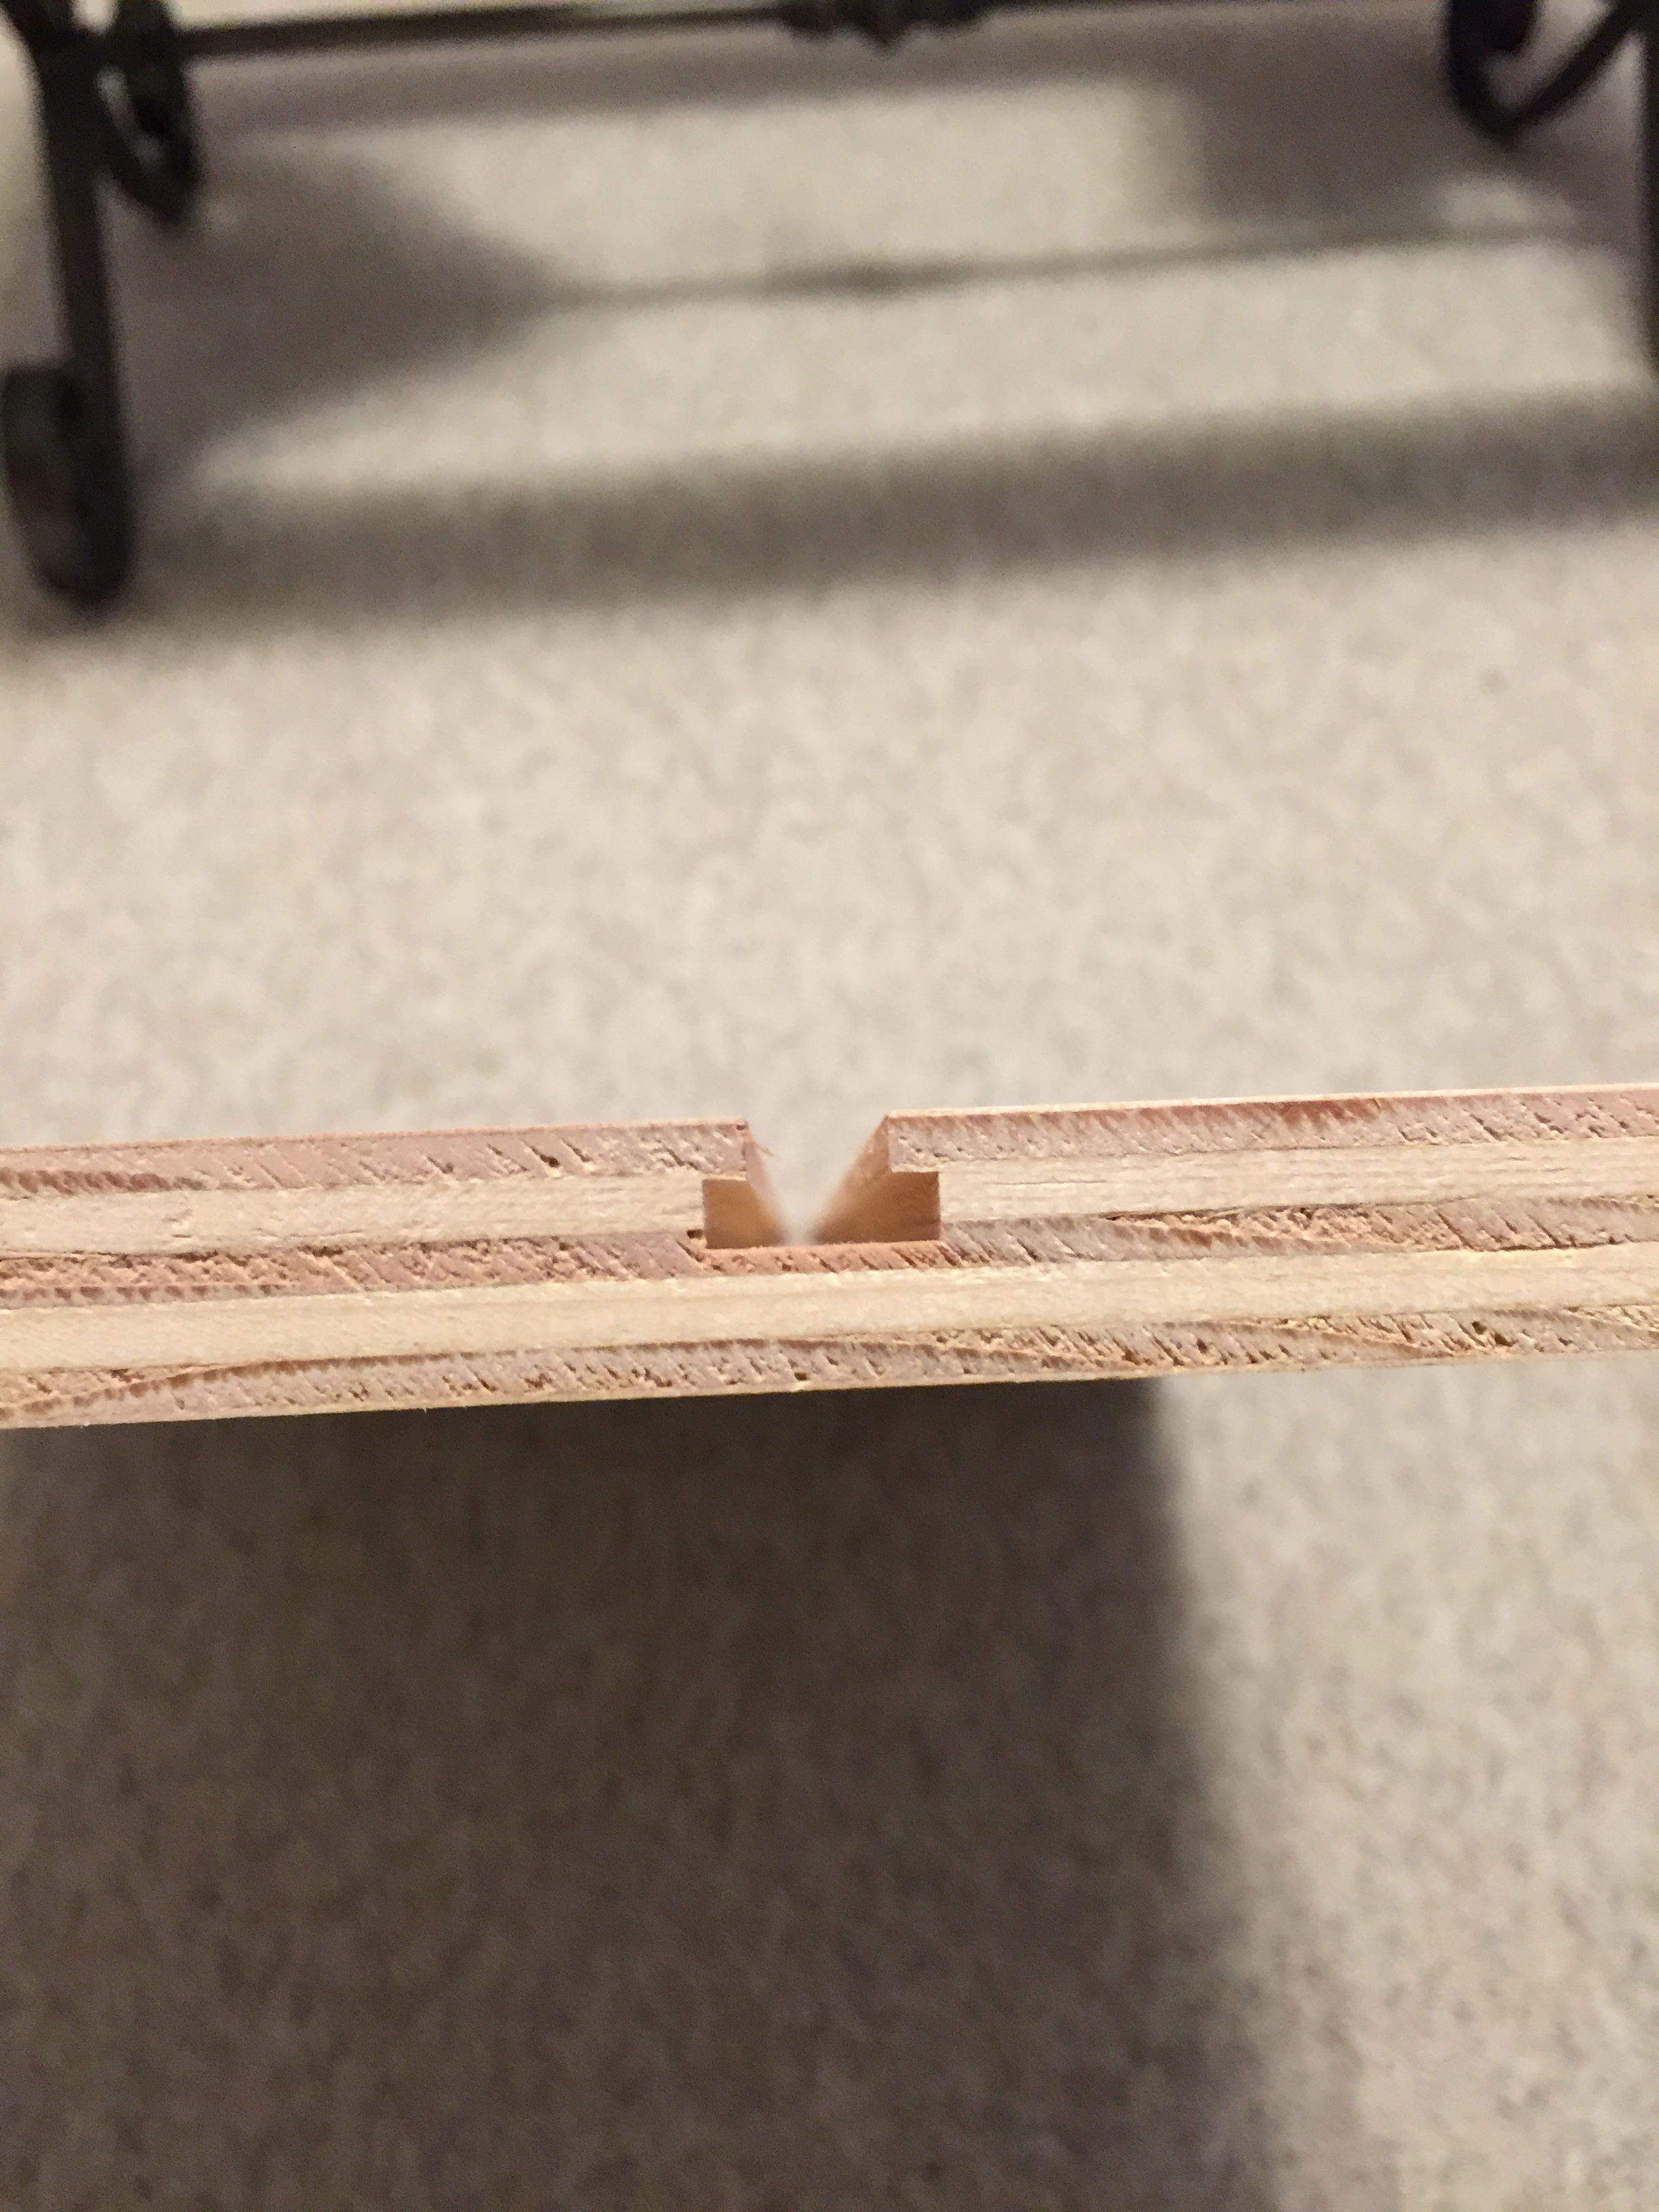
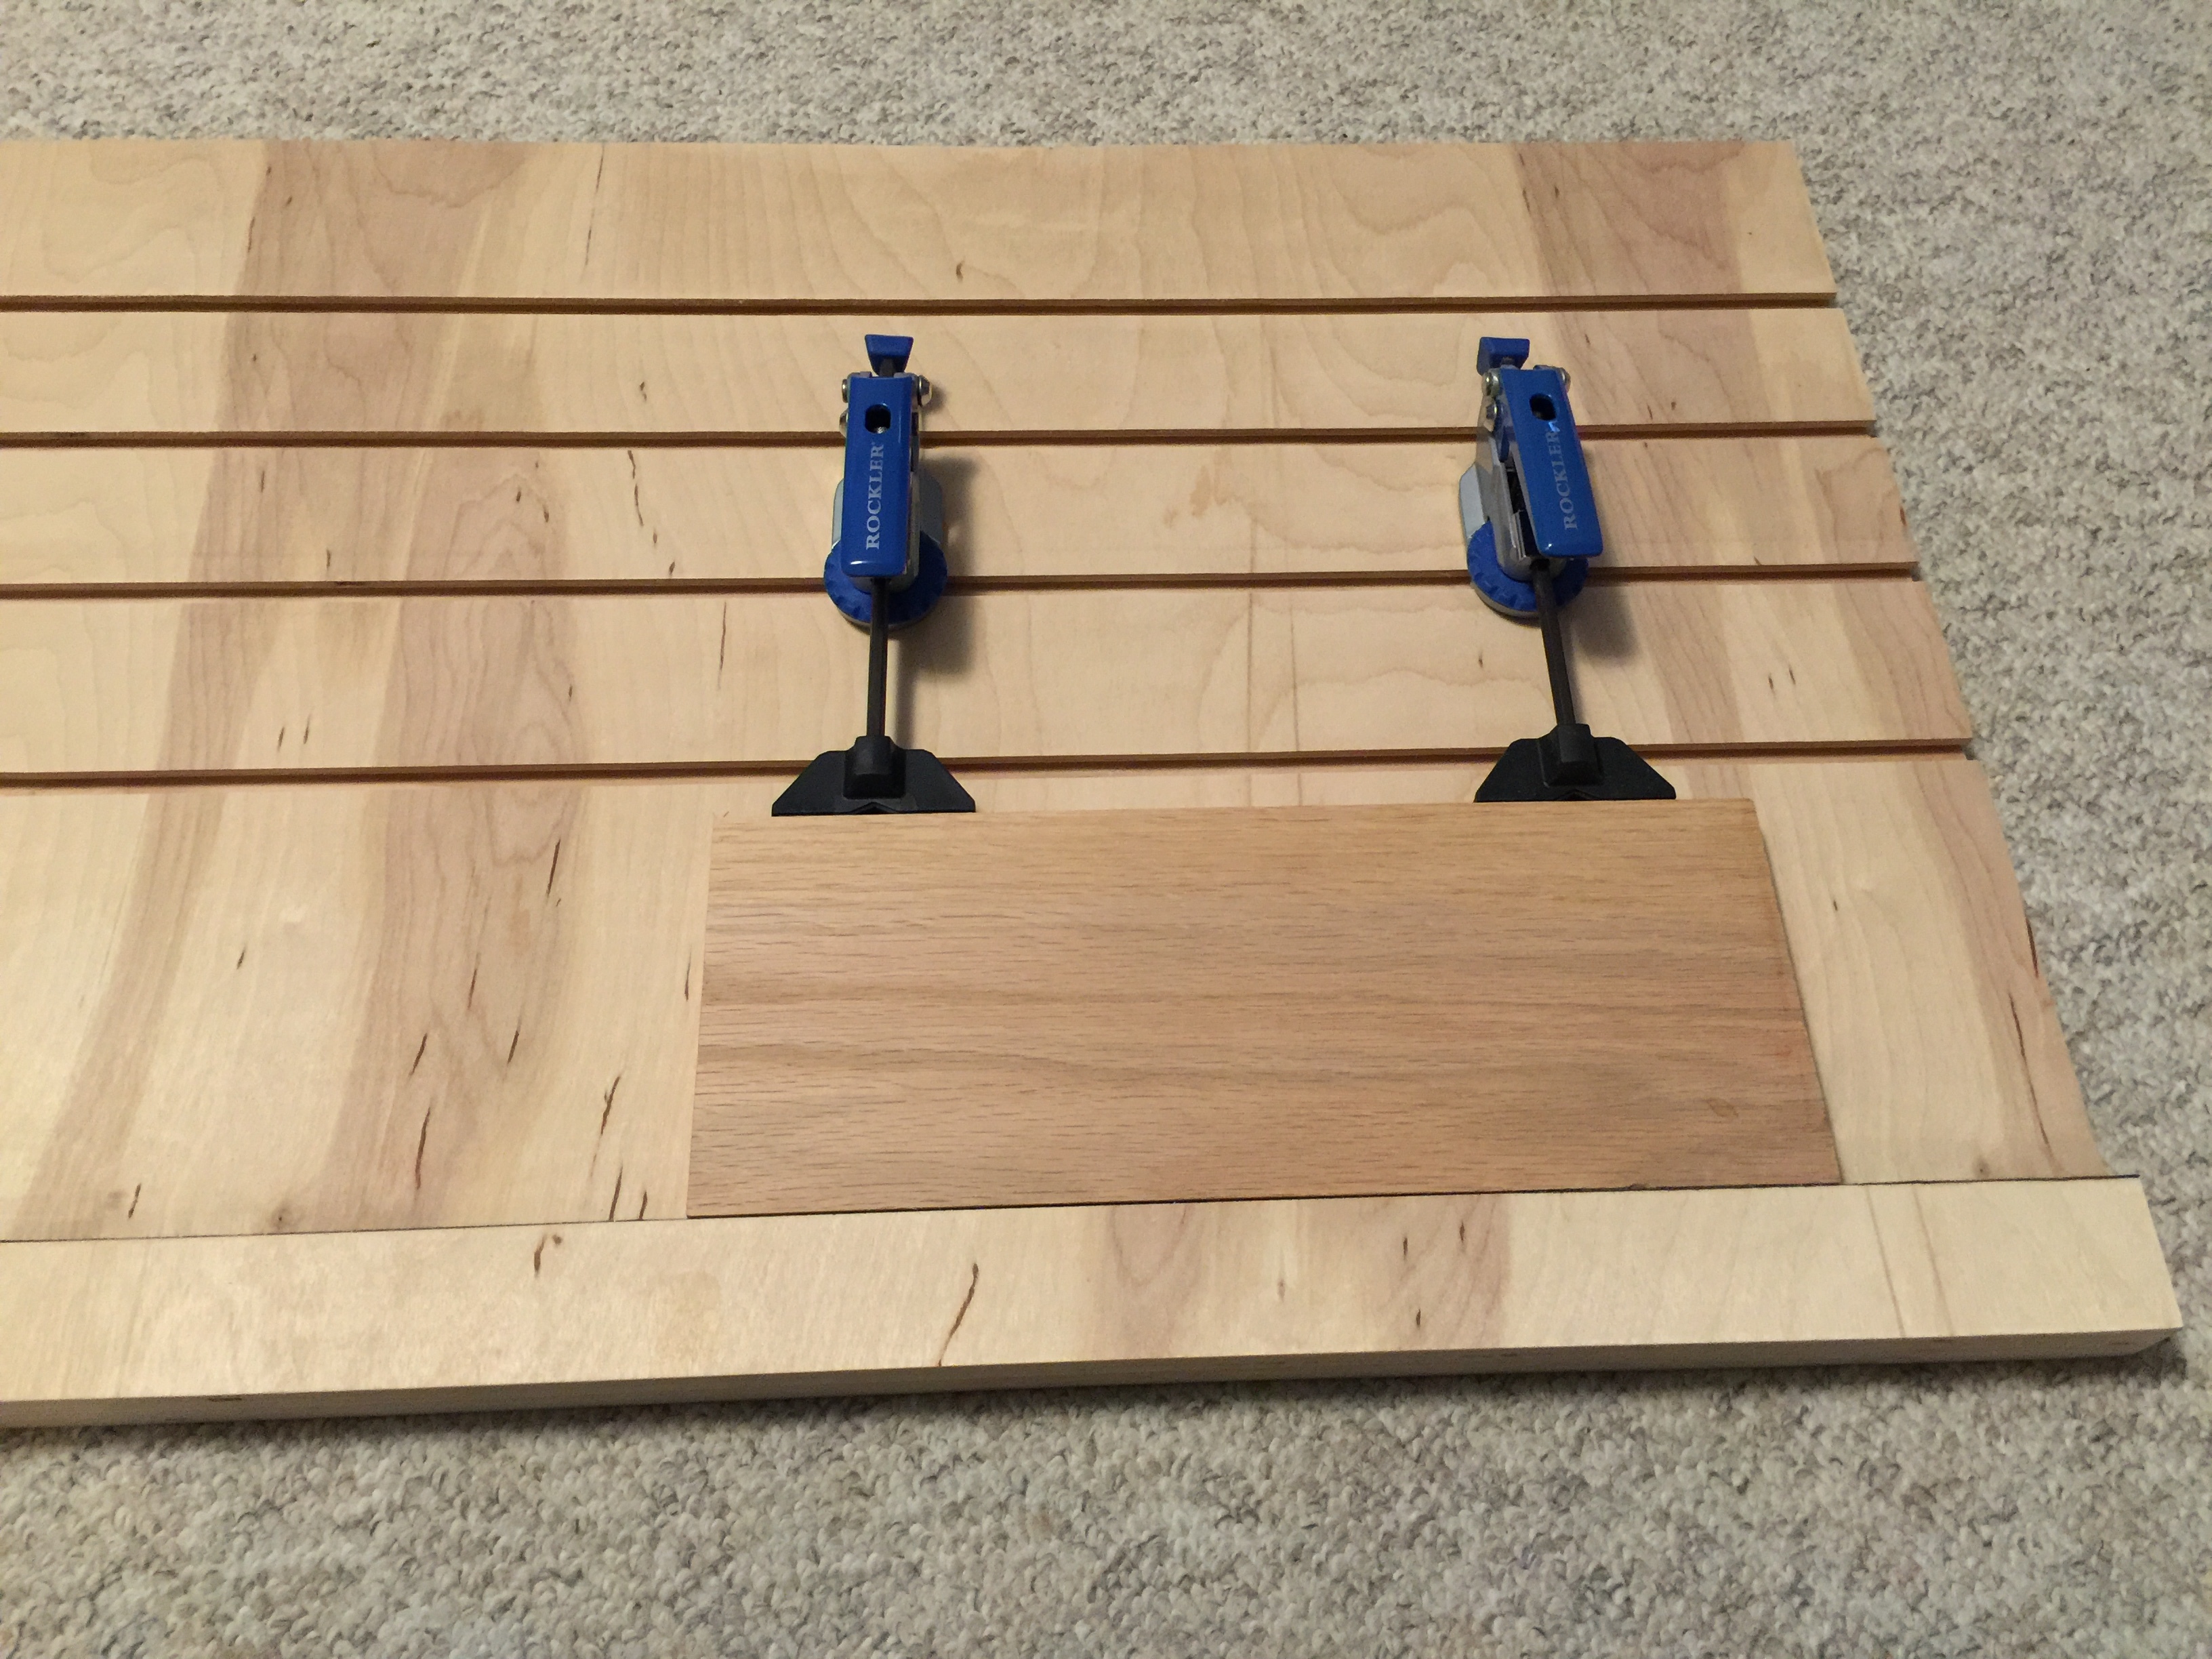
Routed t-slots to hold the clamps in place.
Ready for the CNC!
I seriously love the space and the opportunities it provides. I’m seriously happier than I’ve ever been. Thank you to all the volunteers that make this place so awesome. I’m learning a ton and having a blast in the process. This place feels like Willy Wonka’s factory, a place of pure imagination
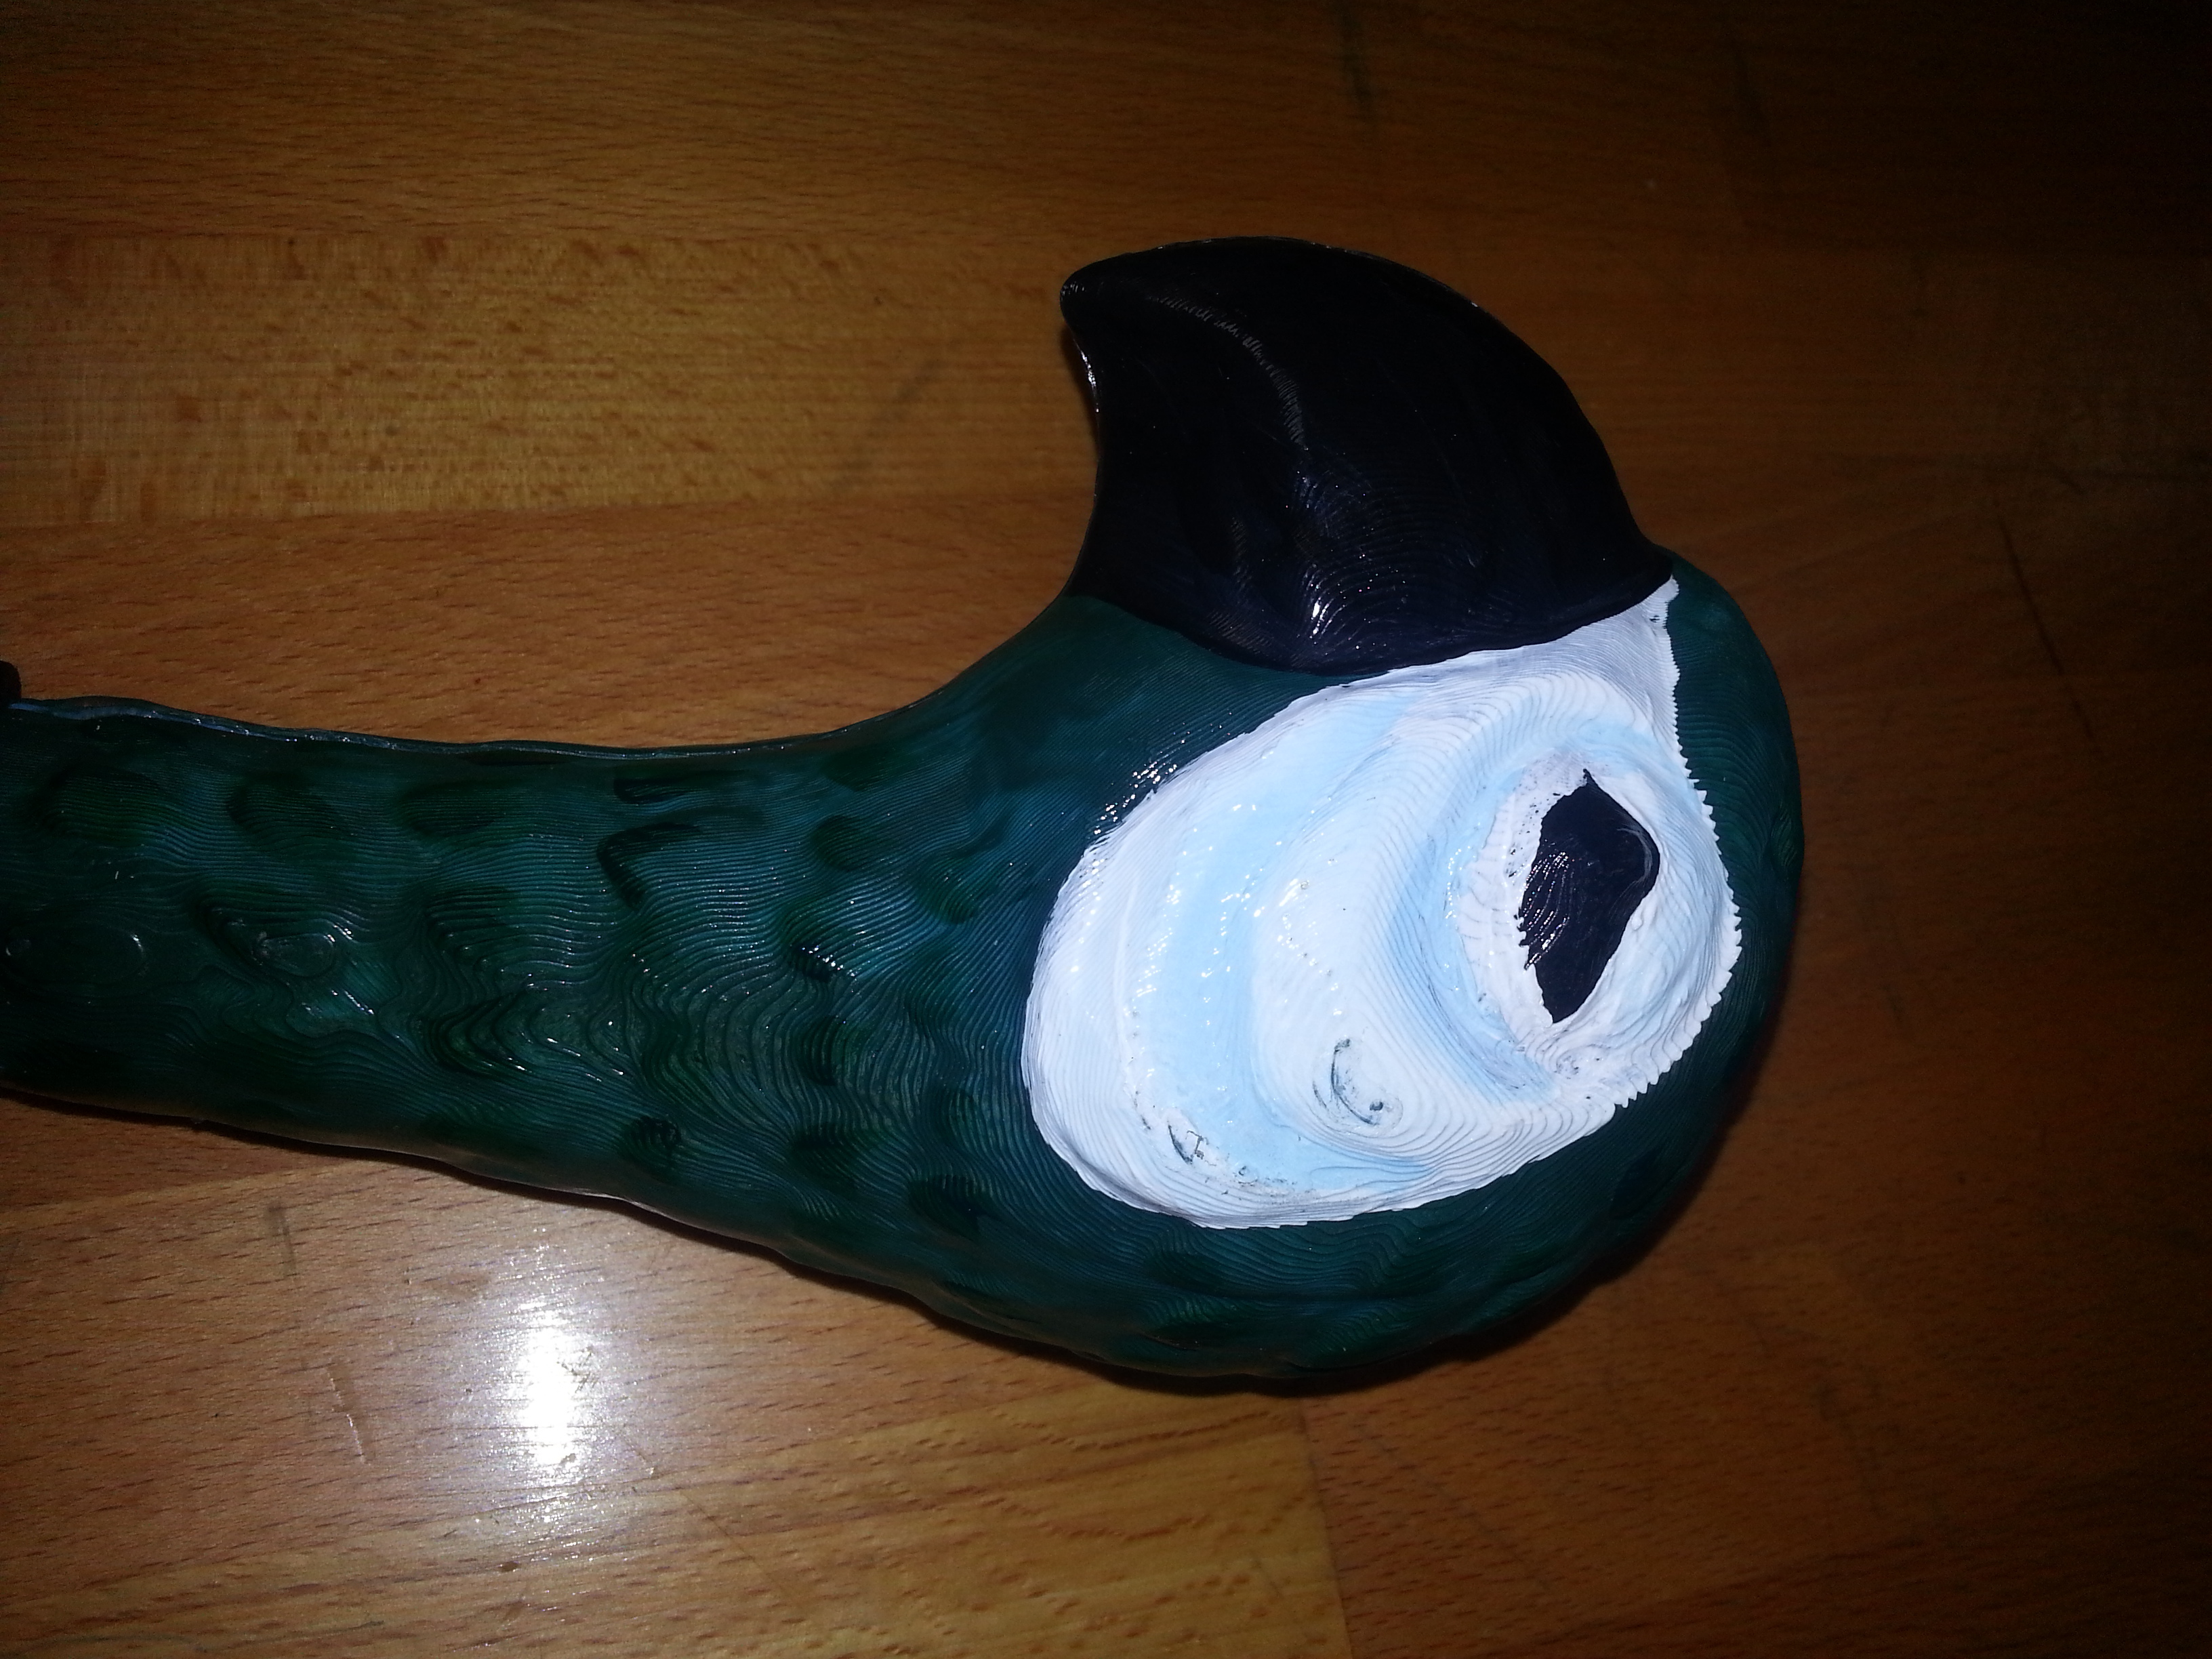
Supercalifragilisticespialidocious. Ever since i was a little girl i wanted to be mary poppins. Im one step closer…
3d printed, painted, sealed, attached. Now its partially perfect in every way. Just a spoon full of sugar helps the bordom go down… also it belps if you glue it standing up. Now to go feed the birds tuppins a bag.
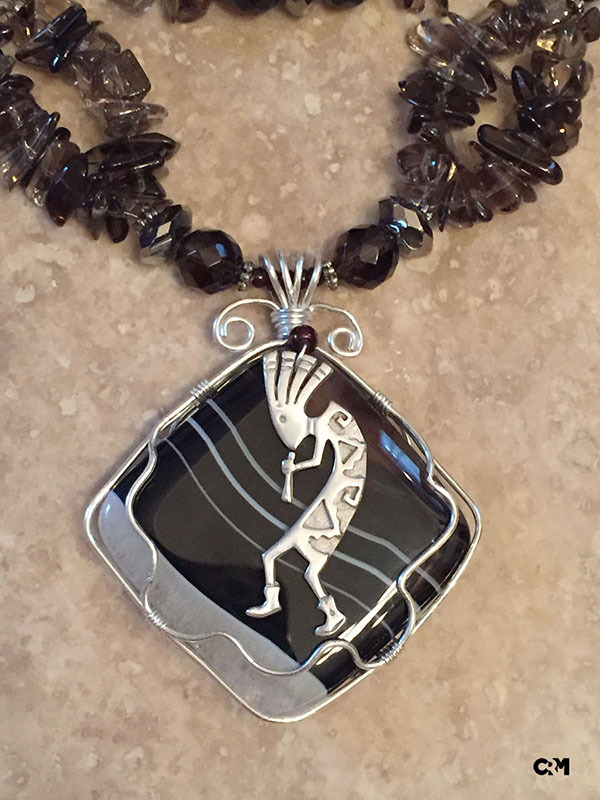
Finished a wire-wrapped pendant that has been lying around forever. The kokopelli is a purchased piece (I only wish I had the skill to make something like that!) - with help from @AnneGullett who de-soldered the finding that was already attached to it.
I’ve been a busy bee. Finished this small bowl made from honey locust. Charred and wire brushed the outside.
Then I finished making some wedding rings for myself and girlfriend. I will propose next week when she gets in town. These are mesquite burl with abalone inlay. Also made a ring box from oak with a bit of laser engraved leather. Made a few practice rings first.
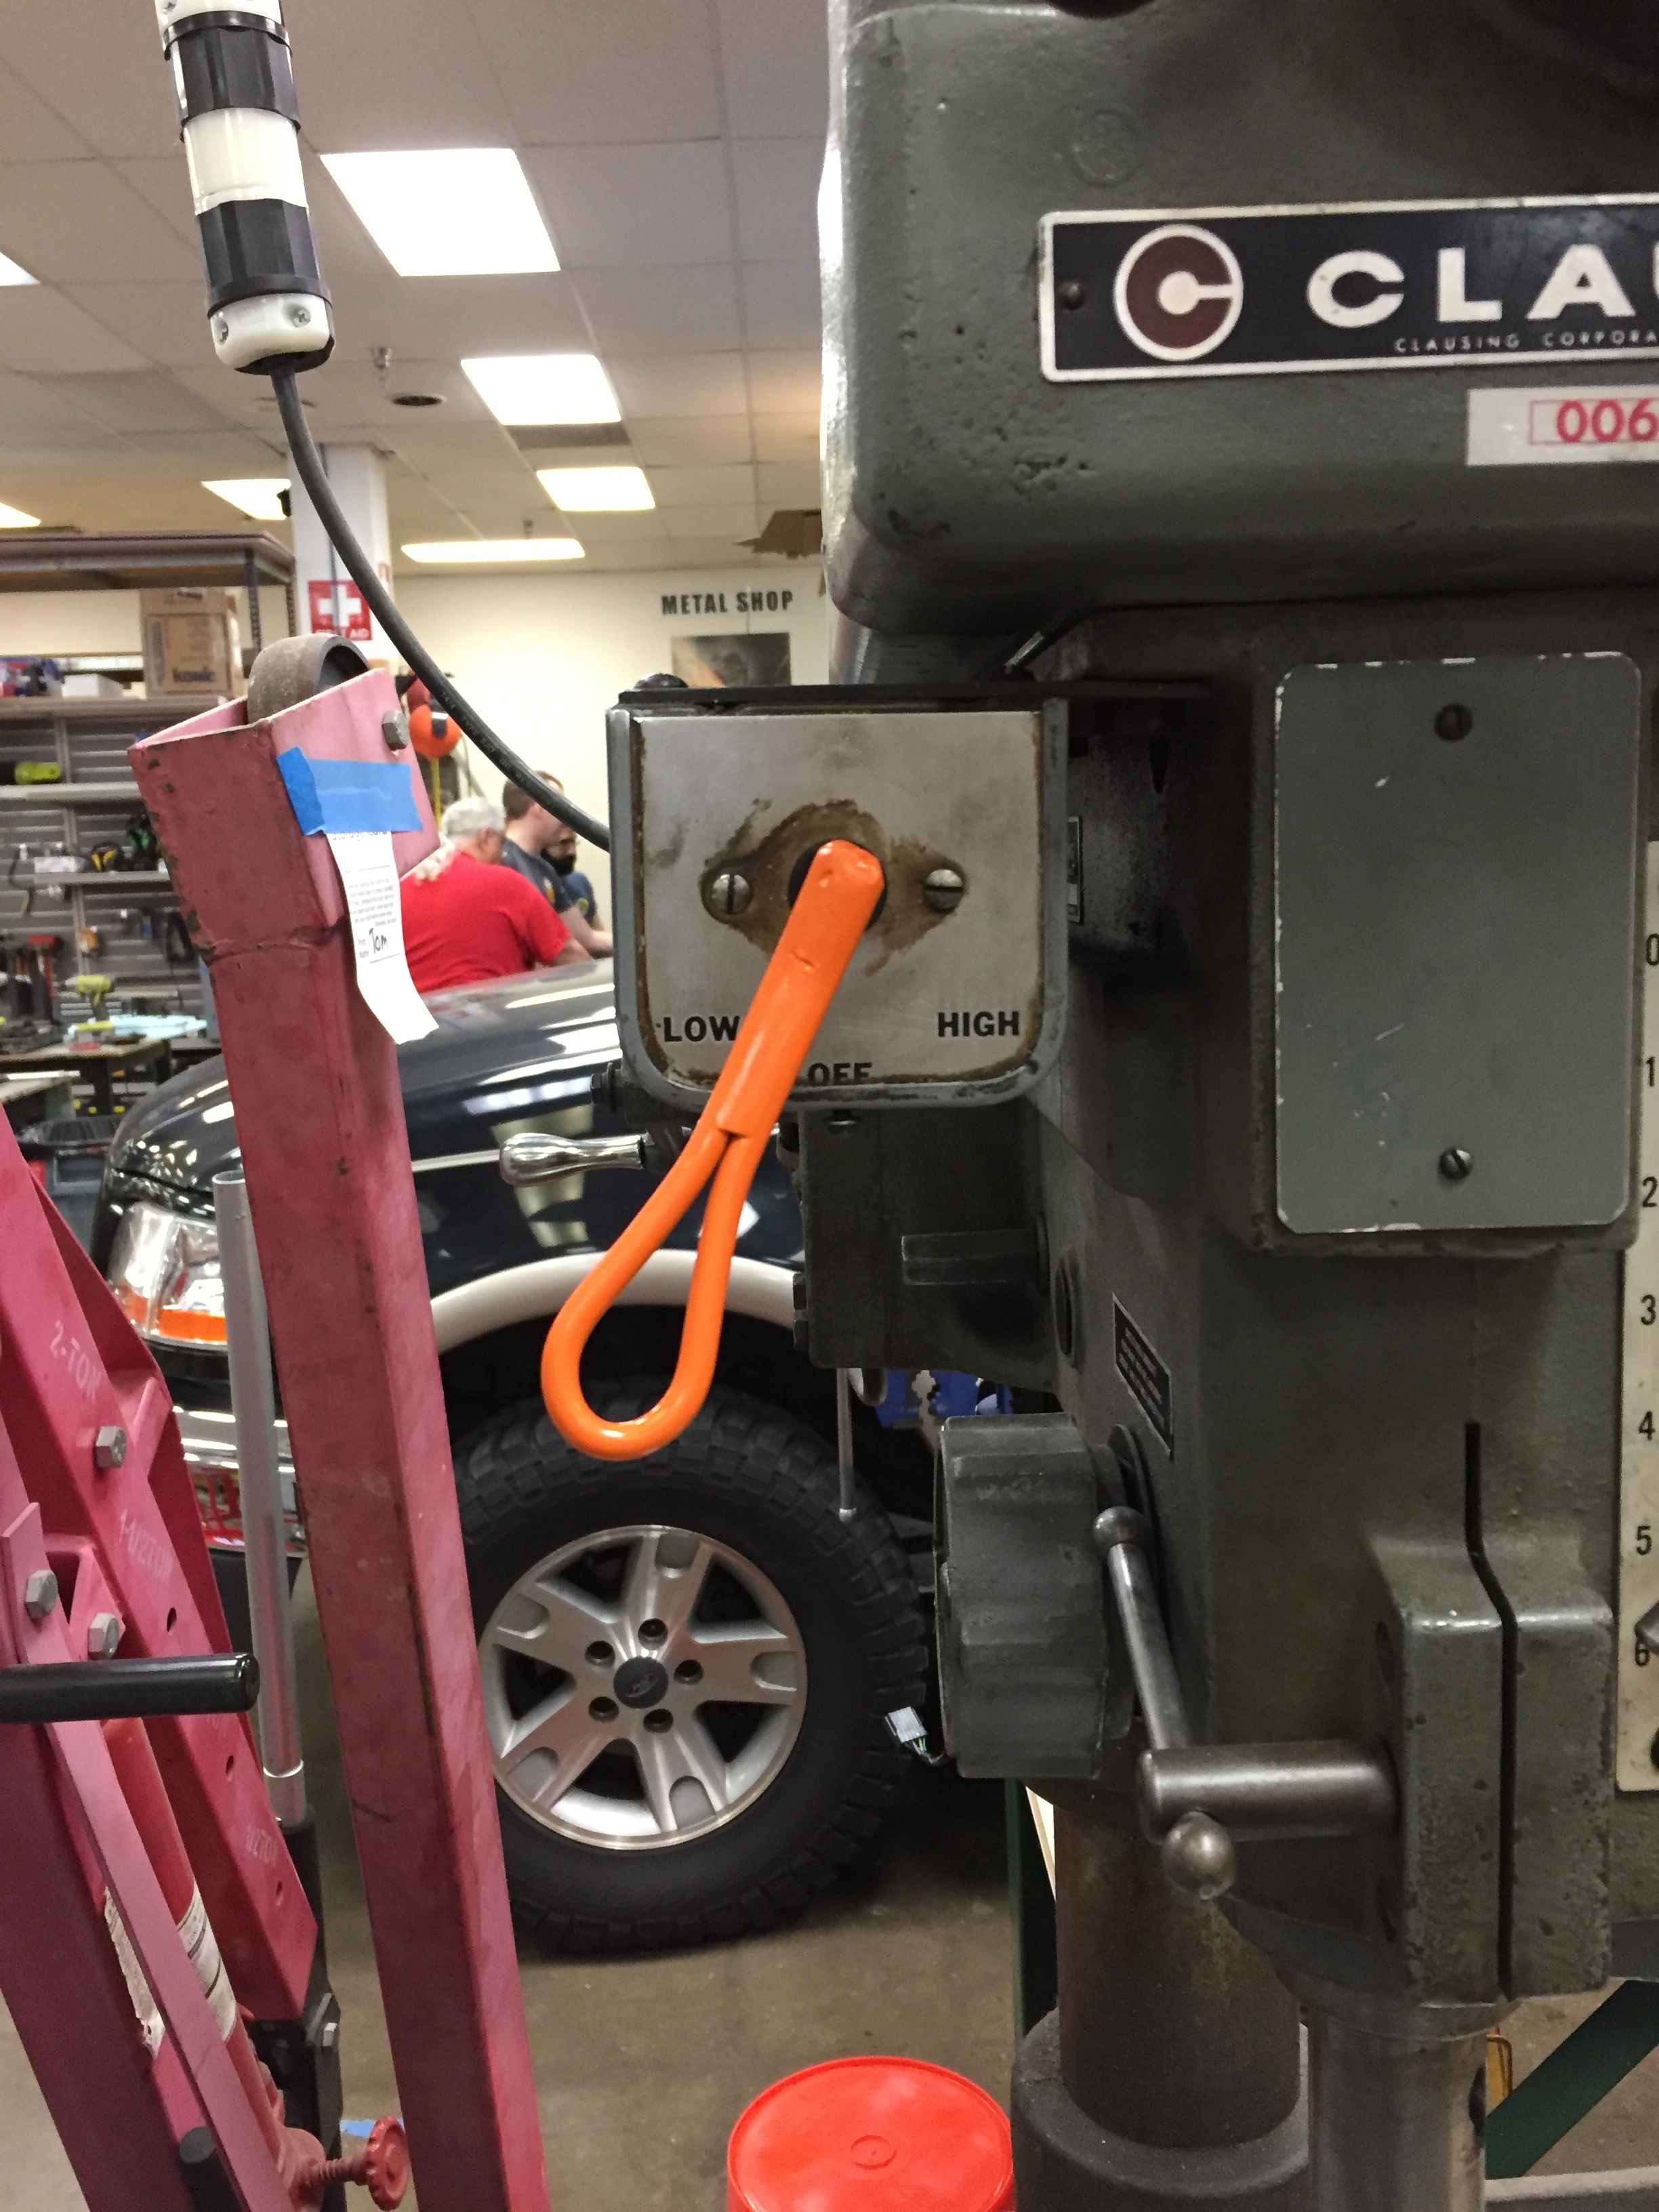
Not quite made at the space but made for the space. I made an on-off handle for the machine shop drill press. It didn’t turn out exactly as planned as its off center as I thought the flat was vertical. I used the press several times & found the wrench to be kinda rounding the edges. Also the only paint color I had was safety orange or until my wife informed me that she had a stash under her workbench when the orange was drying.
But hey it works, But may just make another to replace it.
As my final completed project for May, I finished and used a larger inkle loom. This one is based on the one posted to the Creative Arts thread by @kyrithia
I made this version using some of the donated oak, and after testing it produces a strip of cloth about 9 feet long.


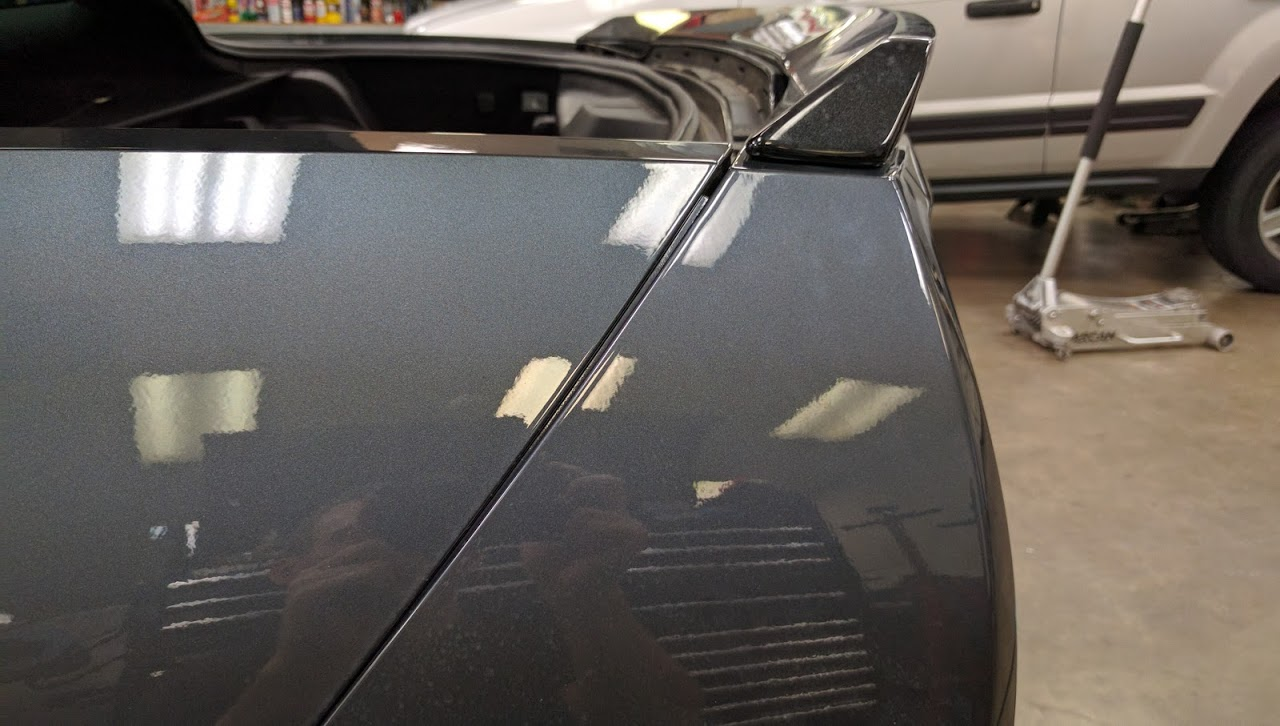
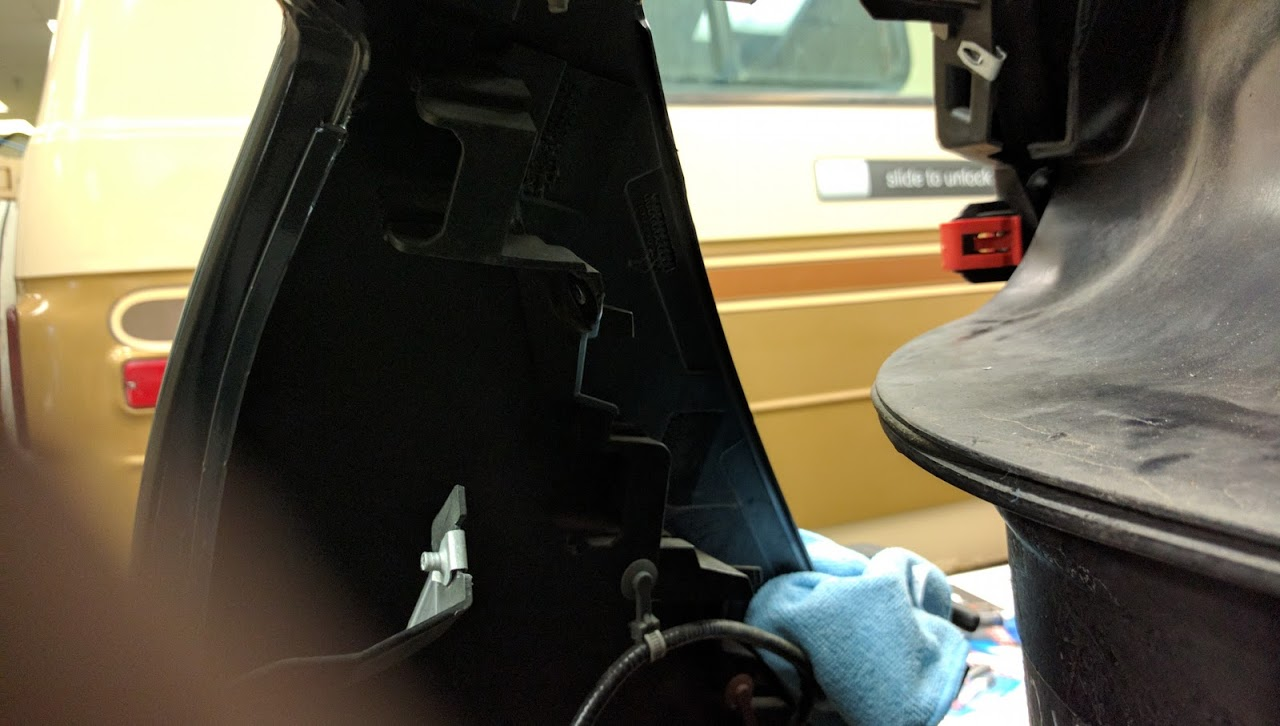
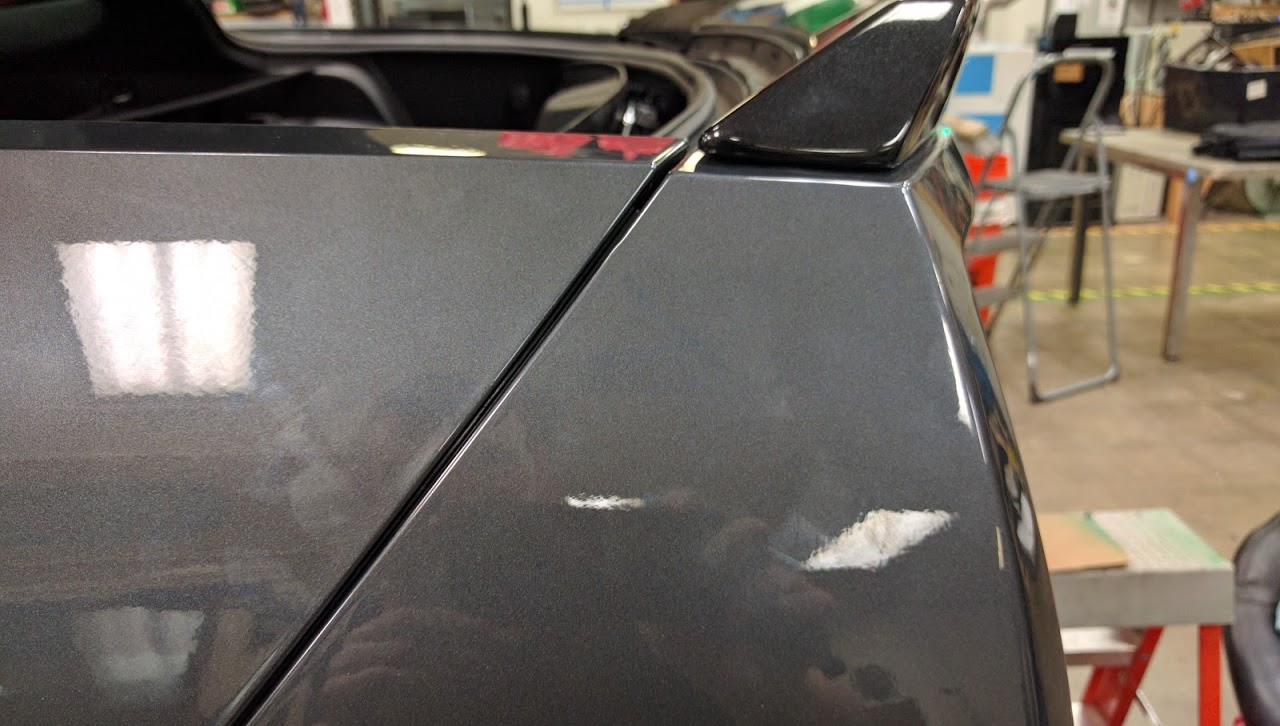
All of a sudden the panel gap on my car where my rear bumper cover lines up with the quarter panel opened up an 1/8 of an inch
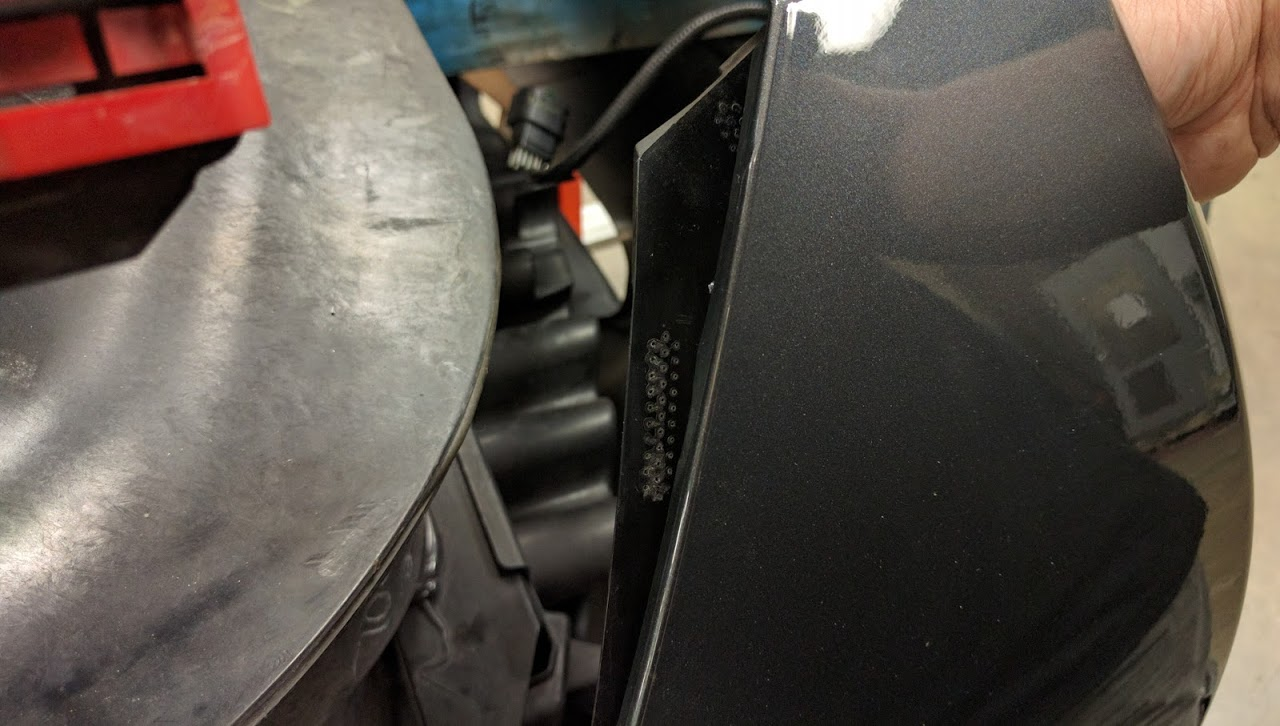
At first thought it would just be having to tighten something that may have worked lose, but turns out some plastic that was heat welded together at the factory let go, the three red clips on each side are the only thing aligning and holding the rear bumper along that seam
The three red clips snap into a plastic piece attached to the bumper, here you can see how the top joints came apart:
I am not impressed at all with how GM engineered the bumper cover attaching, I super glued back together the part that failed, but it didn’t improve the alignment very much
You should look for VHB (very high bond) tape. It’s great but not really removable later.
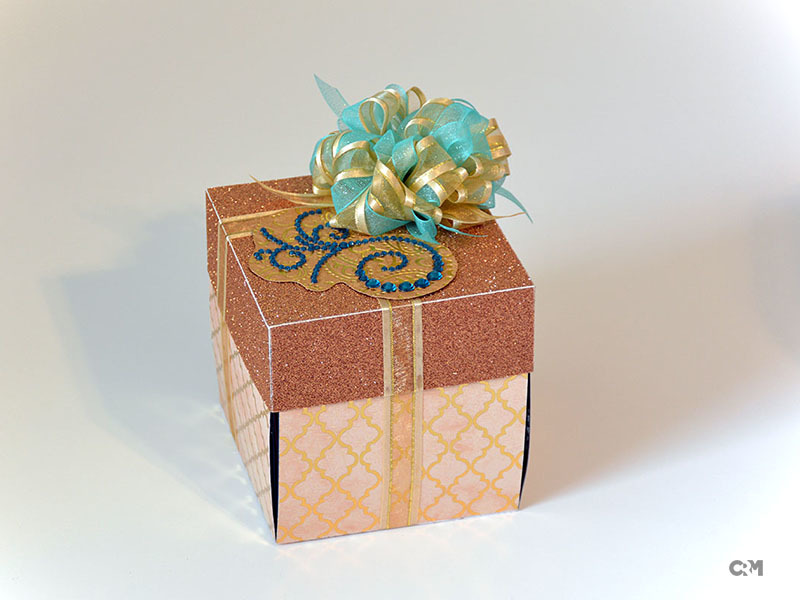
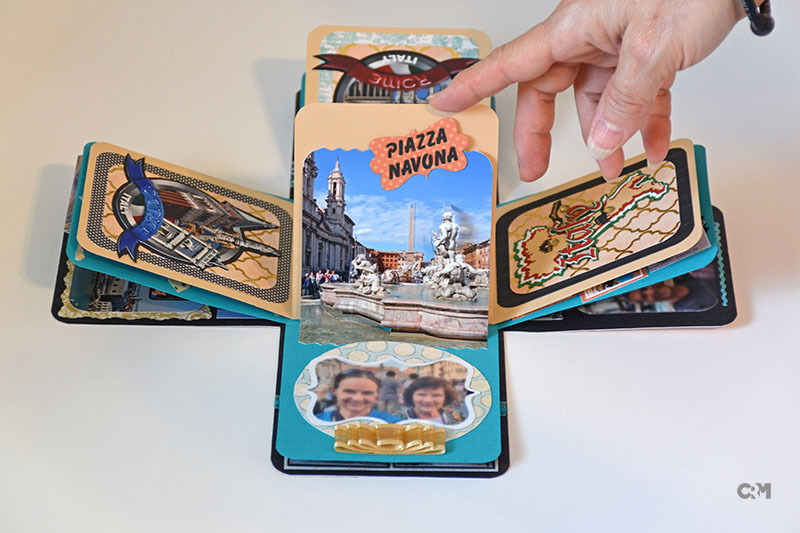
Made an “explosion box” scrapbook with pop-up photos, that will double as a gift box. It’s a 4" cube. Many of the embellishments (for instance, text banners and the Italy map) were laser cut on the Zing.
That quality control in Bowling Green is lacking lol  Just remove the bumper it adds more weight anyway.
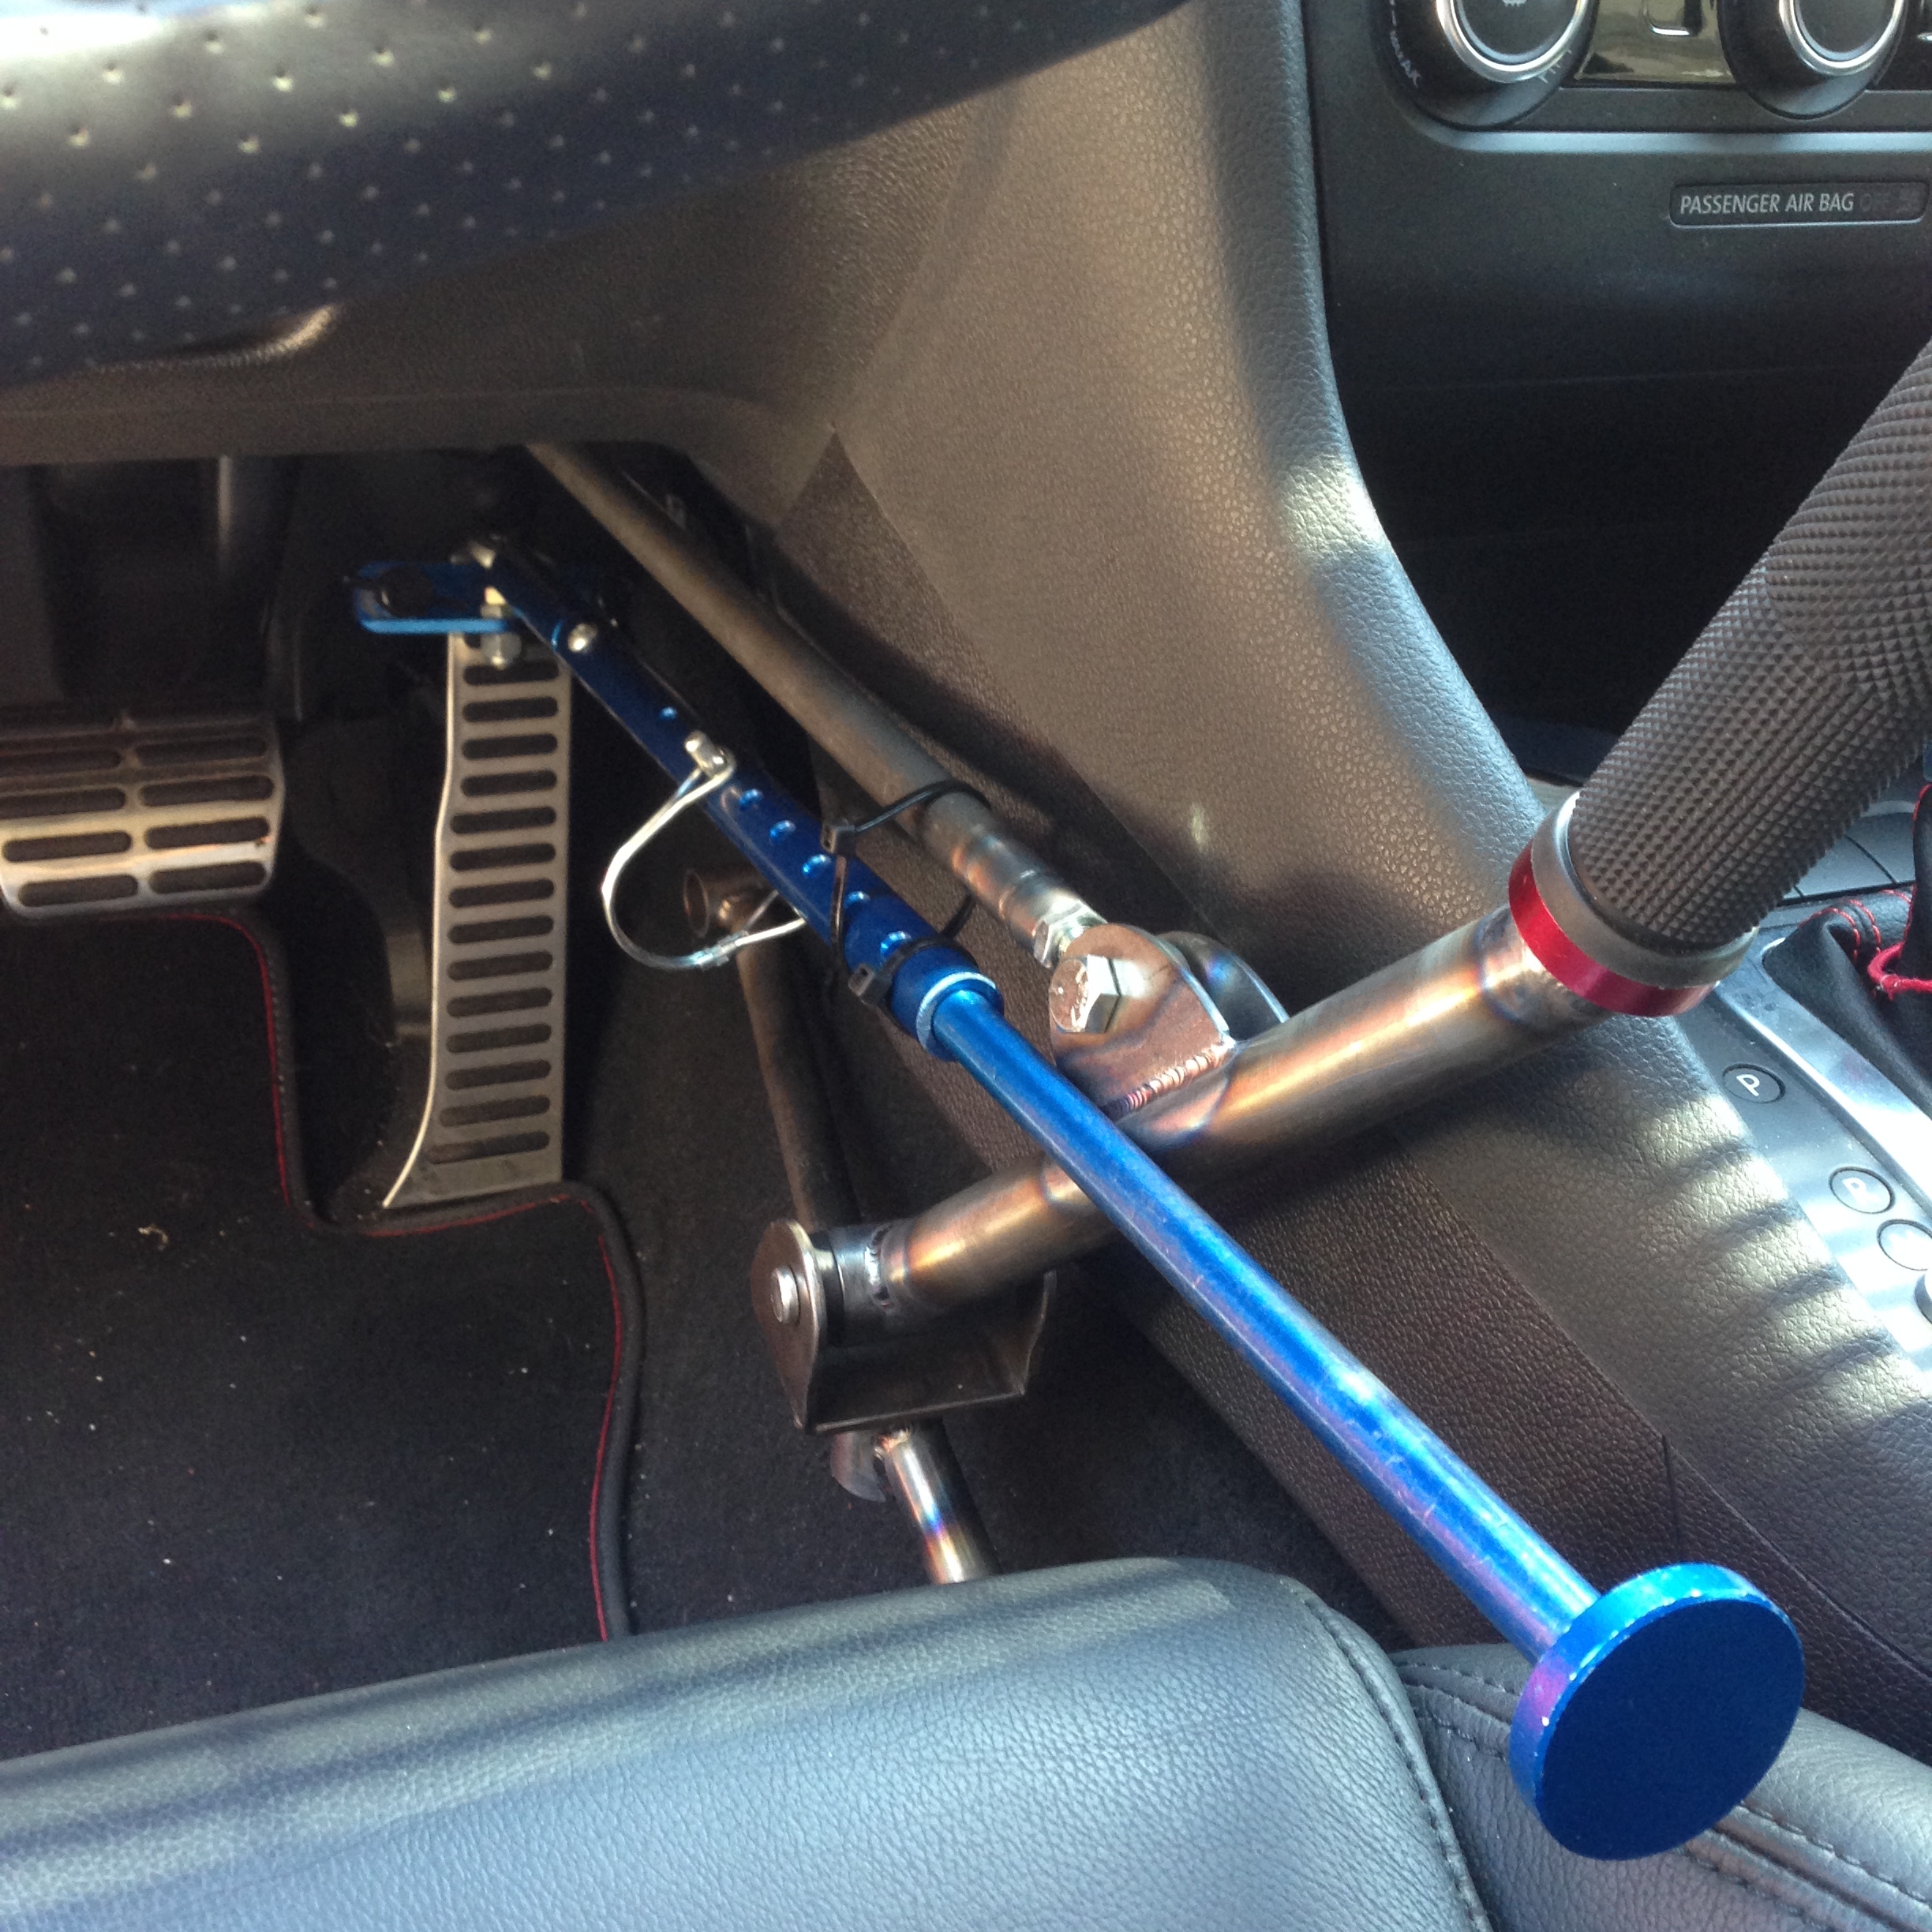
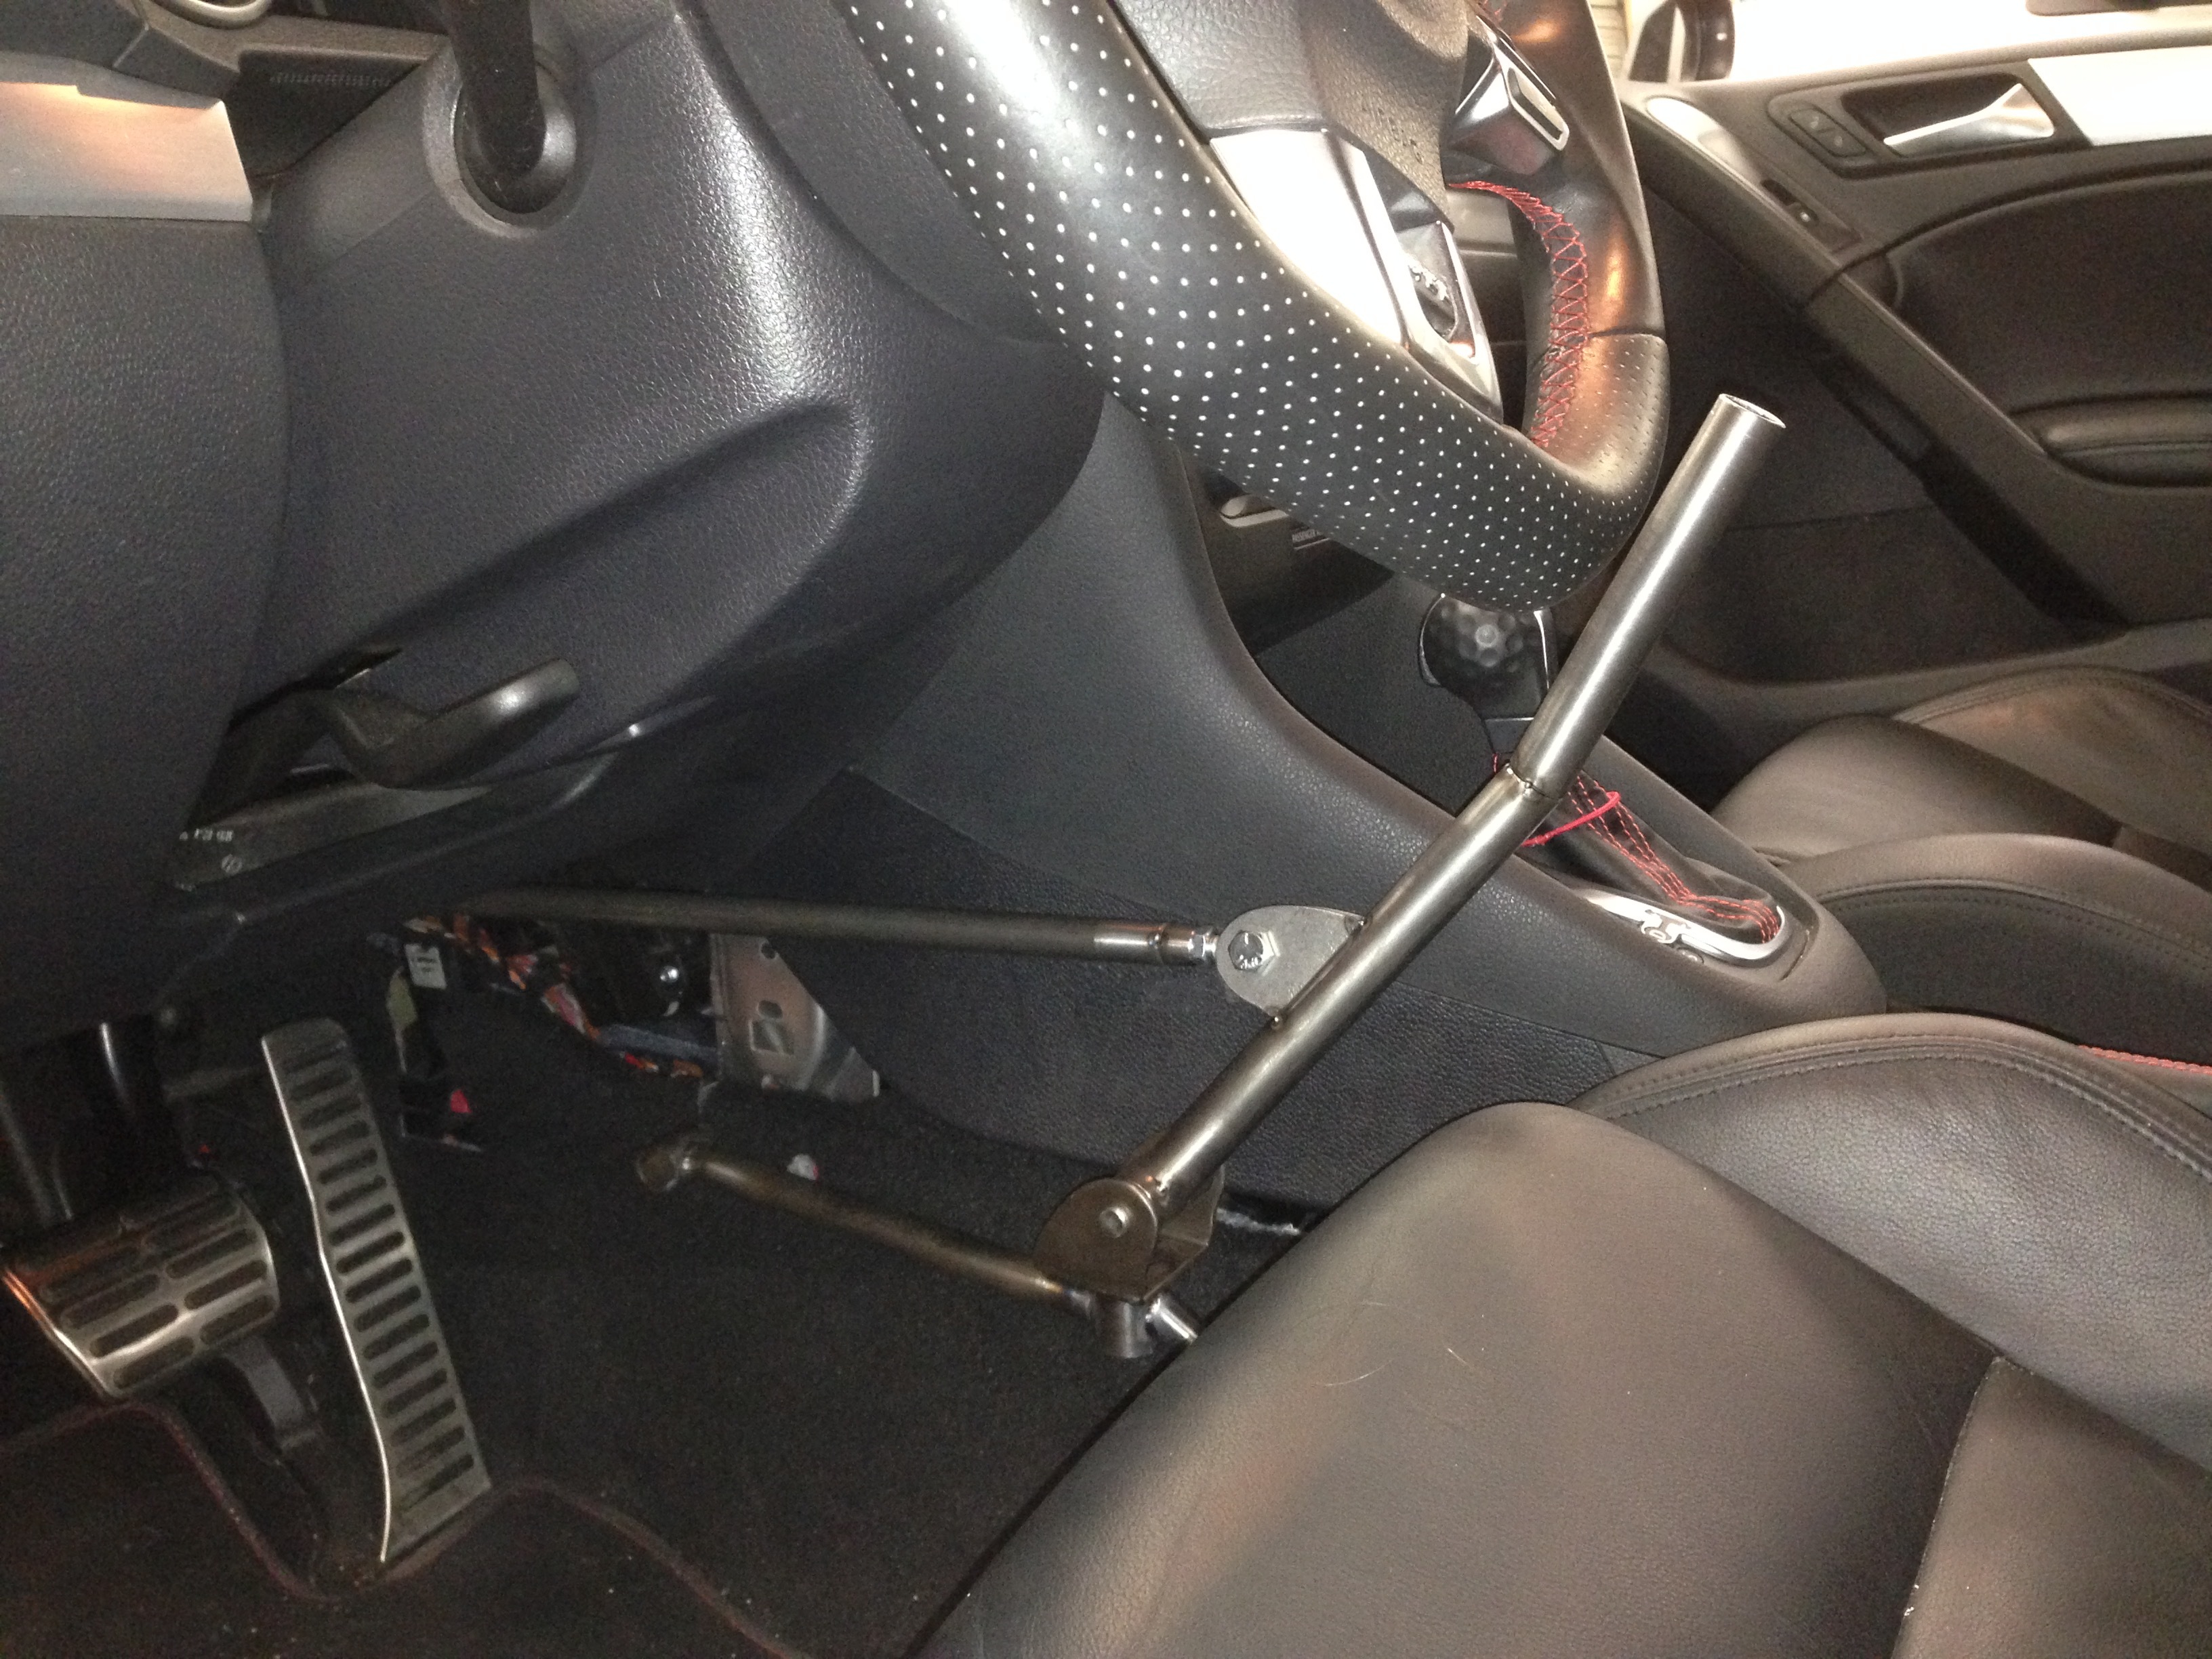
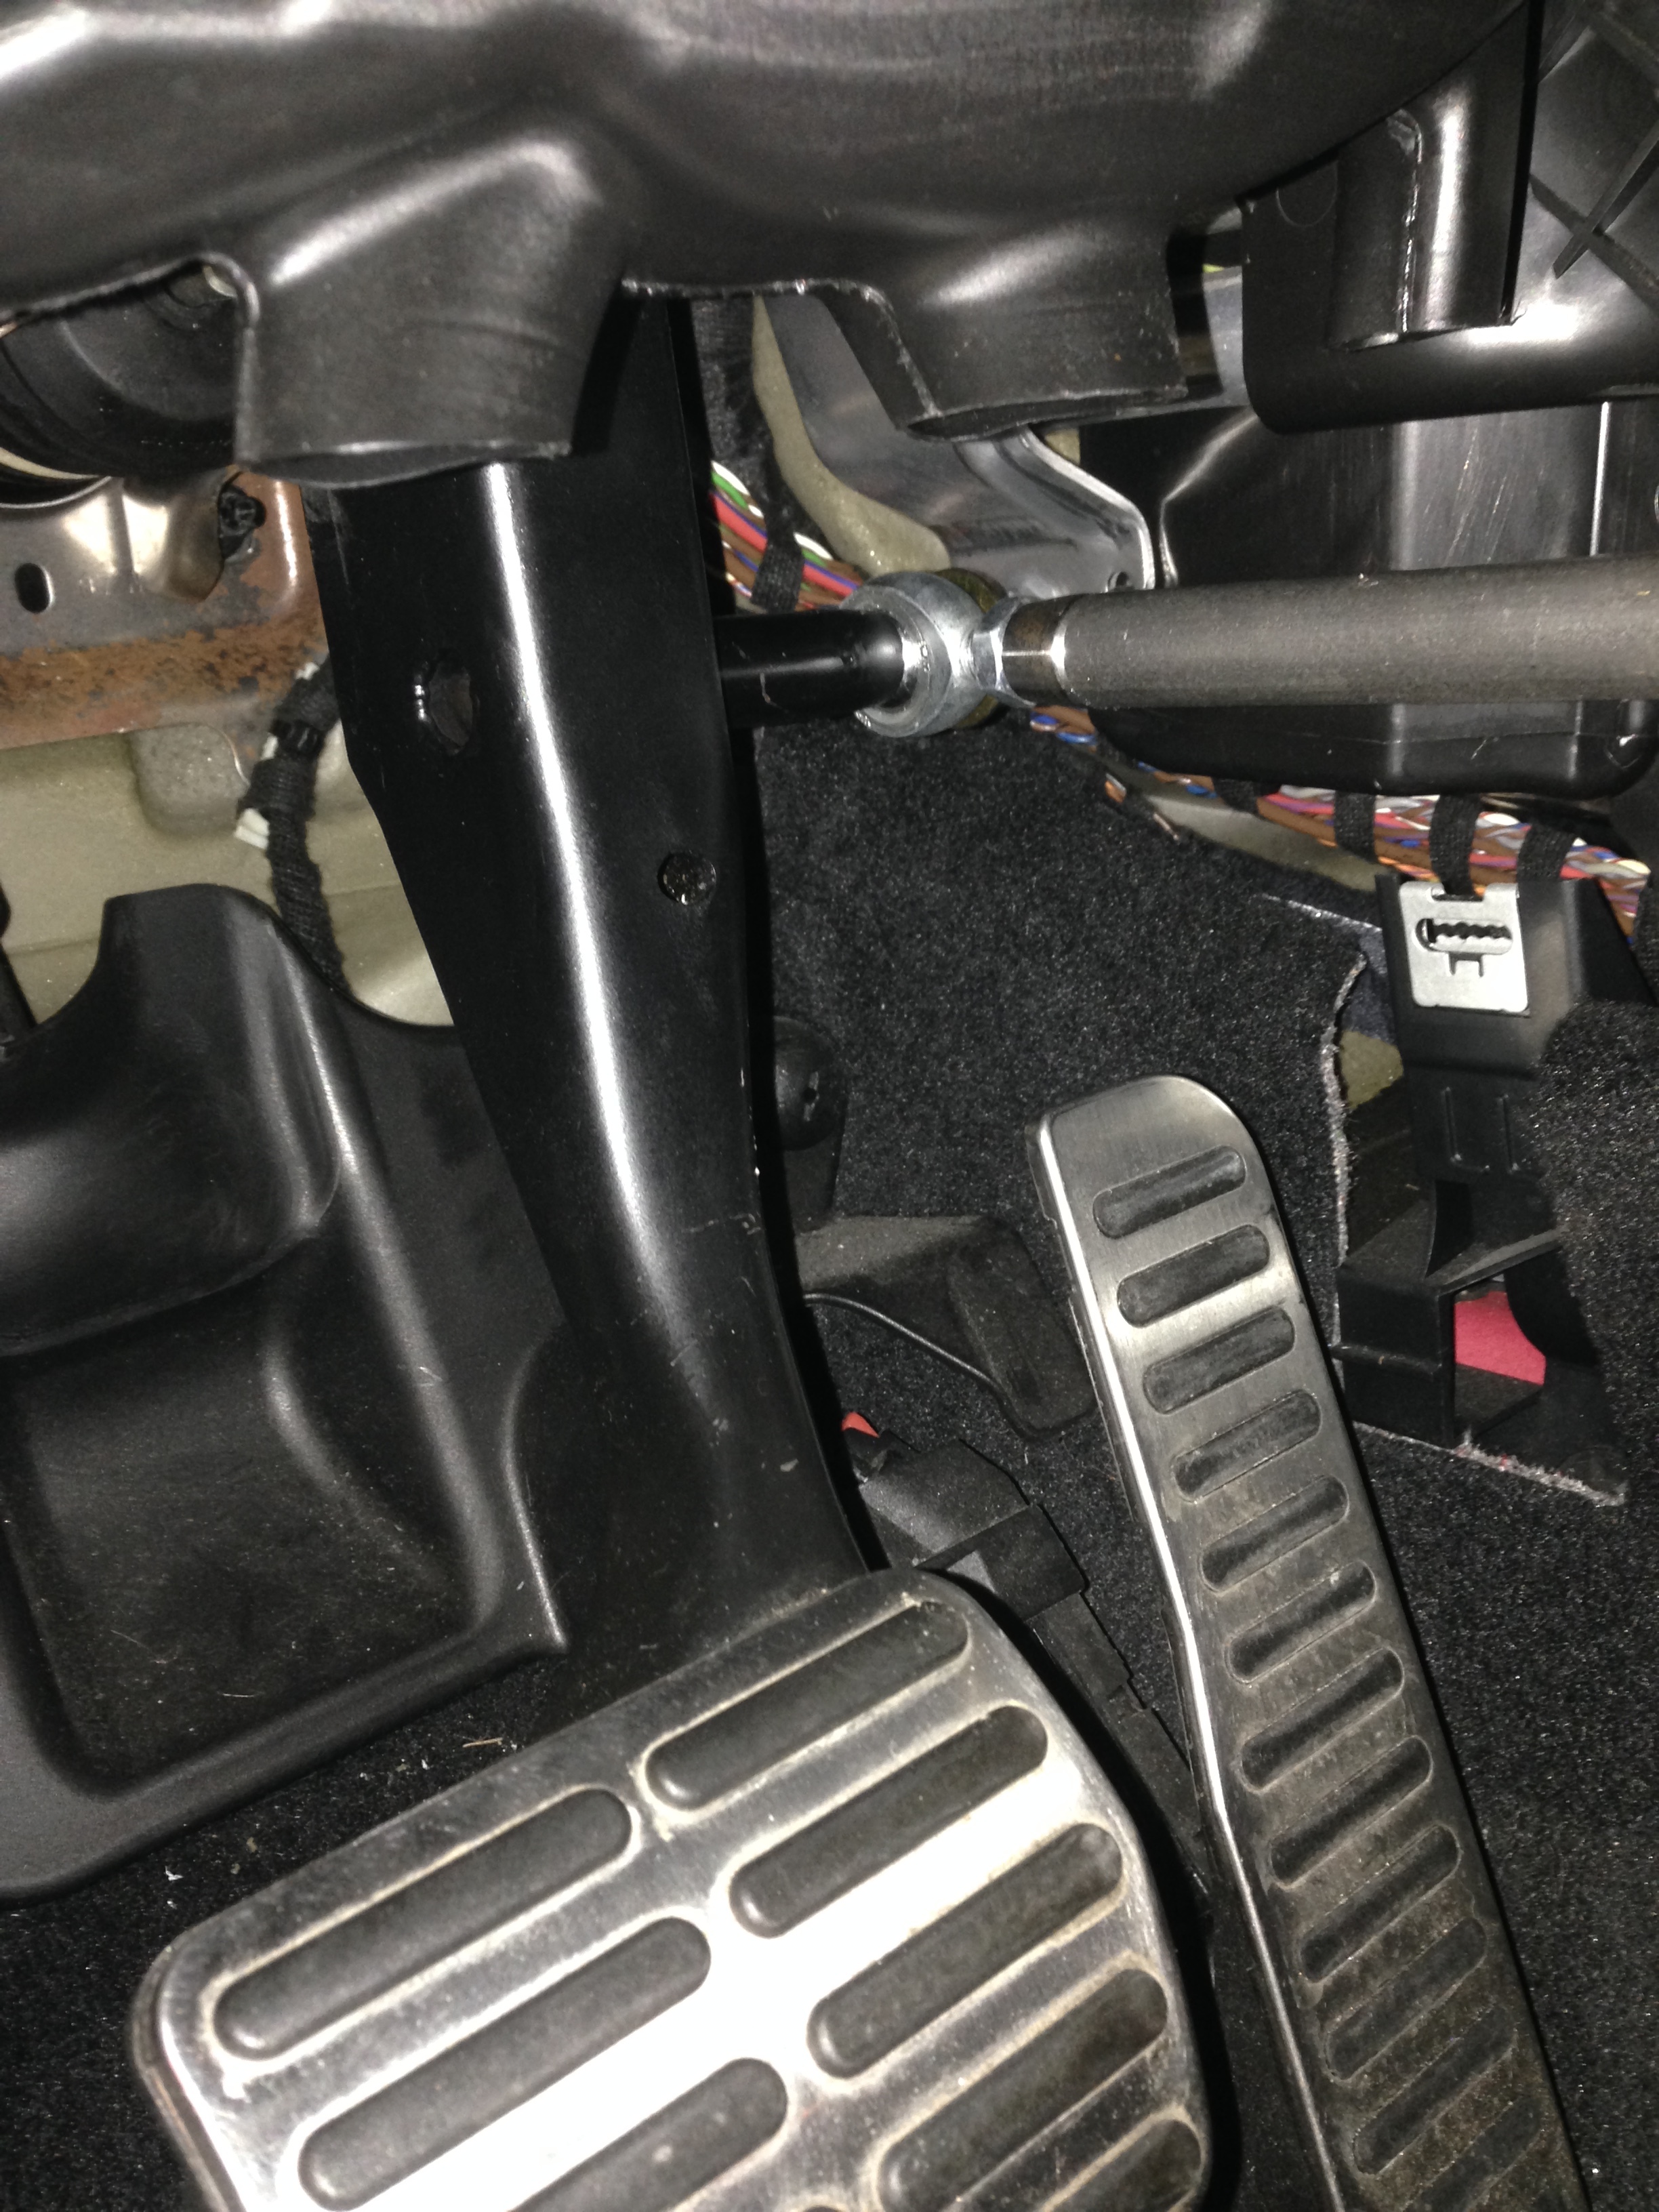
I finished this hand brake for my paraplegic girlfriend’s car. It needs a coat of paint and a plug for the end of the handle, but it works great. The blue rod is the temporary accelerator control, carried over from the old setup. June’s project will be the new accelerator hand control.
That turned out pretty good Rodney (@rablack97)!
I have a quick question and a quick comment…
Question: What settings did you find worked best? (Yes, I understand they can change with a shift of the wind; but, it never hurts to have a ‘starting point’…  )
)
Comment: To anyone considering engraving/painting/etching/marking any security devices with the words “Dallas Makerspace” and/or the logo… While I understand the point of making it easier to identify which card/fob/band is for the 'Space… It also makes it easier for non-members to identify where they can use it - if it happens to get lost (and then found by a non-member, etc…). Just food for thought…
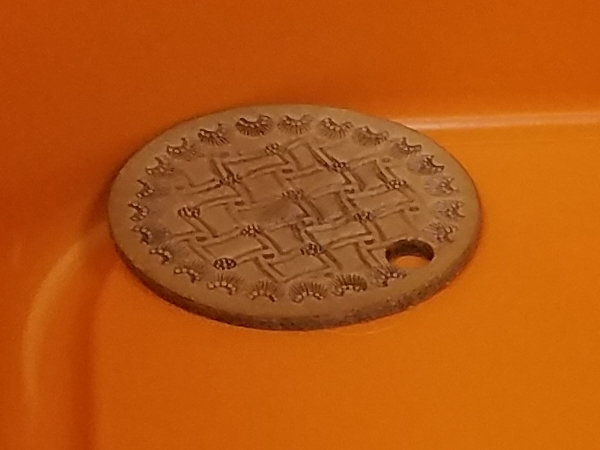
I decided to check out the leather working tools… (Thanks for the tips @HankCowdog!)
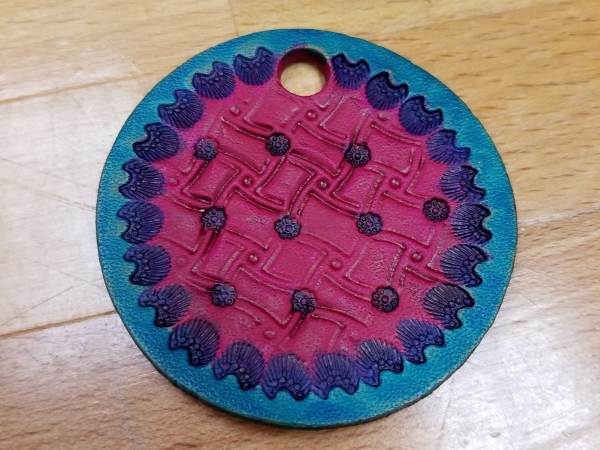
I decided the leather Thingibob should have some bright colors! (Thanks for even more tips @bitta!)
(I decided after the fact, I sort of liked it better before… but oooh purdy colors anyway! hehe…)
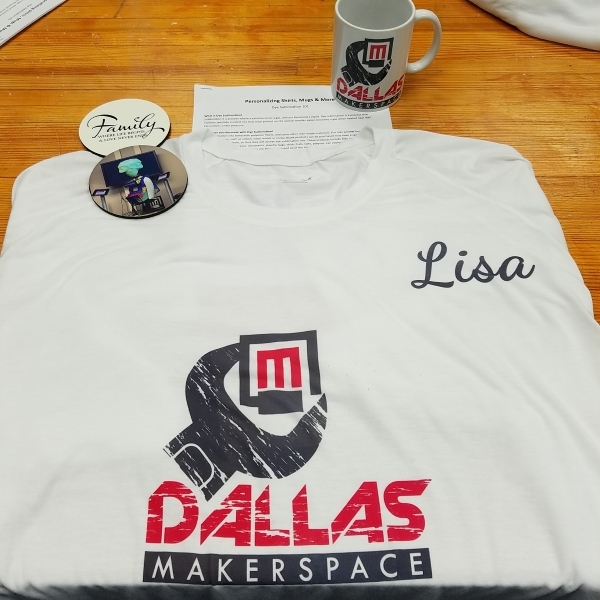
I had a lot of fun making various personalized dye sublimated things during the Midnight Makers Dye Sublimation Class! (Thanks @CaryF300!)
I plan on doing a lot more dye sublimation things now that I know how! “Ooooh shiny!” 
The settings are in the parameter library, silicone deep engrave, the key is to set your intervals as low as possible.
200 speed and 16 power is a good starting poi nt.
If the bracelet is lost or misplaced, you would just go to your maker manager login and deactivate it until found. You never know, the nonmember might sign up should they try to return it.
The fobs arent arent a fool proof way of keeping non members out of the space, if someone wants to get in they will get in.
Lost fobs should be immediately deactivated so if anything they will have a cool looking bracelet with advertisement to come check us out.
Plus most outside folk wont have a clue of what it is or does. I still have to explain to members what it does as they think its just a wristband.