
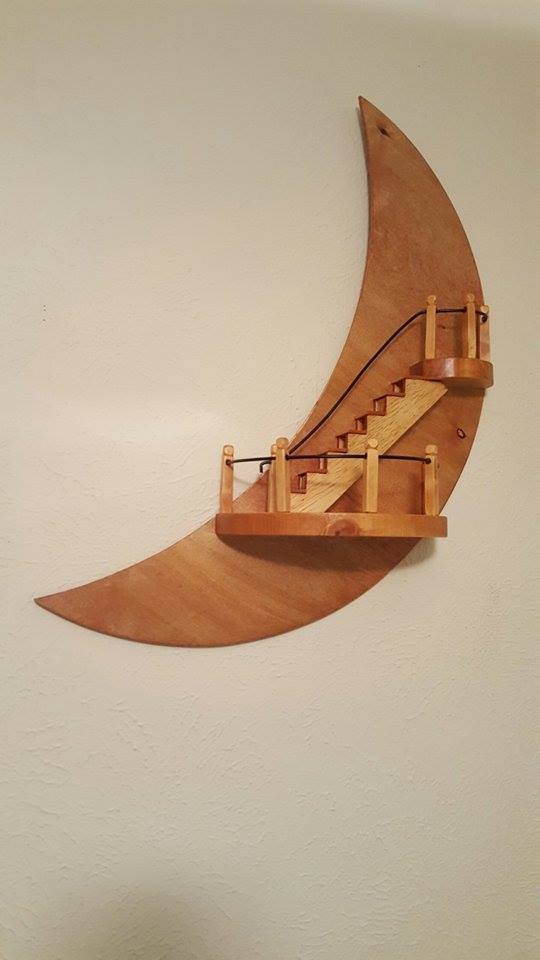
This is a piece of folk art exactly like the one that hung on my grandparents wall and made by my uncle in the 1930’s. It was a Christmas gift for my daughter. The rail on the original was 14 g. copper wire but mine is 3D printer filament.
11 Likes
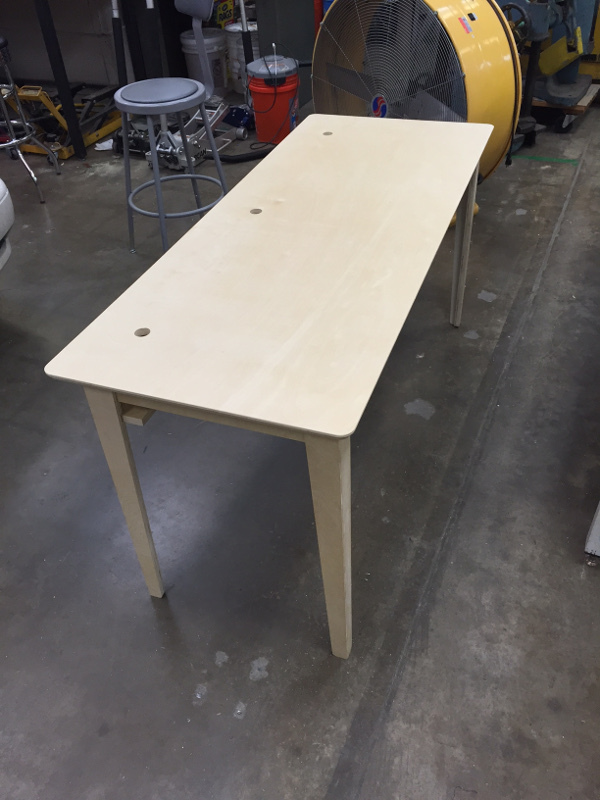
Just completed this desk last week using the MultiCam. It’s a modified version of the Opendesk Unit Table. First project on the MultiCam and it turned out well.
17 Likes
I recently finished this tiny trunk. I made the copper pieces at DMS - laser cut a “stencil” from sandpaper, then put the sandpaper and a sheet of copper through the rolling mill to texture the copper.
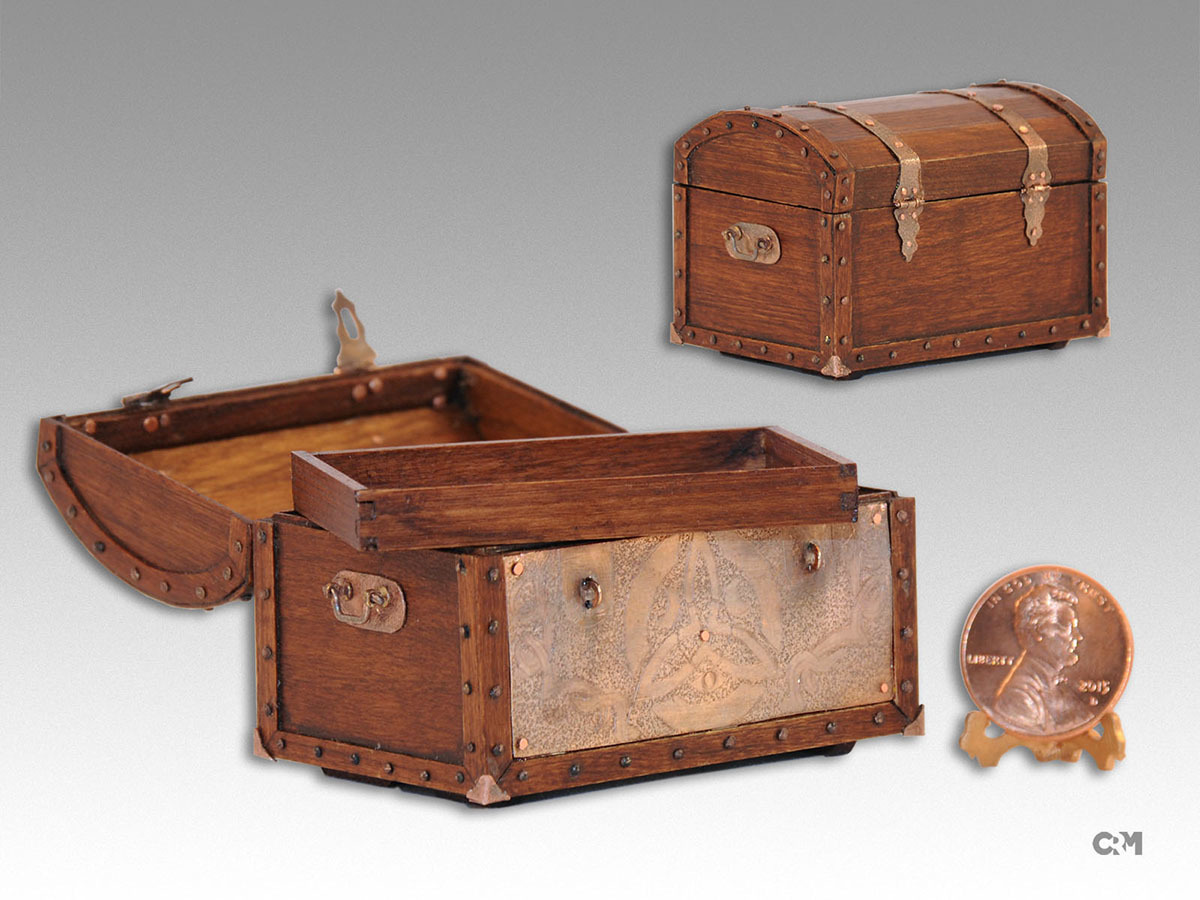
Penny shows scale.
Chris
19 Likes
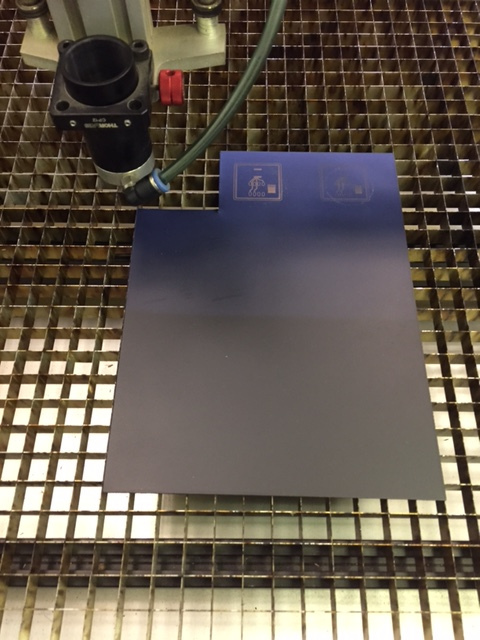
Another recent project/experiment was using the lasersaur to make a pcb. I spray painted copper clad and then used the laser to cut away the paint where I wanted the acid to etch. This was a quick process and allows for some fairly small features.
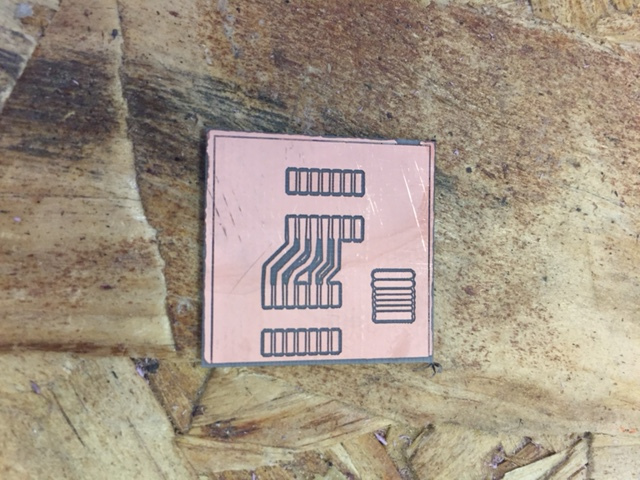
13 Likes
That trunk is amazing.
3 Likes
Caitlin’s Pedestal
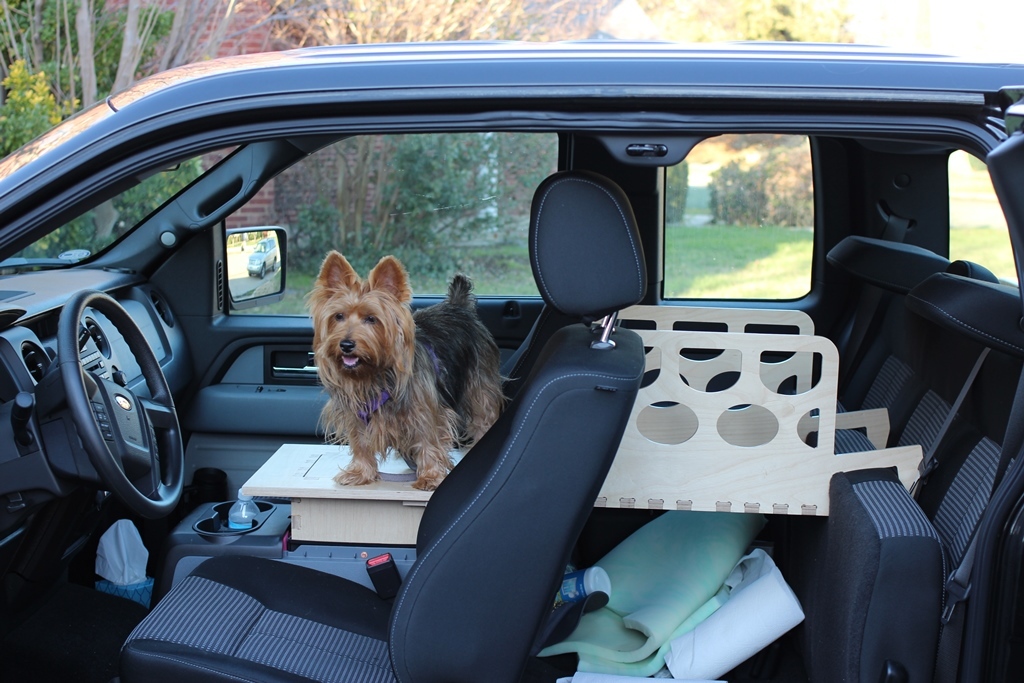
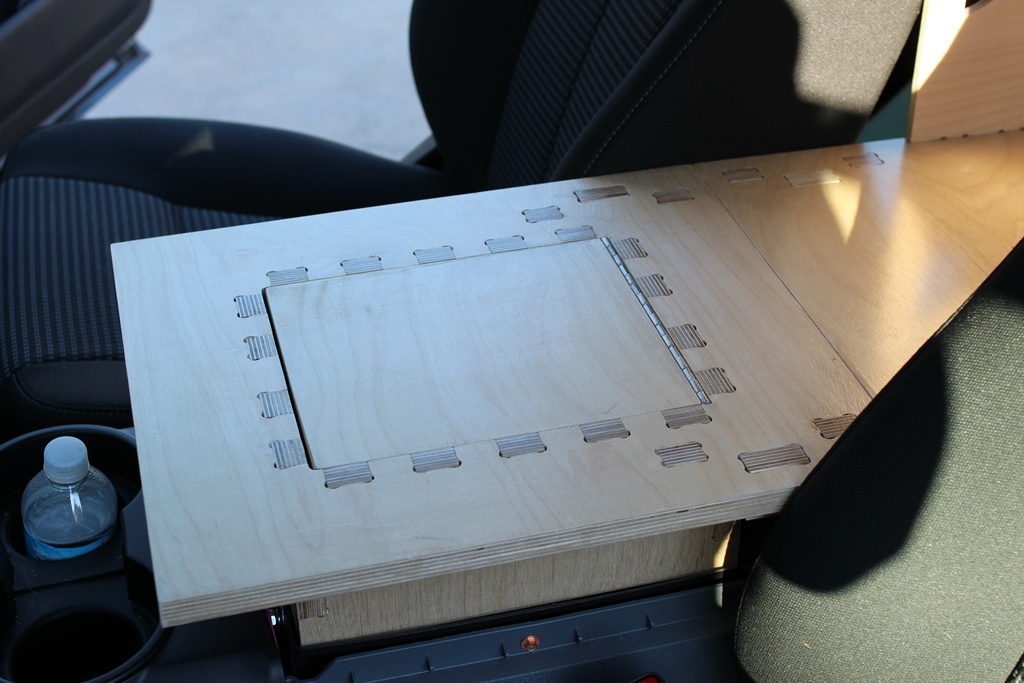
18 mm Baltic birch plywood cut using the Multicam assembled like a puzzle. There is a short leaf for when we have guests in the back seat.
18 Likes

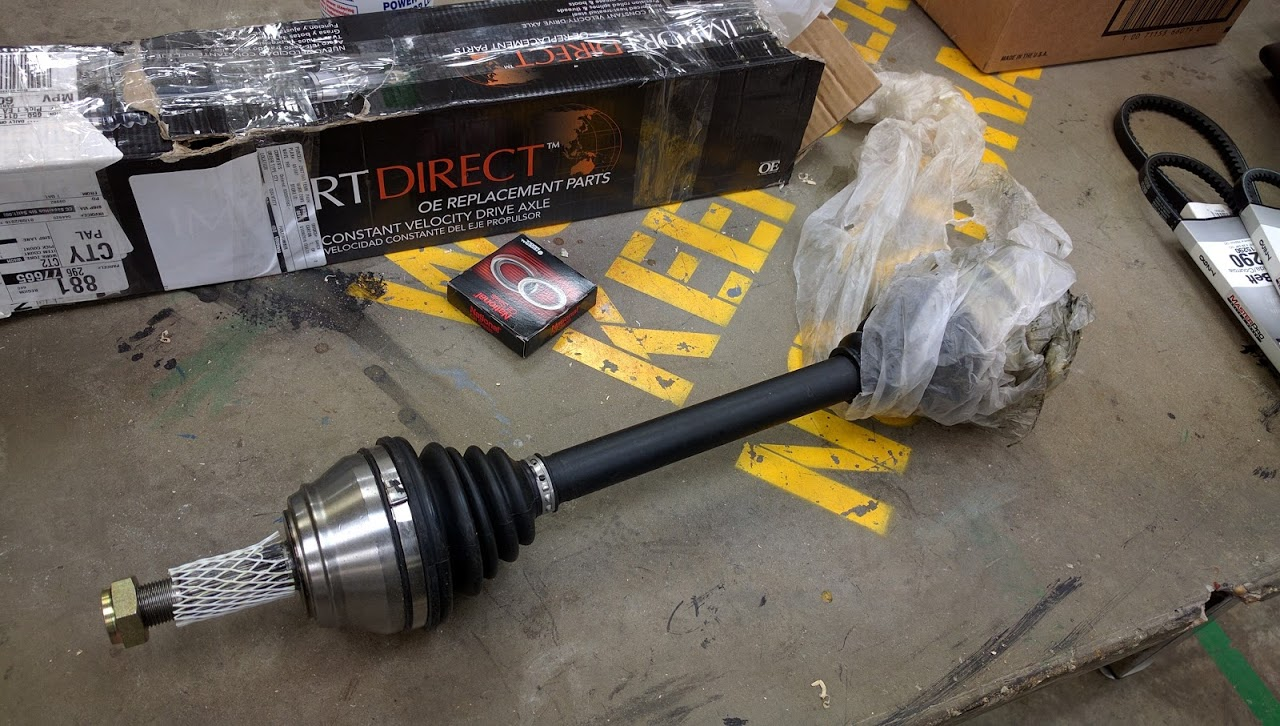
Worked on replacing the CV axle on a VW cabriolet, having a metal shop to put together a custom puller comes in handy. The goal being replacing the seal to hopefully stop a transmission fluid leak.
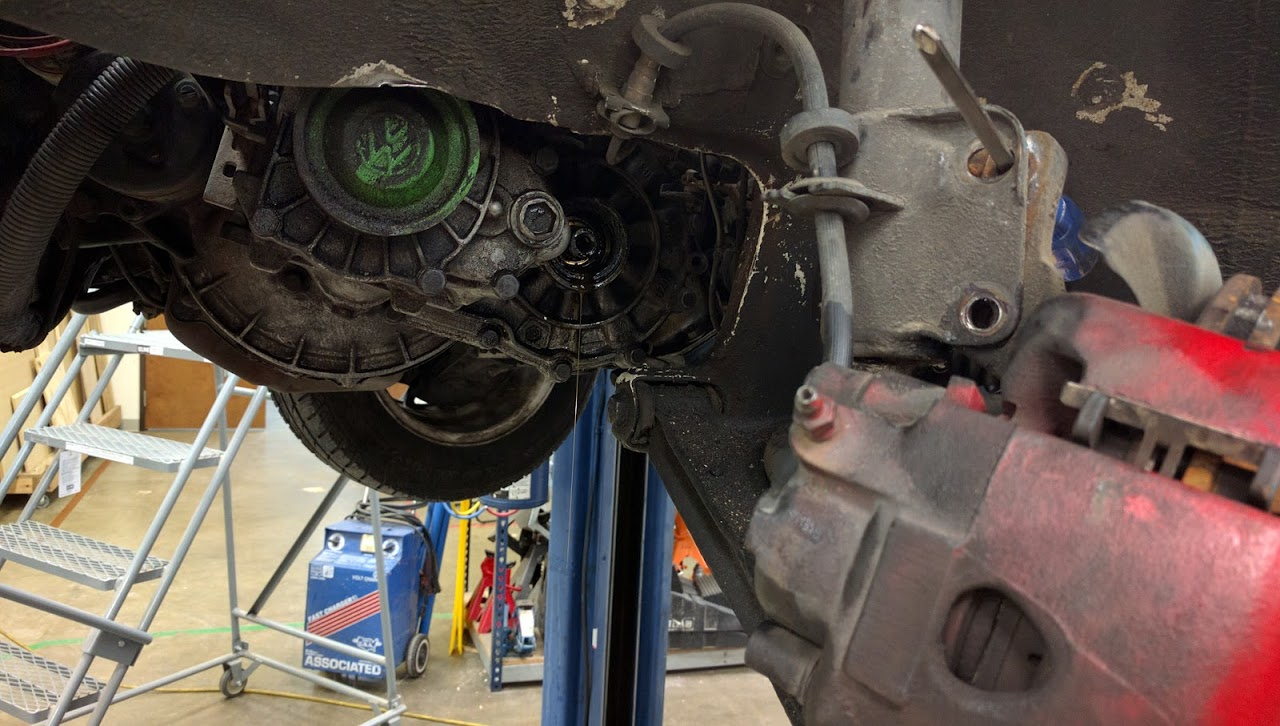
6 Likes
I think this thread should be pinned. I like seeing everyone’s projects.
My current project is applying for a full time job in addition to PolyPrinter.
I’m having a meetup to get the mendel90 going, and 3D printer and 3D scanner classes more regularly.
Oh I guess I could show this off too:
“In September, Cerroni and four other members of MakerSpace Dallas met for a class on biohacking. Cerroni, who teaches classes and serves as co-chair of 3-D printing at the nonprofit workshop and laboratory, has been intrigued by the opportunity to bring his tech inside his body. He doesn’t normally rush into things and getting an implant was no exception. Months of research, plotting, evaluation and investigation preceded his choice.”
8 Likes
I love this thread so much!
1 Like
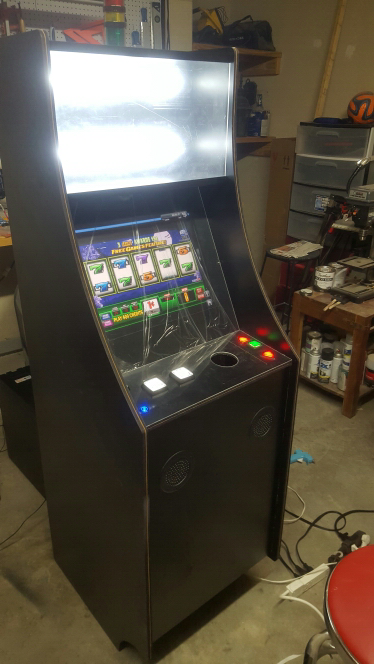
I’m working on restoring a 1974 Bally Flip-Flop. It’s difficult to take photos showing progression since all of the work so far has been mechanical rehab: disassembling internal components, cleaning mechanisms, lubricating, adjusting, function-testing.

Detail on a score reel prior to rehab. Reels themselves are dirty and the mechanisms don’t actuate.
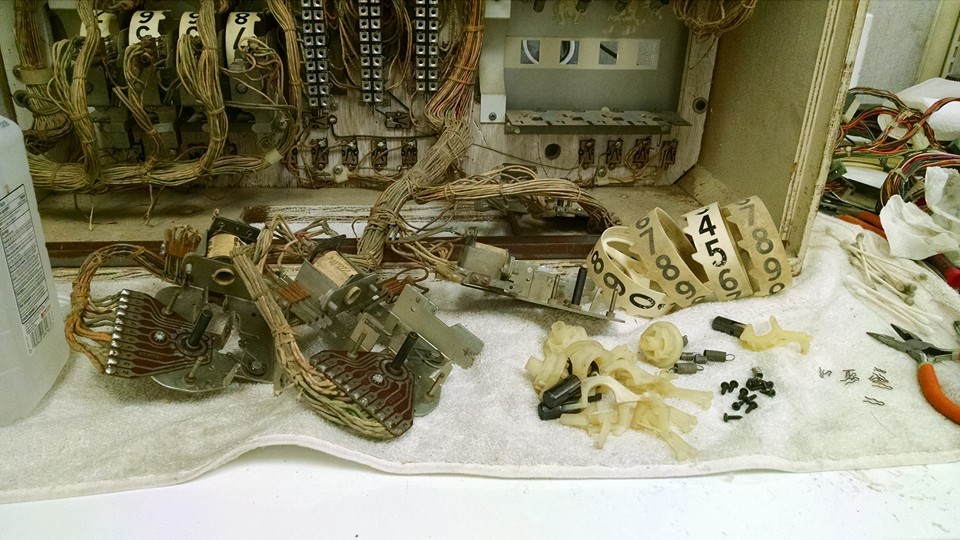
The disassembly process commences. Clean each score reel (and hope that you don’t wash off too much lettering). Burnish and adjust the switch for the 9-position. Clean the axles/pivots. Polish PCB contacts. Apply a dash of lube to each axle and pivot. Test the mechanism. Tweak spring tension as needed (typically pull 2-4 loops out to ensure reliability). Repeat 15x more for the rest of the score reels.
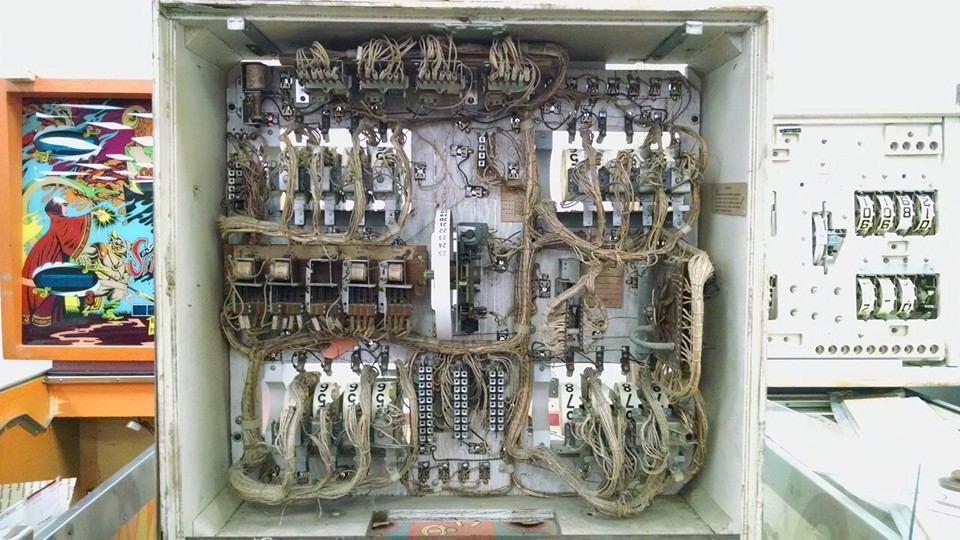
Now that you’ve gotten all the score reels clicking along properly, work on all the other components! Steppers need a rebuild just as extensive as the score reels (mercifully, no real need to clean the numbers). Relays need tuning. Broken wires need to be noted. Resistance on coils must be measured (some have likely burned up over time). Maybe you want to plan on replacing all those light sockets. You might also want to track down a font for re-lettering the score reels.
10 Likes
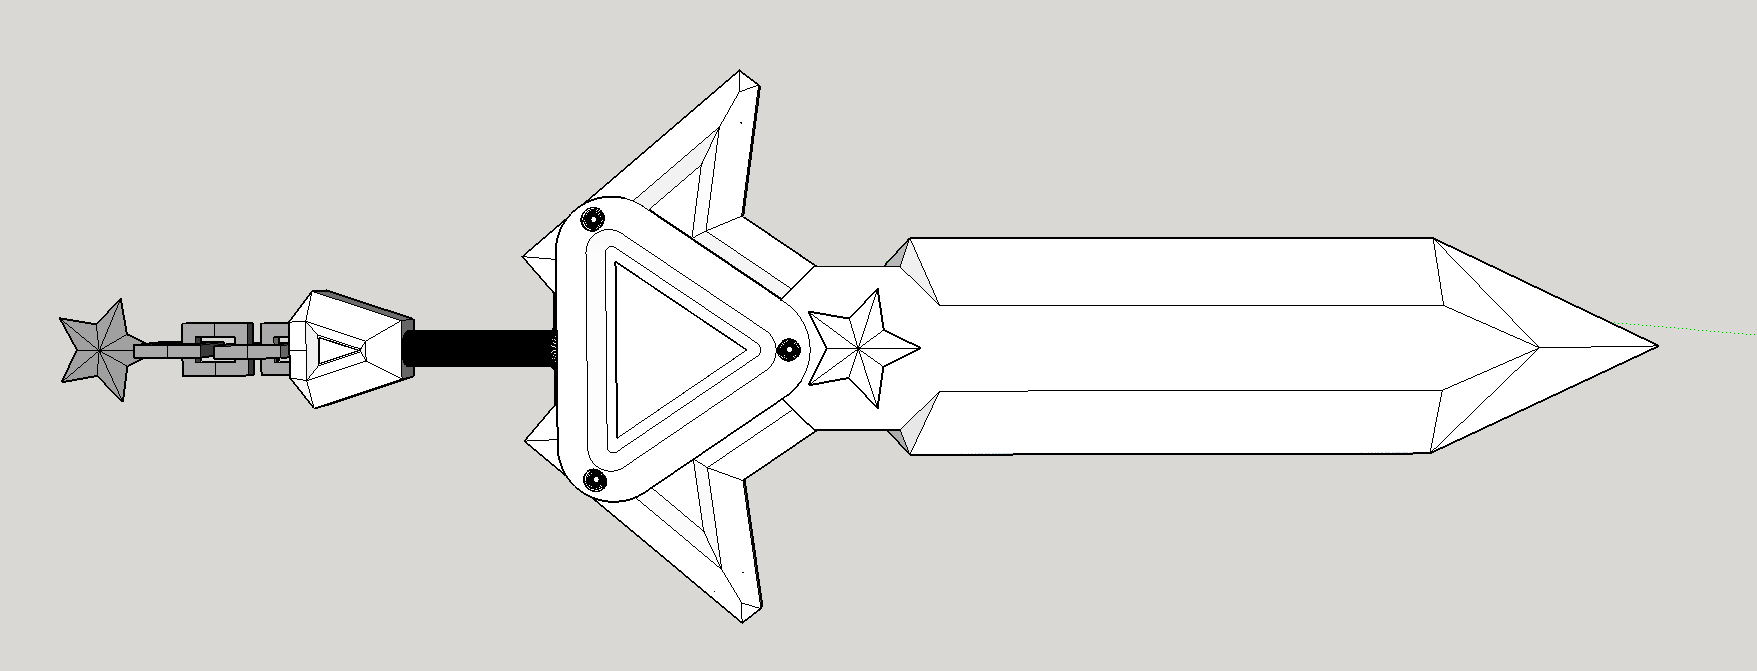
Currently working out 2 commissions for pax south
First is Arcade Rivens ultimate sword from League of Legends
Its about 46" long total. lots of printing.

The second is Compa’s syringe from Hyperdimension Neptunia
Its around 42" with the needle tip installed. the tube will glow and stars will twinkle.
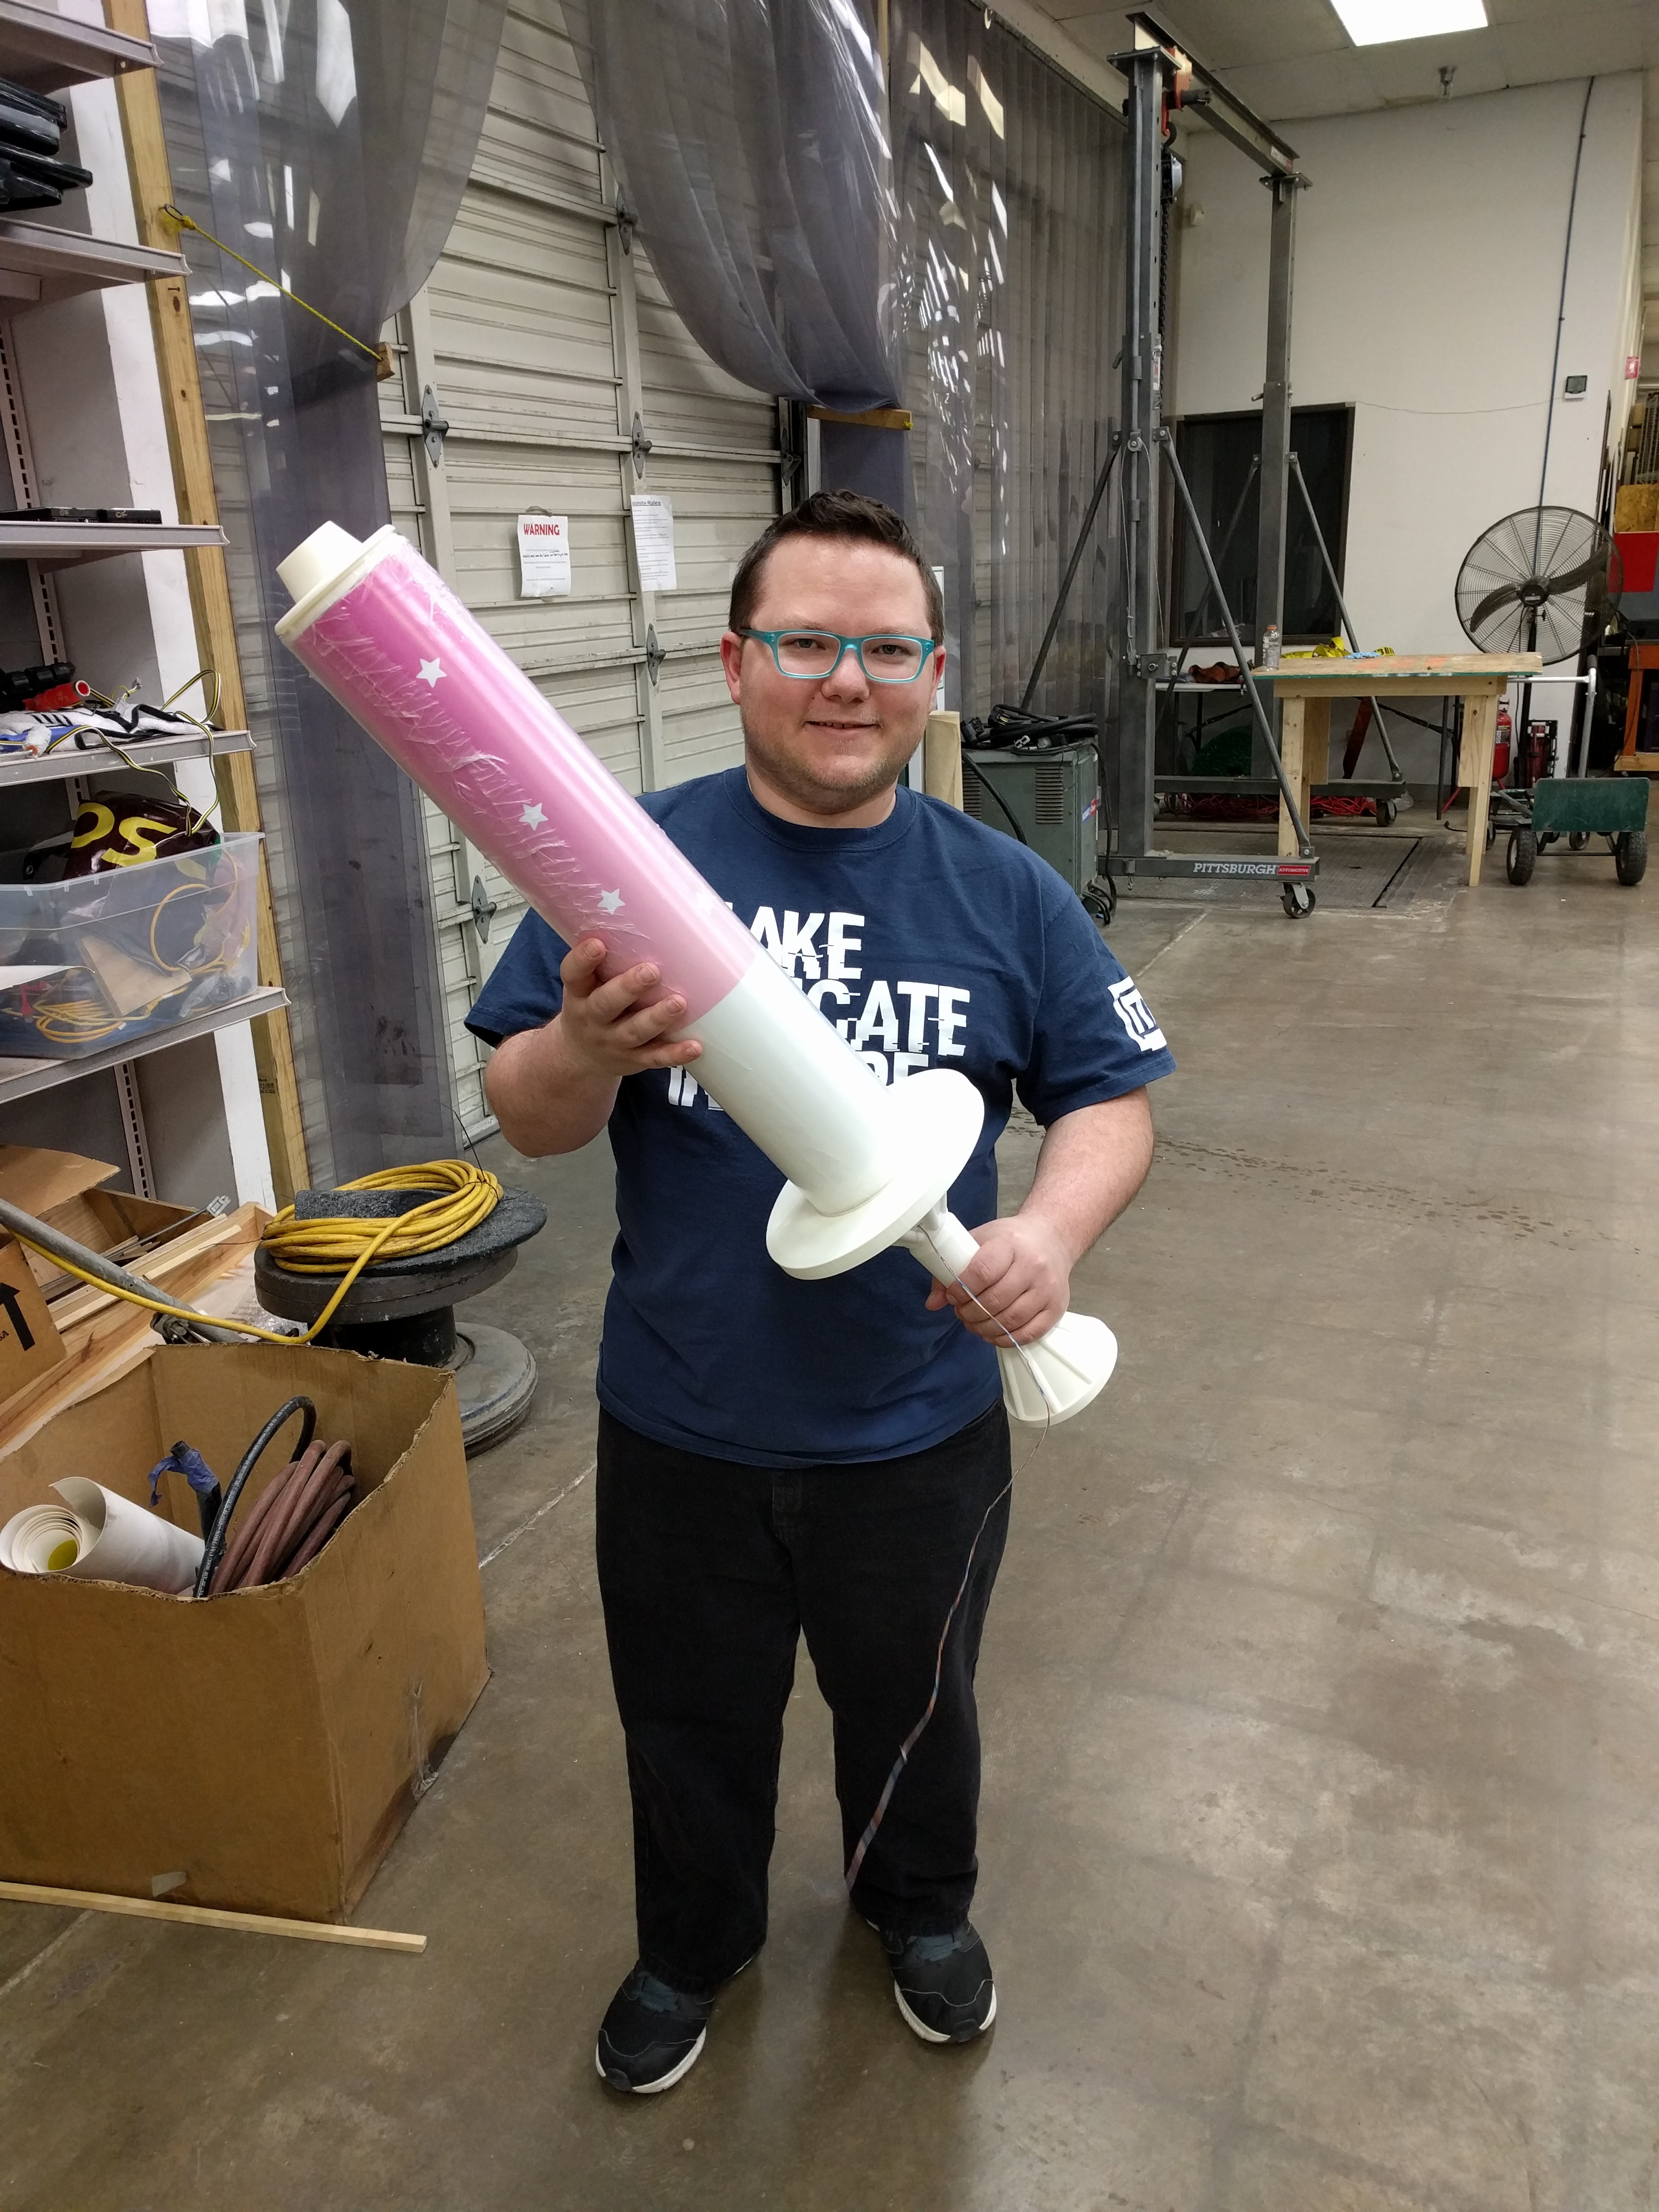
Mitch for scale since he is the same height as my customer.

12 Likes
Really cool, dude. Congrats!
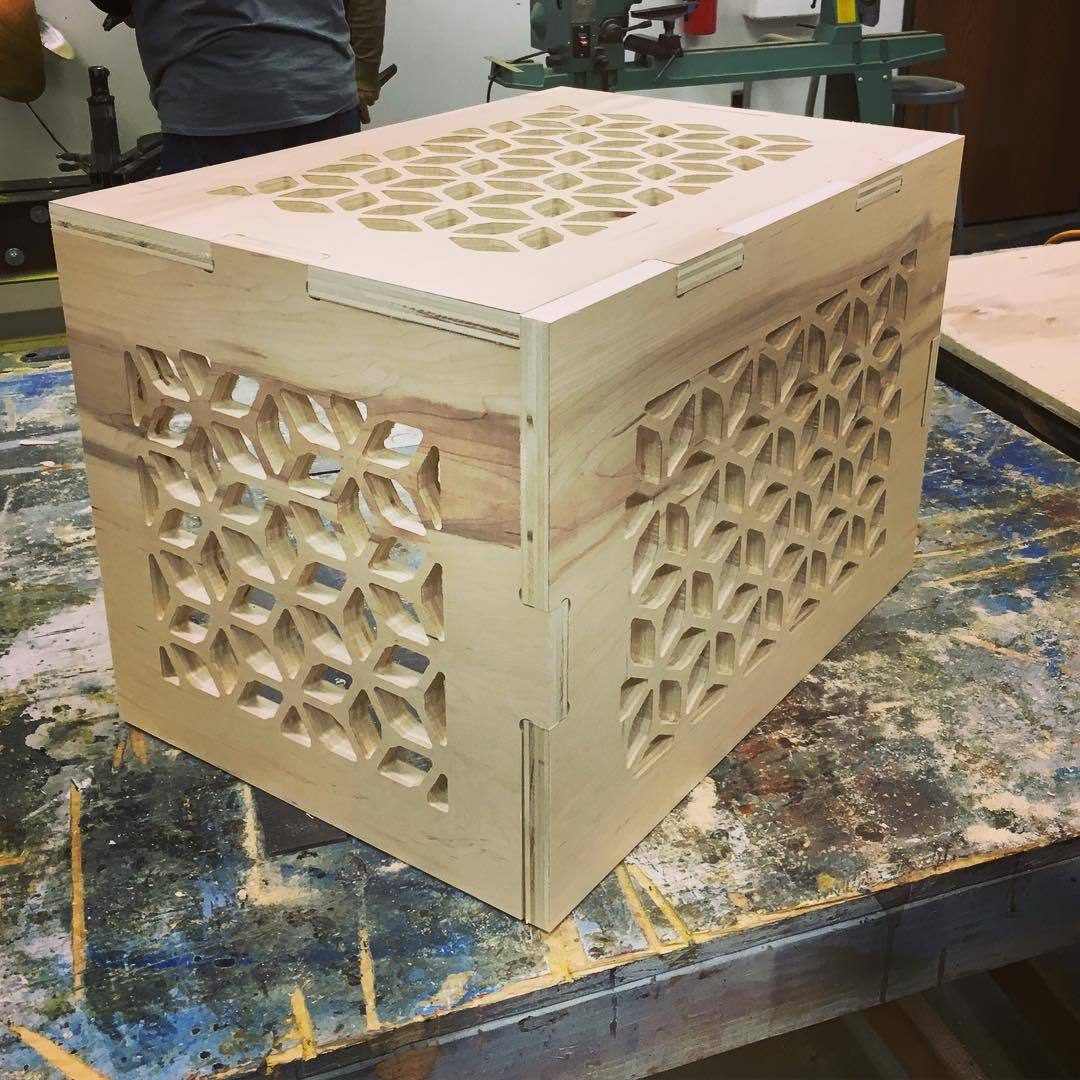
Over Christmas I made an AC cover for my sister’s condo in LA.
Here is a picture of it at DMS:
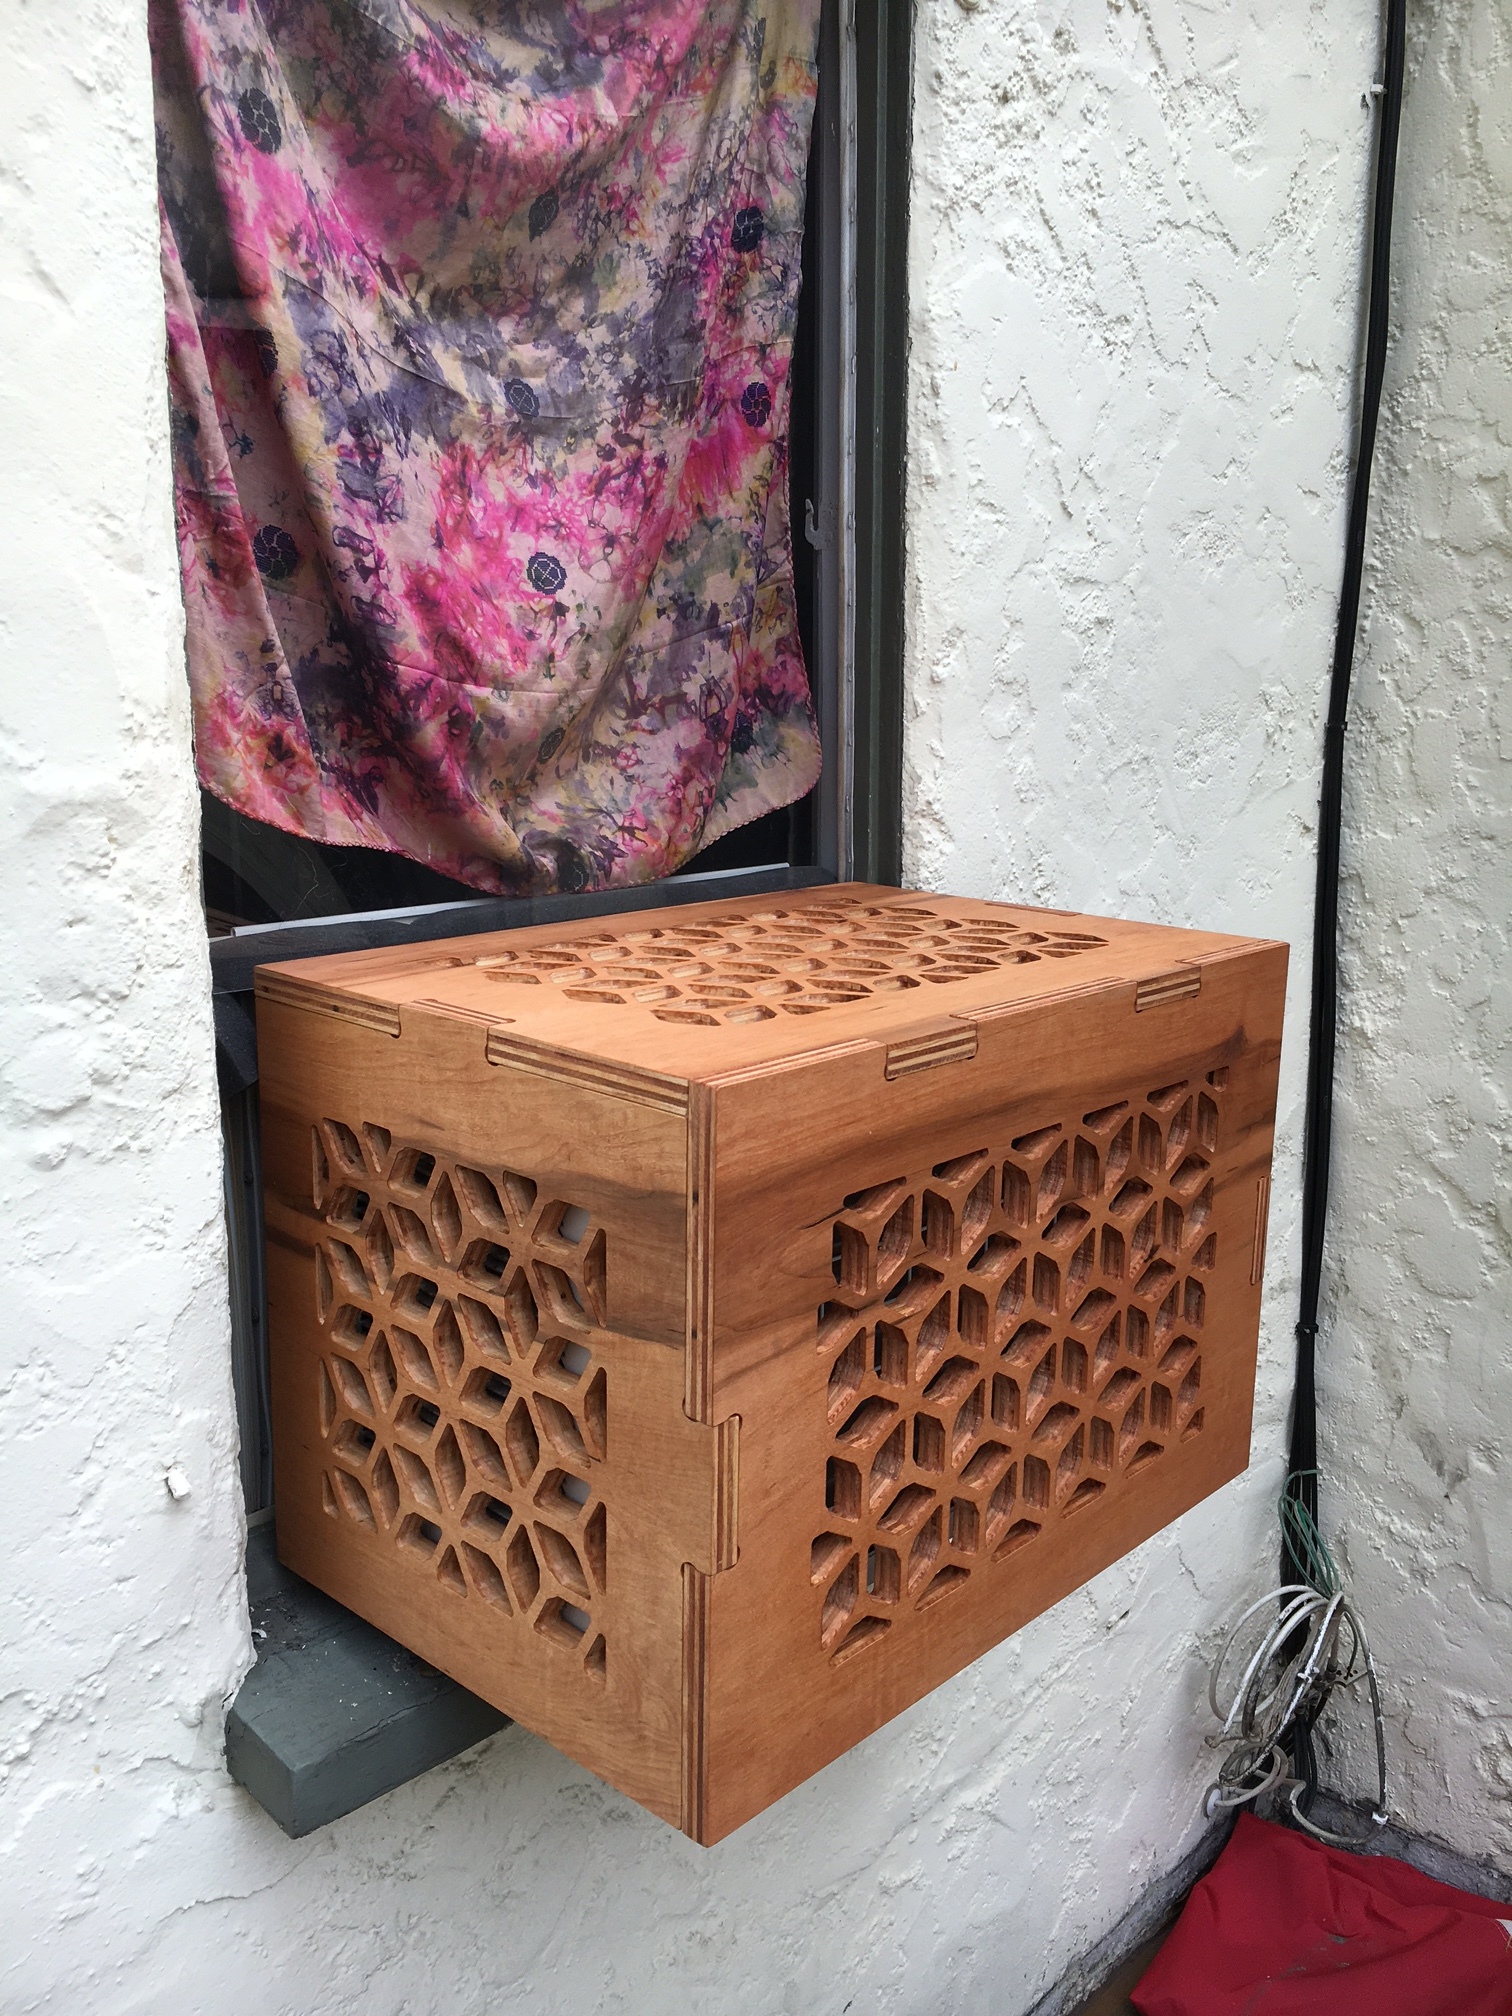
Here is a picture of the Box finished and installed:
12 Likes
Pinned nothing. There ought to be a separate topic area for it.
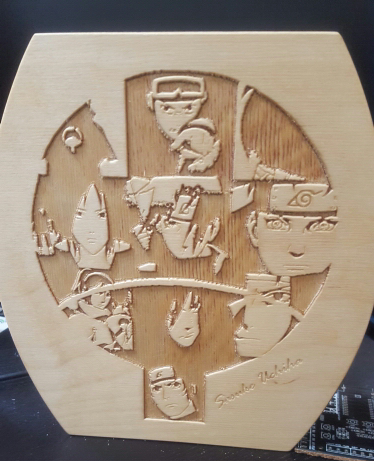
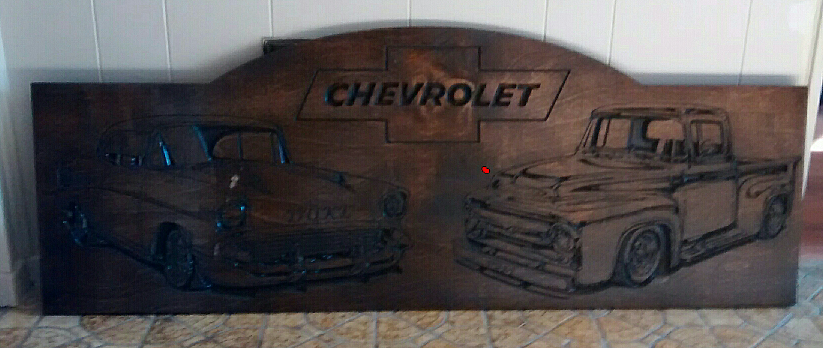
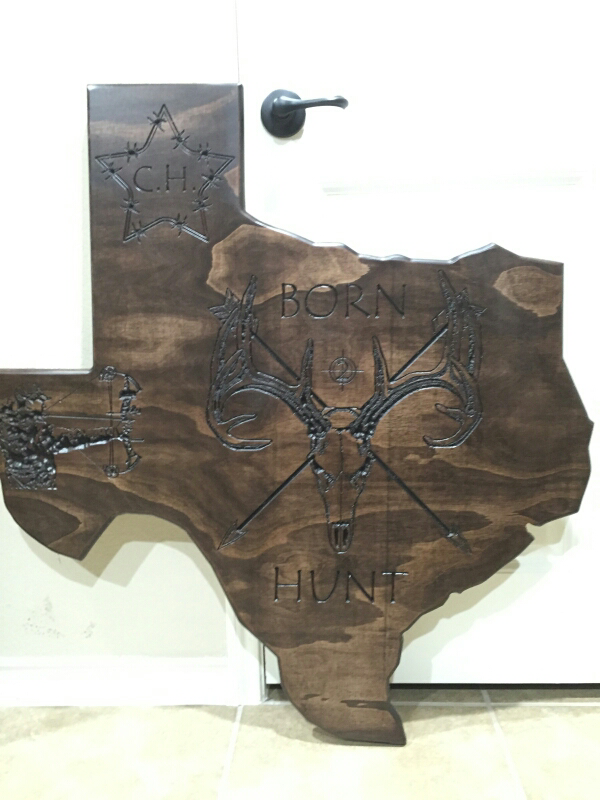
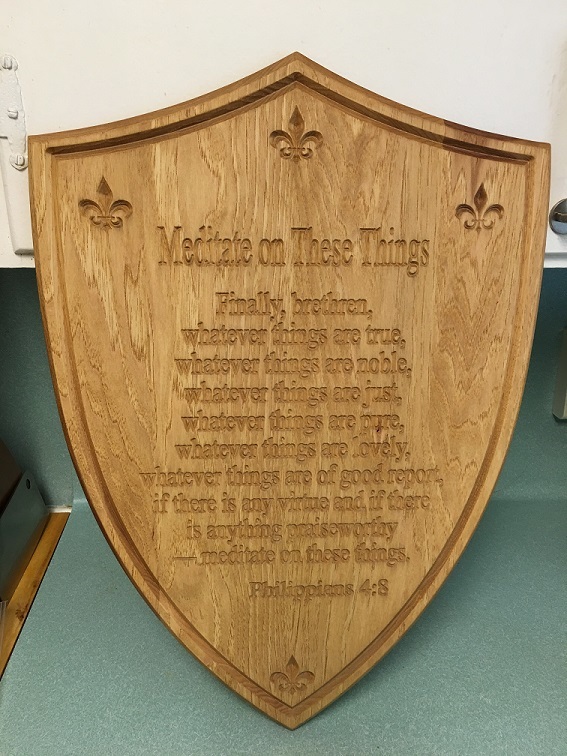
Here is a plaque I did for my daughter-in-law. Solid pecan planks
edge-glued and carved on MultiCAM. Finished with Minwax Golden Oak.
Approximate dimensions 18" x 22" x 3/4"
8 Likes
Would anyone mind if at the end of the month we throw these up into a DMS blog entry then start a new thread for February Projects?
We could keep it going and it’ll be a nice record of what’s being made.
11 Likes
Good idea, only on the condition that we actually link to the blog from the main webpage.
7 Likes
I like the idea as well,
I would just suggest that we make sure to also clearly credit the member that created each project, as well as provide a direct link to the thread that the pictures were pulled from. That way the members share in the publicity.
5 Likes
You have my permission to do that with mine.
1 Like