CA Could use some woodworker's help to make small inkle loom

Ok, here’s my thoughts:

Size–if we’re gonna make them, make a full-size properly strong one. One can always skip a peg or two warping to shorten warps for classes, but it’d be bigger if someone wants to do a longer warp.

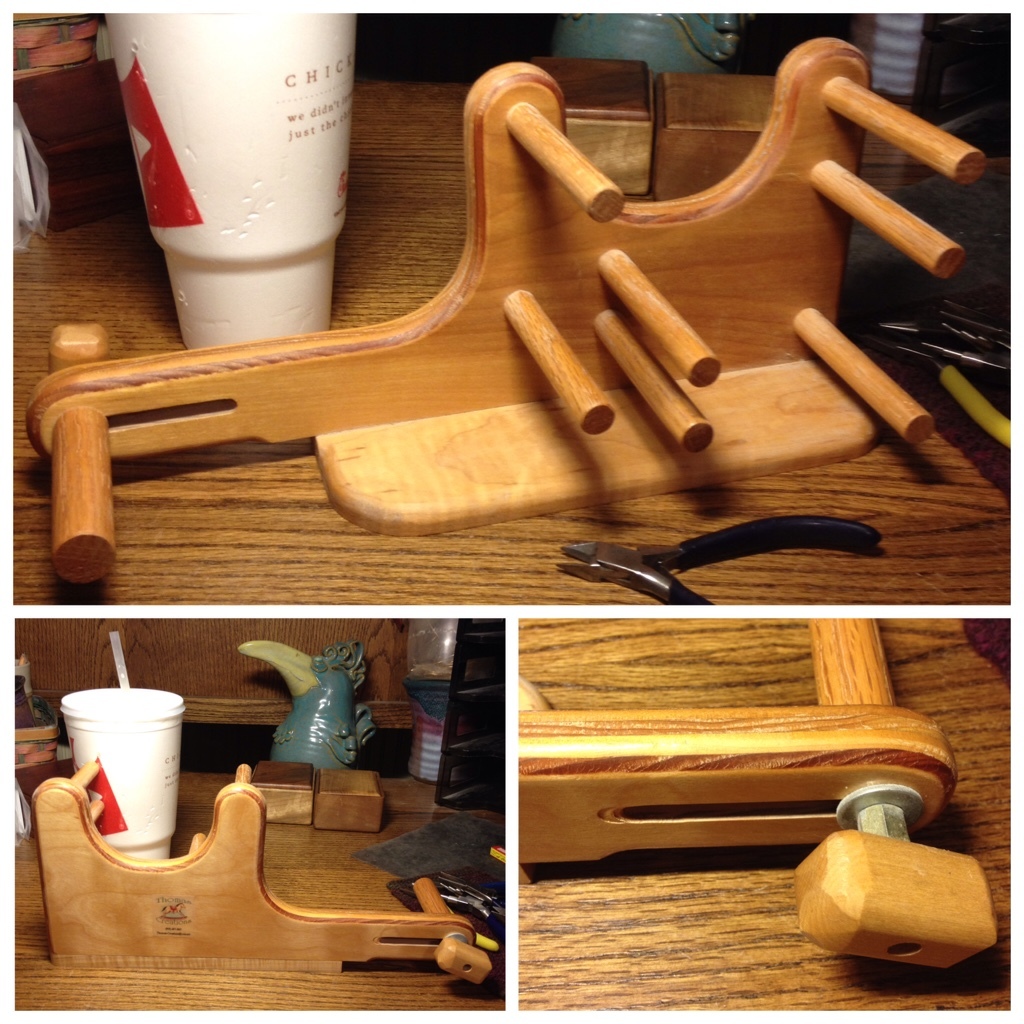
Sturdiness–the design in the video is good, 2x4 and bigger pegs. There’s flimsy models out there but this gets high tension and heavier main body and sturdier pegs are good

Design considerations–

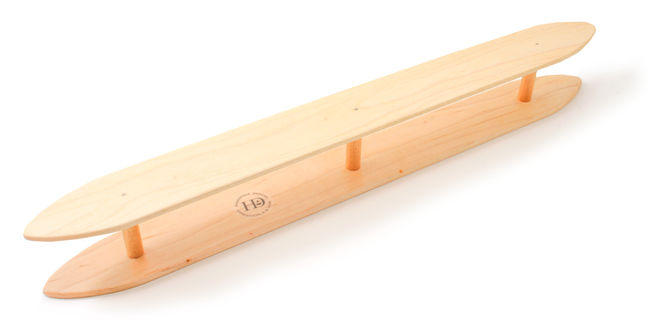
–peg spacing–you really want the pegs spaced far enough apart a hand holding a thread could pass between when threading the warp path. It’s a massive PIA to warp small looms. I have one full-size, a mini-inkle and a tiny, and that’s my experience.

–peg length, err on the side of longer (thus strong is useful or they now) will give more flexibility for type of weaving and projects

–length of throat piece where tension peg resides–a little longer there (couple or several inches) between closest tension setting (fully drawn toward weaving) will give a longer span between tension rod and warp pegs. For use card weaving as well as inkle, that longer span is necessary to let twist build in warp threads better before reversing direction (I skip warping my first upper peg and span straight from upper back one to tension peg and it works pretty well but a couple more inches would be even better)

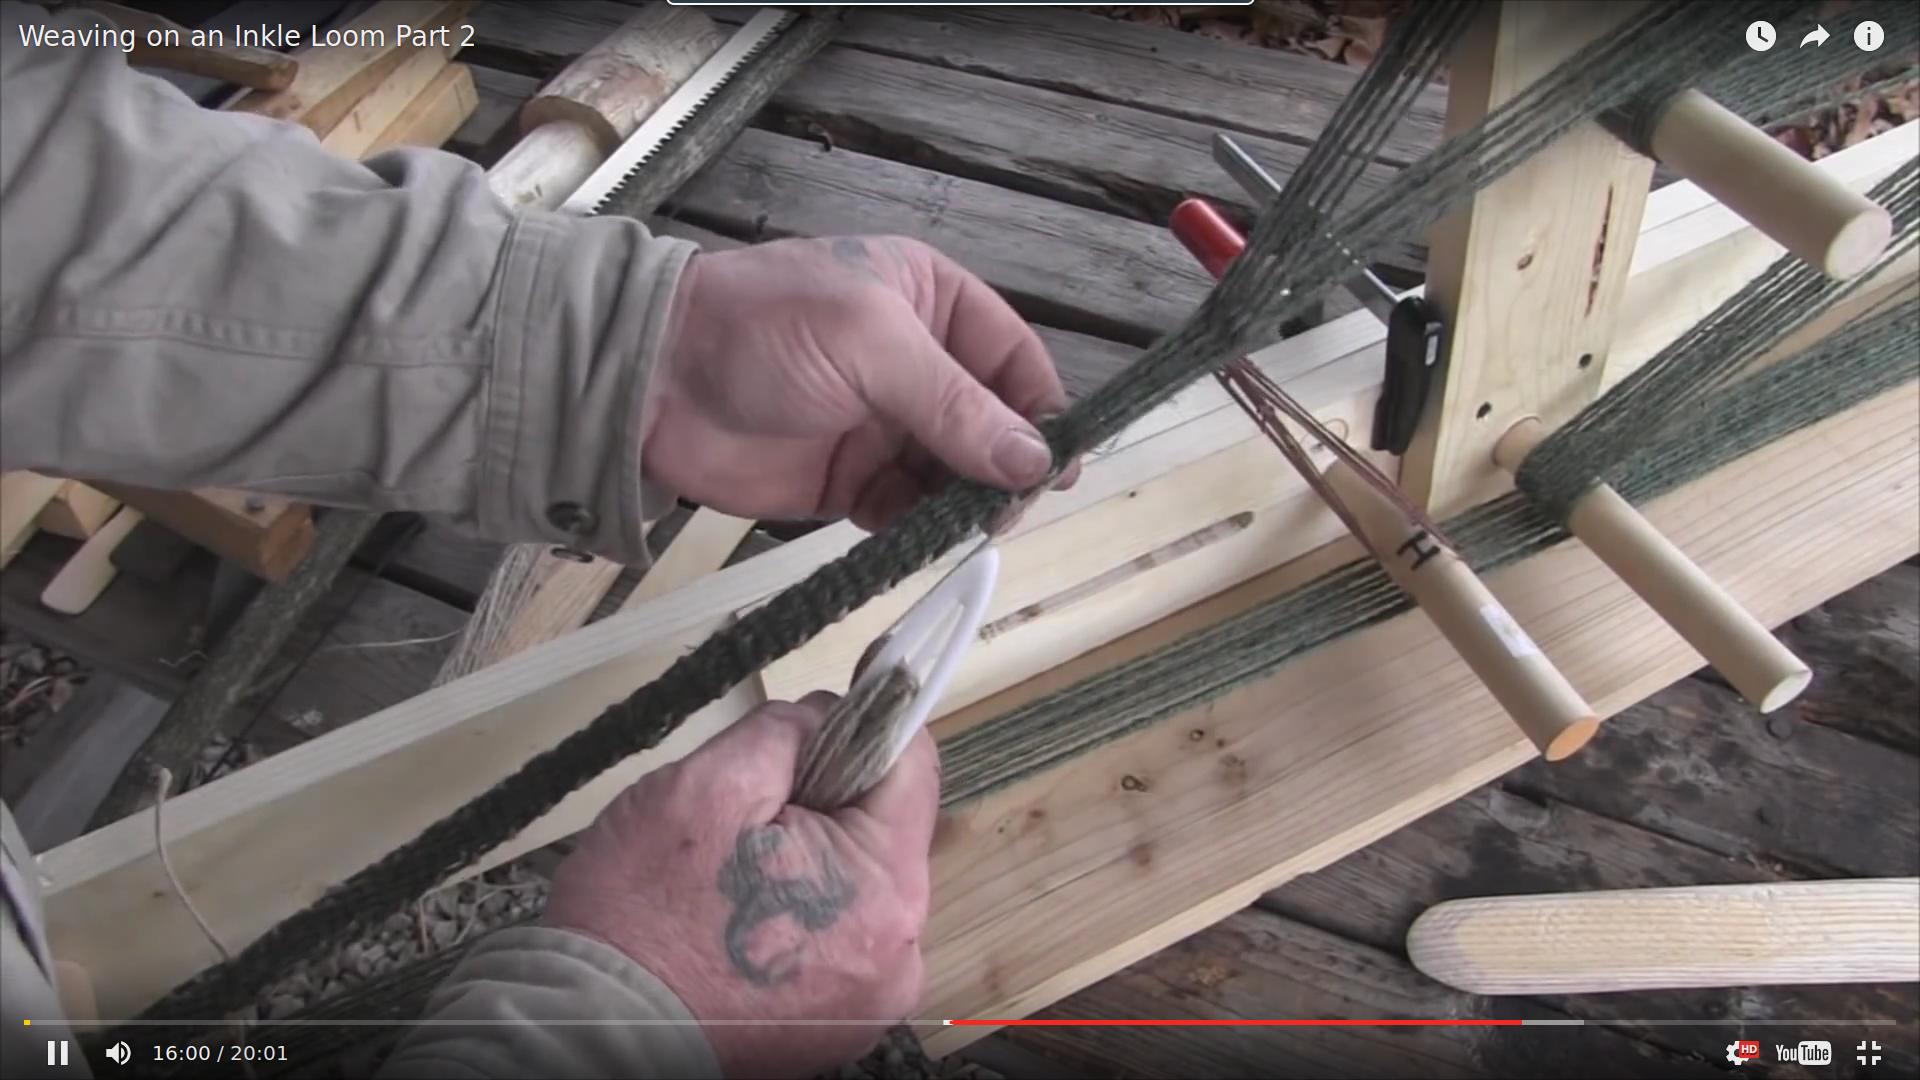
–tension peg–I don’t know if it’s obvious from pics, but there HAS to be a tension peg to adjust tension as weaving progresses. Typically there’s a slot in the throat/neck (dunno correct term??) that a knob screws to loosen/slide/tighten. There’s another method but hard to explain and not typical (for a reason, clunky).

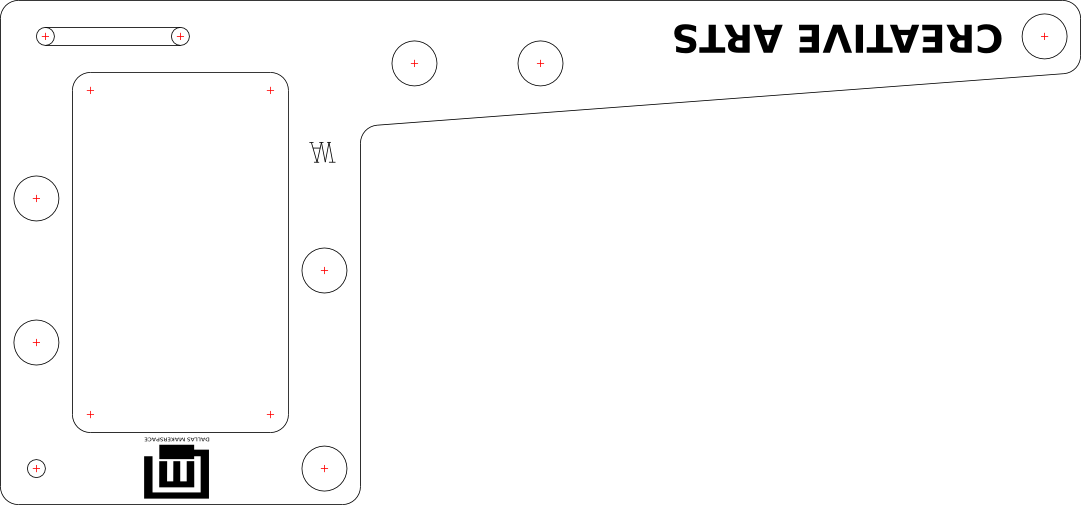
–General design–there’s lots of plans out there, plus tons of pics, you’ll see common features. The main functionality is tensioning device, those pegs to zigzag warp. Beyond that design choices affect strength and amount of yardage. Doesn’t need to be huge monsters some people make since we can’t loan them out and have storage considerations.

Storage–no way will this fit in fiber cabinet, especially several. Associated tools, yeah. The wheel is on top of cabinet to protect it. A little awkward but best anyone could come up with. There IS room for the looms there. I think it’d be fine and certainly lighter than the spinning wheel :slight_smile: I also am not a fan of much up there since others and I are short but it’s doable. Also it’s messy and a potential hazard. The other option would be lower on the other cubby shelves (decent footprint though) or hung on wall. My opinion is on top of fiber cabinet until we think of something more brilliant.

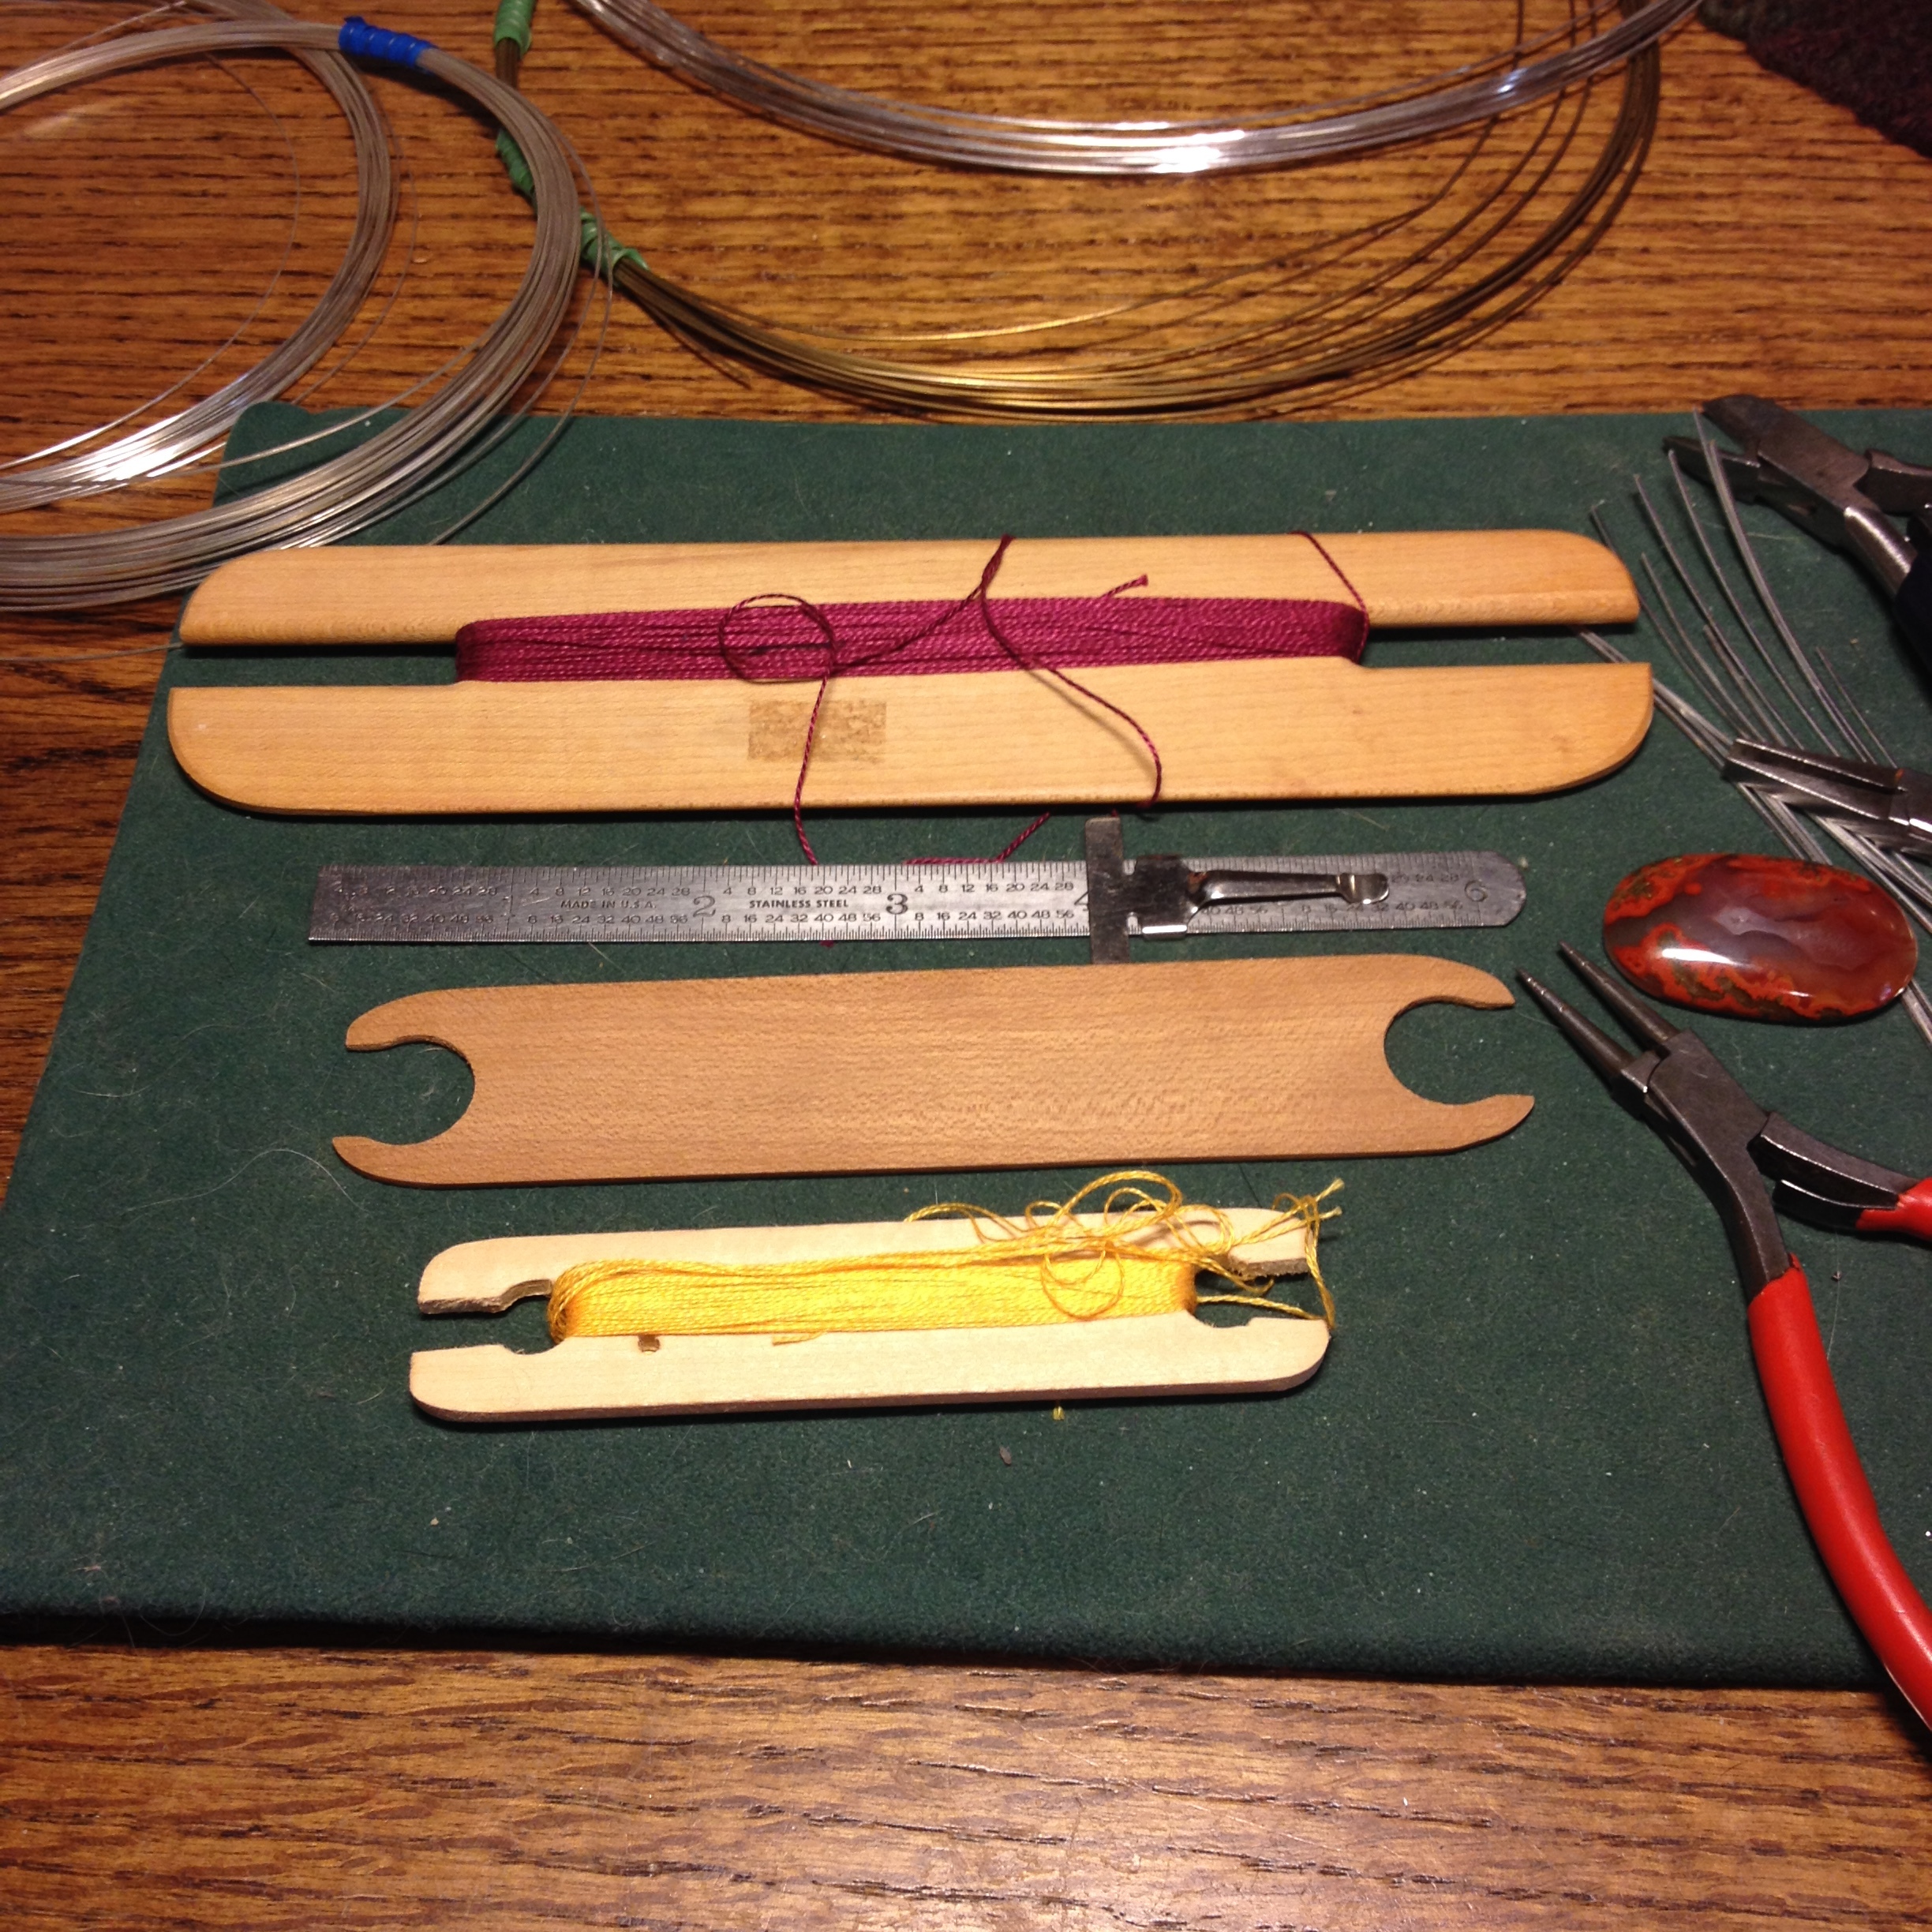
Accessories–no one mentioned I think, but while cutting wood, need a shuttle for it. Think flat piece of wood about 1/8" thick, maybe 1.5-2" x 4" with 1" half-circles in end, one long edge taper-sanded to thin bladed edge (still strong though), whole thing pretty smooth

I think that might have caught all the questions but I can’t go back and look to see what I missed while typing.

I just set up a login for this so dunno how notifications will work, but if someone has another question or needs clarification on what I noted, feel free to email me directly if I seem to respind slowly here: [email protected]

Note that I’m completely out of pocket this weekend due to being at my shop at the renfair.

I like that this is getting going. Inkle weaving is a great gateway drug for weaving concepts. Plus built right, we can use it for card weaving and band weaving (I got a Norwegian band weaving book for Christmas that we might have to play with). It’s also a great use to start funneling what we’re making in spinning class :slight_smile:

1 Like

Okay, cool. Unfortunately, I don’t have scrap lumber lying around to build the bigger design (and it really doesn’t inspire me as much as the smaller one in the OP :slight_smile: ) so someone will need to supply the wood and such. Would guess $10-$15 per if you want more then one for materials. Those plastic knobs are about two bucks each, and you would need some hanger bolts. That is about all of it.

Ah, gotcha. Scrap is lovely :slight_smile:

I always have a conservative approach to things, do cheapest way possible and see if it gets any traction, then if there’s interest, go bigger. At the same time, if we have budget, this could be a nice direction to grow equipment in since it has a lot of uses and cross-pollinates with our other efforts. @uglyknees Nicole can speak more to that.

So general comments, when in doubt go for sturdy when it’s an option. We will find a home for it, whatever it turns out to be. If you can wrangle a shuttle from a small scrap that’d be great since I don’t have loaners of that and no idea of cairenns options.

I’ve included a picture of my bigger loom. It’s rock-solid sturdy, did a lovely trade for a ring I made years ago…guy made it for me, carved it, etc.

I took pics with yardstick so you can see proportion and overall design might be one for later on.

A few notes:
–the end part where the stabilizer is, I think he just extended that because he was carving knot work and that’s where the gryphon would fit. It’s not functionally necessary
–I’m set up for card weaving a brocade, so upper first peg skipped, normally used in inkle weaving
–similarly, since using card, no need for heddles, but heddle peg is critical (very first peg on lower row after tension peg), then is the row of warping pegs
–tension peg is a block, which is nice (uncommon) and helps with stabilizing tension peg under high tension
–I really like the long sturdy thick pegs
–the frame from 2x4" helps with the pegs being secure
–if I had a do-over, I’d add a couple inches between the uprights, adding more yardage (more than that, design taller uprights, etc)
–my loom is reversed from typical (pegs on left not right side when facing loom) Not critical, but can be a nice choice for right/left-handed folks

Hope the pic is helpful even if it’s not what you wind up making. Thanks for doing this! I think something to at least test the waters this direction will be great!

1 Like

So, I went ahead and finished the design files for the original mini Inkle @Cairenn_Day posted above. I will still make this one just because I like the design and now after reading this thread weaving intrigues me! My design files for this are available for anyone if they wish to duplicate or modify. The dxf could be used as the basis for a CNC cut out version.

M:/members/WalterAnderso/InkleLoom

4 Likes

Can you provide links to give the ignorant among our members (ME! ME! ME!) what makes a small piece of wood a ‘shuttle’?

BTW, If you would need more then one of these ‘things’ for classes, I would suggest having most be the size @Cairenn_Day suggested, and only have one or two larger ones. IMO, the larger ones would be used for member’s projects, while a class needs to be short, and the shorter ones would be quicker to set-up and make something as well as using less material for the weaving. (if I am garnering the right information from the videos).

Would a smaller version of this design (say 4"-6") be a useable one? Of the designs I found on the web, this looks like the easiest to make. Most of the others look to be more work then the entire inkle loom (which makes sense since they appear to sell for more)


https://halcyonyarn.com/weaving/6616000R/harrisville-16-rag-shuttle

Obviously, from someone who actually USES these would worth much more, but same guy, second video on setting up the inkle loom, shows his cheap-o shuttle:

Basically, a stick with a couple notches in the end. If you FF a couple minutes, though, you’ll notice he switches to a “better” one, which I believe he refers to as a “net needle”.
Like so, I presume:

1 Like

Cool video. I love the makerspace, I go down rabbit holes I never would have other wise! The ‘commercial’ shuttle he uses toward the end, looks like a design that would be an easy 3D print!

While you were posting that I threw together a quick laser cut table design for the style I posted above. I scaled it to about 1" wide and a touch over 5" long. We can make it as thick or thin as needed by just sizing the two dowels.

Given the burned edges that the laser cutter leaves, we would likely want to seal the wood before use. I have some 1/8" thick poplar I planed down for the dulcimer sticks, so I can make a couple of these on Sunday as well. This design is also on the same location on the file server as I listed above.

1 Like

I hear ya!
Never even HEARD of an inkle loom before Cairenn brought it up. I thought it was a pet name for the fact that they are small, as in British slang “inkle”…
I can’t wait to see what your finished product!

1 Like

Agree small looms to start. We can explore larger if interest develops, or those we can maybe explore as ones students can make/buy if larger personal wished.

We have run into logistical issues re weaving because looms are slow and take up space and would be dedicated to one at a time and then can’t be loaned out…a mismatch for the way DMS operates. BUT our workaround is smaller quicker looms to learn on to introduce students, then they can go larger if get personal loom and still come to class for support and technique. We also are working on copper-pipe tapestry looms for this summer hopefully. These use another technique but again similar principals to a larger loom, so still useful and educational. Plus another fun thing to do with string.

Here’s shuttle I was thinking, easy too:

This is just a flat belt or short stick shuttle and will serve very well and I think fast to make. No Rube-goldberging needed :stuck_out_tongue: Although that can be fun.

The one above, a few posts up, in the pic that’s two pieces held together by post isn’t suitable for this type of weaving. It’s meant for a large loom. This style weaving NEEDS a thin edge which is used to pack in the weft while weaving.

Thanks for all the interest in this.

2 Likes

ok took pics of my inkle shuttles in case the link above is stupid.

There’s a 6" metal ruler laying under the largest so there’s a context of scale.

The largest is about as big as you’d want. I like it because it’s sturdy, 1/4" thick with bottom edge tapering to 1/8" thick bevel (measured all with calipers).

The bottom one had a previous life as a paint stir stick.


Right now I’m using the top and bottom shuttles with the yarn on them for the project on the loom above. The red is dominant weft, then gold is the secondary pickup brocade weft (the way everything is threaded the gold brocade pass never shows on the back).

2 Likes

Yeh, I can whittle a few of those up tomorrow, hopefully without whittling my fingers :smile:

3 Likes

The large one above with two parts that you did the plans for is a rag shuttle for a large floor loom, way too big for this and functionality isn’t what we need. Inkle weaving needs sharp single edge to pack weft. Lots of kinds of shuttles, I know. Whole 'nuther world :slight_smile:

Neat on the plans for it. That might be something to remember down the road

I put more detail and a pic of what I was describing below.

3 Likes

Cross pollination at its best. Don’t know if these are of much interest to CA since I think it has the same product size as the inkle, but it intrigues the woodworker in me

https://videos.popularwoodworking.com/courses/the-woodwrights-shop-s12-ep05-colonial-tape-loom

2 Likes

Ooh, YES! Ok, maybe more to me than CA. We need to start on inkle in CA.

But remember I mentioned my book I got on Norwegian band looms? Yeah. Uses similar. Had me going down a rabbit hole looking at some elaborately carved Eastern European box looms like this, just gorgeous carving. Clever designs too. There’s Scandinavian variants, then we had a lot of colonial variants here. Then there’s a bunch of elaborately carved Victorian parlor versions. I have a band loom board, not box kind. Awkward to use for me, (supported in lap) but has the heddle slits/holes. Like the idea of band/tape looms. It’s on my list.

This summer once my schedule frees up, I have a bunch of woodworking projects I want to pursue, fiber tools and jewelry displays.

I got to thinking, my mini loom would be a good CNC candidate as well, although current one looks promising.

Here’s a pic with a 32oz cup for scale. Note the tension knob is made not bought. I can disassemble and do pics for closer look if anyone cares later. It weaves well other than mild PIA warping due to close pegs. But this size perfect to learn on. Can fit a few in a box up on top, small footprint storage.

3 Likes

I go off line for the day and all types of things happen!

My reasoning for the smaller loom was. 1) storage room 2) time to finish a project–since a band would be hard to finish in a class, a smaller loom would encourage folks to either hang around a while longer to finish or to come back and finish–I allways hate to cut a bunch of thread off the loom

2 Likes

I think the proposed smaller looms versus full size are good. That being said, should we wind up with any full-size eventually, you can short-warp for a class (even on the small ones) by skipping pegs

So I was looking at your plans closer…I might not be reading it right…is the long slit in the bottom under the pegs where a tension thingy would go?? And then it says creative arts on it up near the single peg st the front…

Typically the tension peg is adjusted in that front single peg nearest the user, not at the back end under all the warp-loaded pegs. That’d be awkward.

Maybe I’m not reading the diagram right?? Look at the two loom pics I posted and see the sliding tension peg located in the front slit nearest the weaver (you weave with the loom stretched out away from you, not looking at it from the long side).

Anyway, thought I’d bring this up in case I am reading that slit IS on the part under the grouping of pegs and an awkward location.

If I’m way off base, carry on :smiley:

1 Like

In looking at a lot of plans and finished looms, I am seeing a lot of the back tensioned ones. I am used to the front tension ones, also. The back tension looks a little, say cleaner on the smaller looms. I see that also a lot on the larger floor looms.

I wonder if it helps keep the tension more even through the warp? It also place a weaker part of the loom in a stronger location.

1 Like

Ah, ok. Not familiar with those. Hey, as long as it works :blush:

1 Like