Asking for ideas for window art design and creation

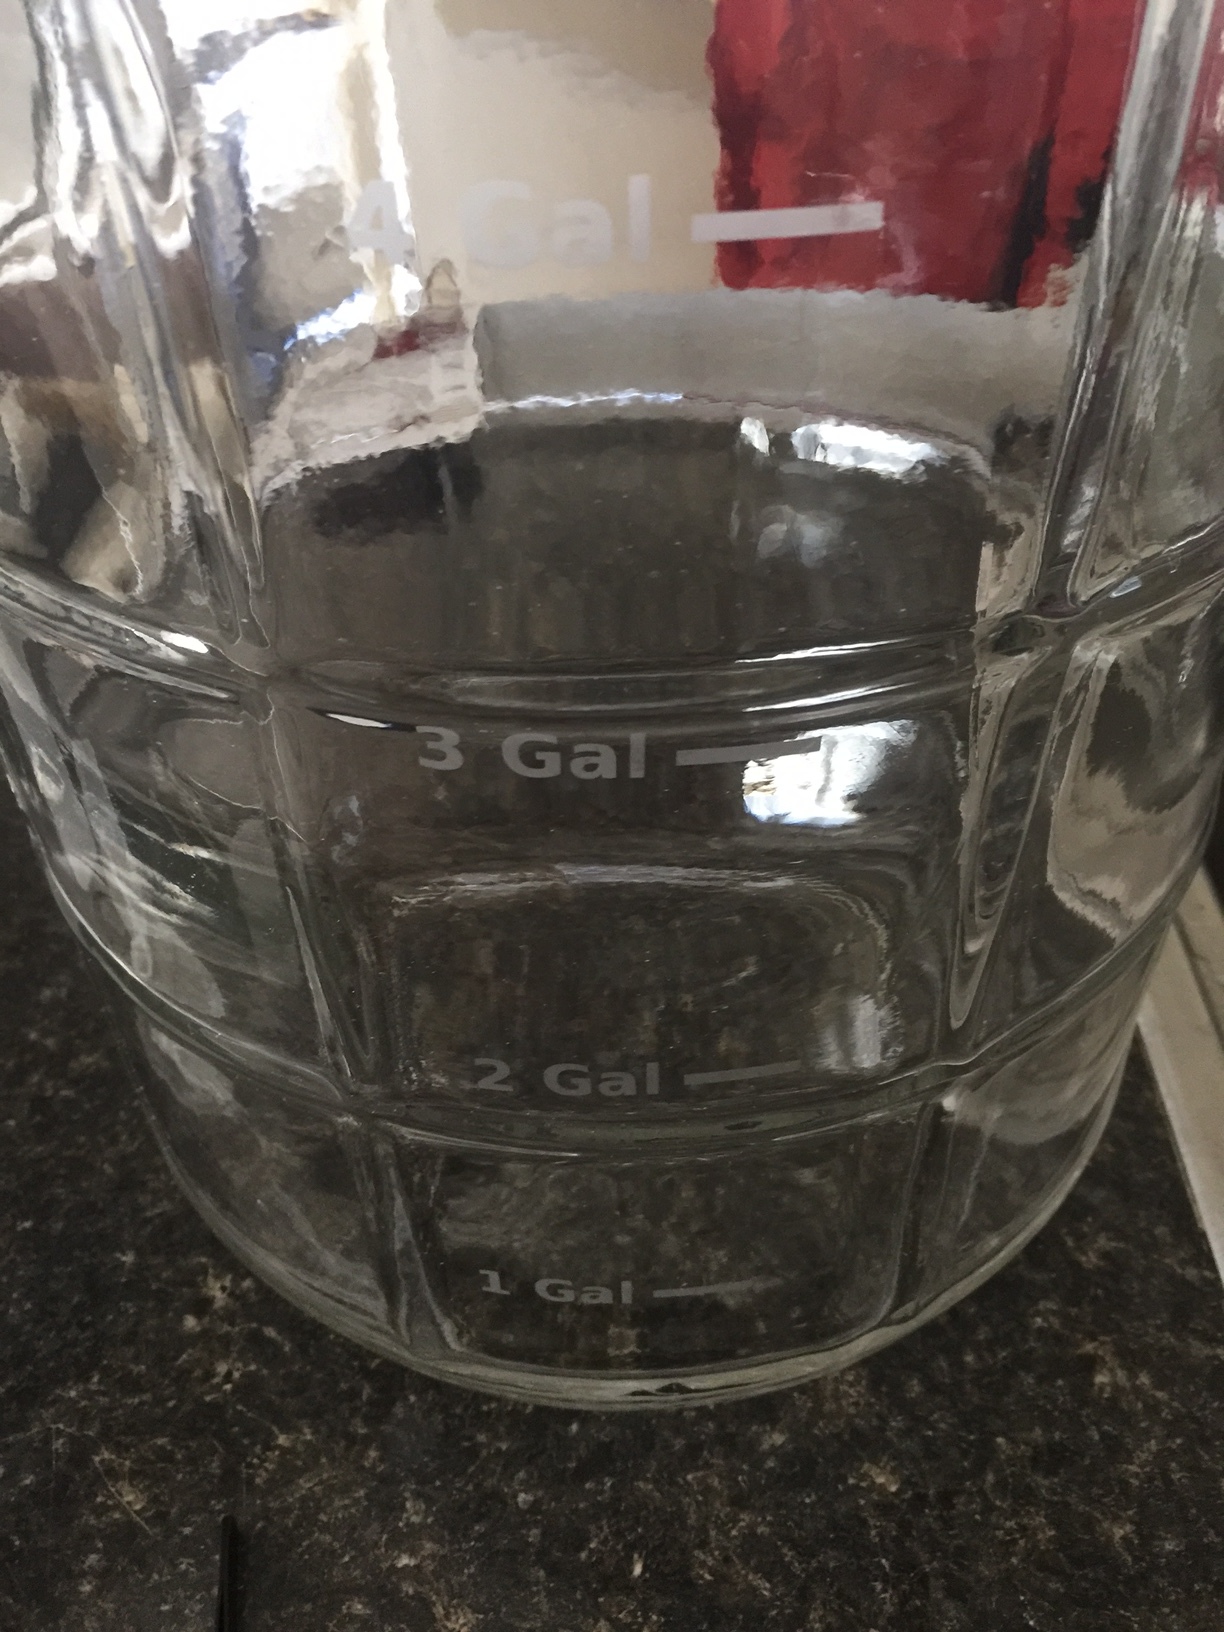
That particular one looks to me like it might be painted on.
I would recommend looking into the option of using a sandblaster to etch the designs. The general process is to cut the design on the vinyl cutter using sandblasing grade vinyl (not the stuff we have in Creative Arts), then apply it to the glass and weed the negative space you want etched. If you want to, you’re able to wash the glass without removing the vinyl mask, then follow it up with a coat of paint.

For reference, here’s an idea of what you can expect to see using this method.
https://www.google.com/search?q=sandblasted+glass+panels&source=lnms&tbm=isch&sa=X&ved=0ahUKEwiciYbF6fzTAhWhwFQKHY-ZAJoQ_AUICygC&biw=1023&bih=634

2 Likes

googling “Glass Etching Patterns” will pull up lots of ideas. this can be done with etching cream (YUK),
sanblasting, a diamond drag bit on the CNC or paint. good luck.

Make sure you wear an N-95 particulate filter mask if you are using the sandblaster.

2 Likes

The lasers can etch glass. Check the sample bottles in the laser area to see whether that is the effect you want.

1 Like

Thanks everyone. Any ideas for other than glass that can be done at DMS?

I doubt you can do glass with the MultiCAM, but I could be wrong. You might consider Acrylic or polycarbonate to go that route.

Edit: you could cut vinyl stickers to go onto glass.

You can etch acrylic using the lasers. Make sure you set the direction correctly so the soot isn’t getting into the already etched areas.

1 Like

And do not peel off the protective covering before etching.

you CAN do it on the MultiCAM if you taken the advance class. But it would be with the diamond drag bit which gives a different transparency since the engraving is done with crosshatches.

1 Like

Other thoughts:

Stained glass. That may be too big to do in Fired Arts.

Leaded glass.

Something with gold leaf or other metal foil.

that reminded me - Jurgen Industries makes a transparent pain that crystalizes. they also make flat paints. here is thier link: Jurgen
the only downside is it has to be done outside. It is just too noxious for inside work. But the results are good. My old crafts partner used it to make a faux stained glass.

1 Like

We did have some sandblast grade vinyl - I believe it’s either at the tailend or used up.

@wilkesc: If glass size/length is an issue in any of your designs, consider spitting doors into vertical sections via additional rails 1/2 up/down, or maybe into 3rds. You will also find that 3 pieces of glass 1.5 ft log will be far cheaper than 1 piece 4.5 ft long

1 Like

I’ve been told by multiple people that we had some, and was showed a roll of vinyl, but I have yet to see any that’s thick enough to do it properly. The stuff I use at work is Hartco 310-S Sandmask. Whatever it is that we have at the space isn’t strong enough to hold up to anything but a light frosting with very finely filtered sand. I’m assuming that the stuff I use is significantly more expensive (I think it’s like $4/ft on a 15" wide roll, but I haven’t ever bought any myself). In my experience, it doesn’t actually need any transfer tape because it sticks together again after cutting. I usually weed it after applying it to the piece I’m sandblasting.

This is the vinyl we have for masking:

http://www.uscutter.com/ORAMASK-813-Paint-Mask-Stencil

The roll was almost used up the last time I checked it a few days ago.

I tried that one. It was good for about half a second of blasting before the edges started to fray. I’m sure it would’ve worked marvelously if I were airbrushing though.

No one has mentioned etching cream as a possibility. (not sure if that’s cuz the stuff sucks as I’ve never used it.)

This stuff would be easier than masking and sandblasting if your details were relatively small.
Not sure how hard it is to get an even application…

http://www.armourproducts.com/ecom-catshow/Armour_Etch.html

I think that’s the stuff @Ian_Jaeger used on his carboys…

1 Like

oh that turned out really nice! I need to buy some of that stuff…

Yep, that’s what I used. Buy the small bottle on it’s own as you don’t need the expensive kit. You’ll have to look around the aisle though as the stand alone bottle of the armour etch was nowhere near the kits that are predominantly displayed.

Also, a little goes a long way with this stuff. I found that on the carboys I had to let it sit about double the time recommended (like 2.5 minutes) before I got a good etch.

Also, be sure to wipe everything down with rubbing alcohol before hand to remove any oils… before you apply the stencil, and then again after applying the stencils!!!

2 Likes